


AJ-44C Series Technical Manual 7610-001-76-22
Issued: 03-21-2006 Revised: N/A
SECTION 2: INSTALLATION/OPERATION INSTRUCTIONS
CHANGING THE AJ-44CE/CS DIRECTION OF TRAVEL (CONTINUED)
38
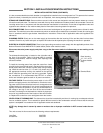
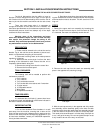
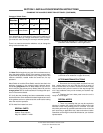
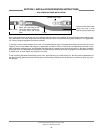
22. Separate the rinse plumbing from the rest of the incoming
plumbing by loosening the union. Ensure that the gasket on
the bottom of the rinse injector stays with the assembly as you
remove it.
23. Remove the remaining half of the union from the incoming
plumbing.
24. Remove the incoming water pressure regulator from the
incoming plumbing and replace with the union half that was
removed in step 23. Place the water pressure regulator on the
end that the union half was removed from.
25. Place the removed rinse plumbing assembly (with the gas-
ket) in the hole left open from when you removed the hole
cover weldment in step 21. Tighten the two halves of the union
together.
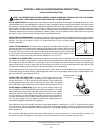
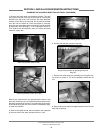
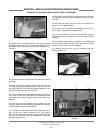
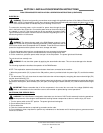
26. Place the hole cover weldment (with its gasket) over the
hole from where the rinse plumbing assembly was originally
installed. Tighten down with the locknuts.
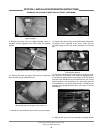
27. Re-install the rinse manifold (with its gasket) by connect-
ing it to the rinse injector weldment at its new location.
Remove the locknut from the stud for the bracket down near
the rack rails and then secure the bracket to the machine
using the same lock nut.
28. Re-install the lower wash arm support bracket to the pawl
bar support on the end of the tub opposite from where it was
removed.
29. Re-install the upper and lower rinse arms. Reinstall the
lower rinse arm support bracket.
30. Re-install the lower wash arm assembly, turning it 180°
and locking it in place with the locking screw.
31. Re-install the pawl bar. Ensure that the pawl bar is placed
so that when racks are placed in the unit, the pawl bar dogs
fold down.
32. Re-install the upper wash arm assembly. If you performed
all of the actions outlined in step 2, when you install it, it will be
directly over the lower wash arm assembly.
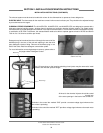
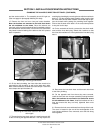
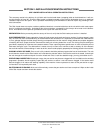
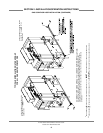
33. Remove the heater box cover by unscrewing the four
screws holding it on.
Removing the hole cover weldment
Loosening the union on the incoming plumbing
Removing the heater box cover
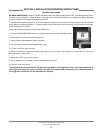
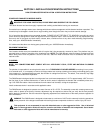
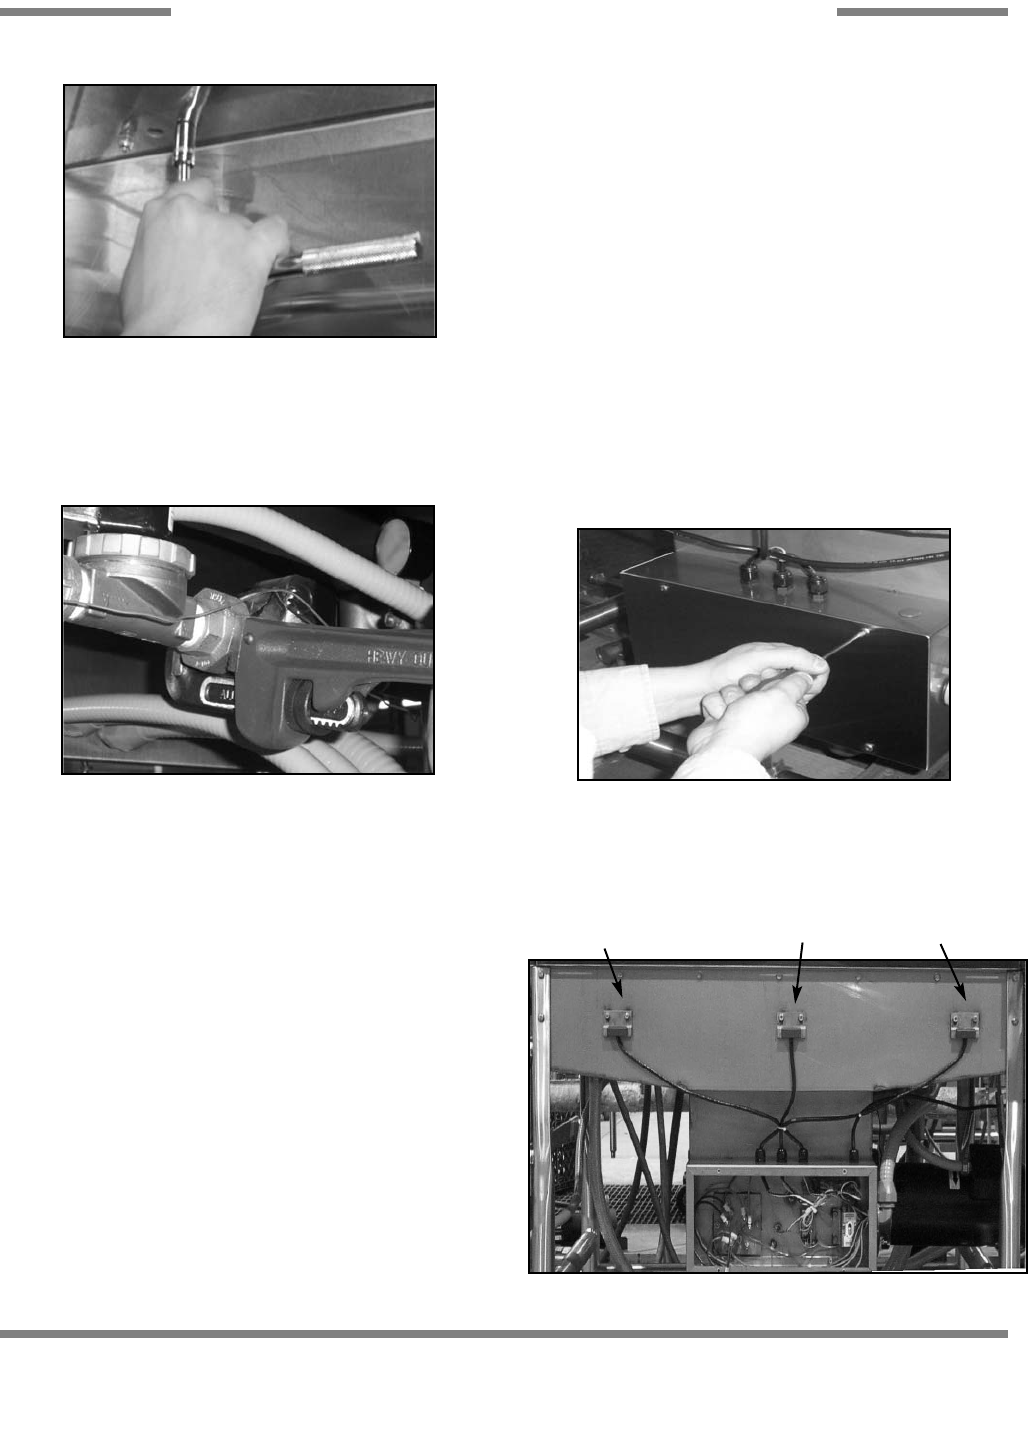
Front of rack conveyor showing the conveyor
switches
1
2
3