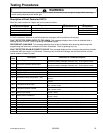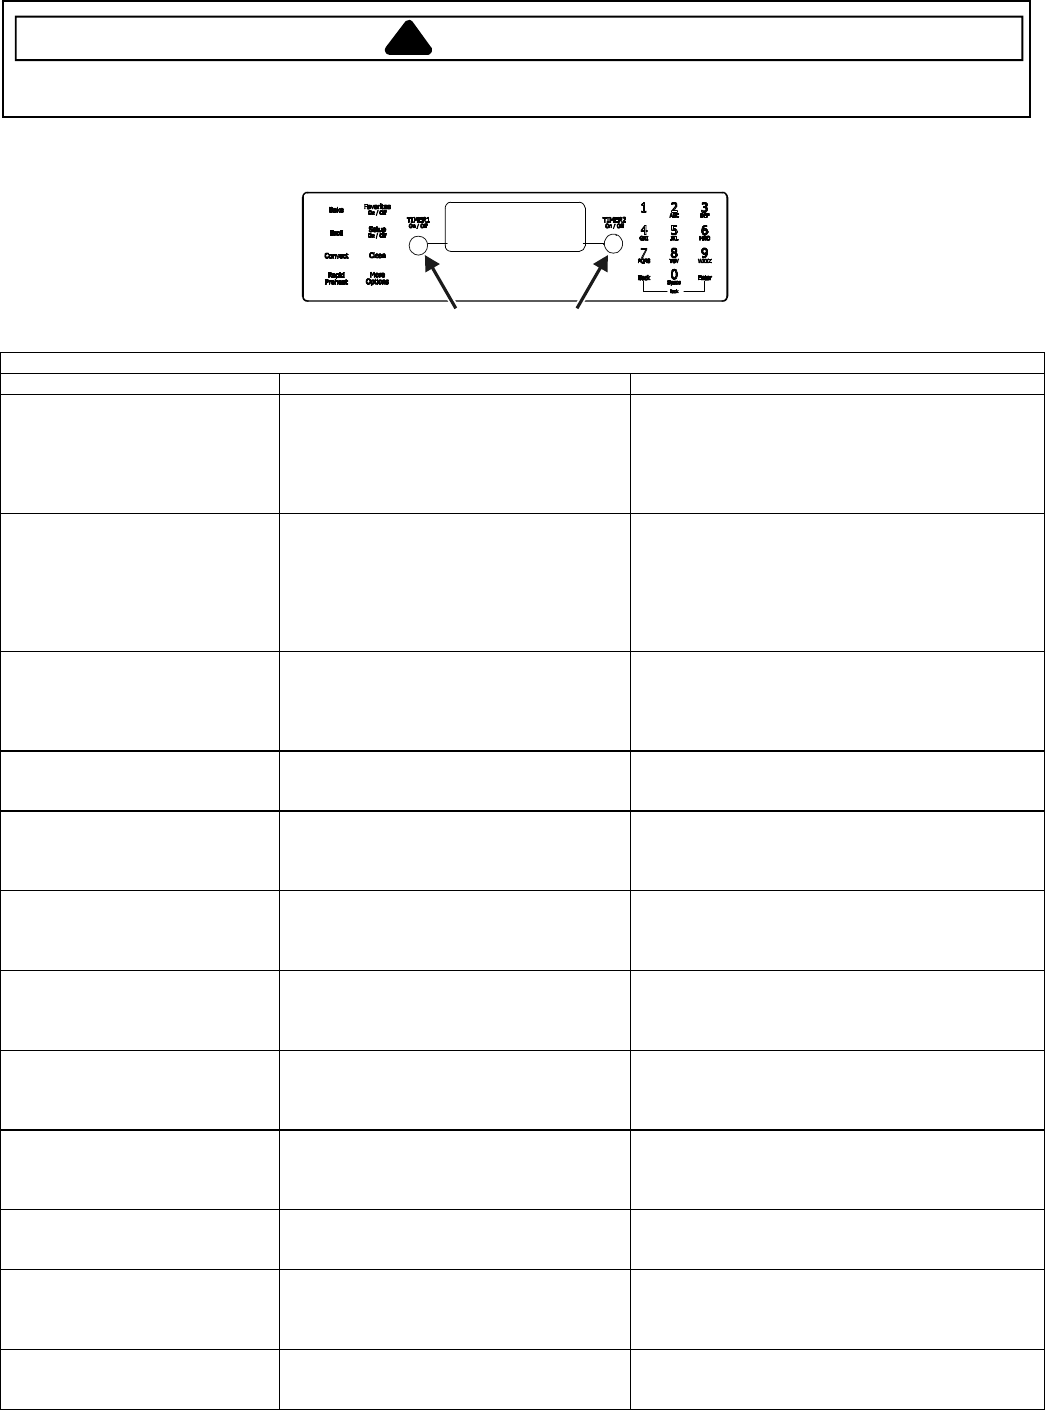
Testing Procedures
!
WARNING
To avoid risk of electrical shock, personal injury or death; disconnect power and gas to range before servicing,
unless testing requires power and/or gas.
© 2006 Maytag Services 16026923 19
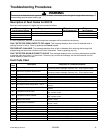
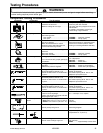
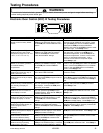
Electronic Oven Control (EOC) III Testing Procedures
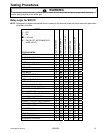
Warm
Drawer
ATM PADS
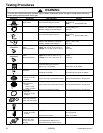
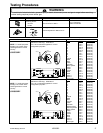
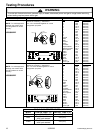
ELECTRONIC OVEN CONTROL (EOC) III TESTING/PROGRAMMING PROCEDURES
Feature Access Procedure Modification Procedure
Control Reset
Resets control to factory default
values.
Press the Setup pad, then press the right
ATM pad until SERVICE displays. Press
the left ATM pad to select SERVICE menu
options.
Press and hold the Back and Enter pads for 5
seconds to enter SERVICE menu options. Press
the right ATM pad to scroll to CONTROL RESET.
Press the left ATM pad to select CONTROL
RESET, then press the left ATM pad again to reset
the control logic. Press Setup to exit.
Oven Temperature Adjustment
Determines oven cavity offset
temperature (range from -35° F to
+35° F, or -21° C to +21° C).
Press the Setup pad, then press the right
ATM pad until TEMP ADJUST displays.
Press the left ATM pad to select oven
TEMP ADJUSTMENT settings.
Enter the offset temperature setting desired using
the digits pads. Press the right ATM pad for +
temperature adjustment, or the left ATM pad for –
temperature adjustment. Press 0 to reset control
back to no temperature adjustment. Wait 3
seconds for the control to accept the request.
Press Setup to exit.
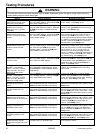
Sabbath Mode
Based on the Jewish guidelines
for Sabbath/Holiday
requirements.
Press the Setup pad, then press the right
ATM pad until SABBATH displays. Press
the left ATM pad to select SABBATH
settings.
Press the left ATM pad to select Manual Sabbath
mode, or the right ATM pad to select Auto Sabbath
mode. Press the left ATM pad to turn on Sabbath
mode, or the right ATM pad to turn off Sabbath
mode. Press Setup to exit.
Time Options
Determines control time, day of
week, 12/24 hour clock.
Press the Setup pad, then the left ATM
pad to select TIME OPTIONS.
Press the right ATM pad to scroll to the desired
function to modify.
Time Set
Determines time of day to display
on control.
Press the Setup pad, then the left ATM
pad, then the left ATM pad again to set the
time of day clock.
Enter the correct time using the digits pads and
press Enter. Press the left ATM pad to select AM
or the right ATM pad to select PM. Press Setup to
exit.
Day of Week
Determines day of week (Monday
thru Sunday) to display on
control.
Press the Setup pad, then the left ATM
pad, then press the right ATM pad until
DAY displays. Press the left ATM pad to
set the day of the week.
Press the right ATM pad until the correct day
displays, then press the left ATM pad to select.
Press Setup to exit.
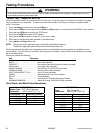
12/24-Hour Clock Display
Determines 12-hour or 24-hour
clock display on control.
Press the Setup pad, then the left ATM
pad, then press the right ATM pad until
12/24HR displays. Press the left ATM pad
to select 12/24 HR clock.
Press the left ATM pad to select 12-hour clock, or
the right ATM pad to select 24-hour clock. Press
Setup to exit.
Clock & Day Display Disable
Determines if time of day and day
of week will display on control.
Press the Setup pad, then press the right
ATM pad until DISABLE displays. Press
the left ATM pad to select DISABLE
settings.
Press the left ATM pad to select TIME, or the right
ATM pad to scroll to DAY, press the left ATM pad.
Press the left ATM pad to enable display or the right
ATM pad to disable display. Press Setup to exit.
Language Display
Determines language display on
control (English, French,
Spanish).
Press the Setup pad, then press the right
ATM pad until LANGUAGE displays.
Press the left ATM pad to set LANGUAGE
settings.
Press the right ATM pad until the desired language
displays (English, French, Spanish). Press the left
ATM pad. Press Setup to exit.
C/F (Celsius/Fahrenheit) Display
Determines temperature display on
control (C or F).
Press the Setup pad, then press the right
ATM pad until C/F displays. Press the left
ATM pad to select C/F settings.
Press the left ATM pad to select Celsius or the right
ATM pad to select Fahrenheit. Press Setup to exit.
Auto Convection
When enabled, reduces the
Convection Bake and Pastry
temperatures by 25° F (-3.9° C).
Press the Setup pad, then press the right
ATM pad until AUTO CONVECT displays.
Press the left ATM pad to select AUTO
CONVECT settings.
Press the left ATM pad to turn on auto convect, or
the right ATM pad to turn off auto convect. Press
Setup to exit.
208/240 V Setting
Determines range operating
voltage (208 or 240 VAC).
Press the Setup pad, then press the right
ATM pad until 208/240 displays. Press the
left ATM pad to select 208/240 V settings.
Press the left ATM pad to select 208 VAC, or the
right ATM pad to select 240 VAC. Press Setup to
exit.


