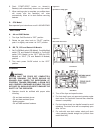
6. Push “START/STOP” button on timers(s).
Basket(s) will automatically lower into fryer vessel.
7. When cooking cycle is complete, an audible alarm
will sound and the basket(s) will raise
automatically. Allow oil to drain before removing
baskets.
D. CPU Model
See separate fryer instructions or call 1-800-KEATING.
SHUTDOWN
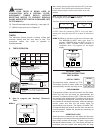
A. AA and CMG Models
1. Turn fryer On/Off switch to “OFF” position.
2. Rotate tan gas valve knob to “PILOT” position,
push it in slightly, and rotate it to “OFF” position.
B. BB, TS, CPU and Basket-Lift Models
1. Set Fry/Off/Melt switch (BB Model), Cook/Idle/Melt
switch (TS and Basket-Lift Models) or Fry/On/Off
switch (CPU Model) to the “OFF” (BB and CPU
Models) or “IDLE” (TS and Basket-Lift Models)
position.
2. Turn main power On/Off switch to the “OFF”
position.
DRAINING
WARNING
ALWAYS SHUT THE FRYER OFF COMPLETELY
BEFORE DRAINING. THE FRYER SHOULD BE
DRAINED ONLY UNDER THE SUPERVISION OF
PROPERLY TRAINED PERSONNEL. A DRAIN PIPE
AND COVERED CONTAINER SUITABLE FOR USE
WITH HOT OIL SHOULD BE USED TO ENSURE THE
SAFETY OF THE OPERATOR.
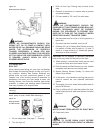
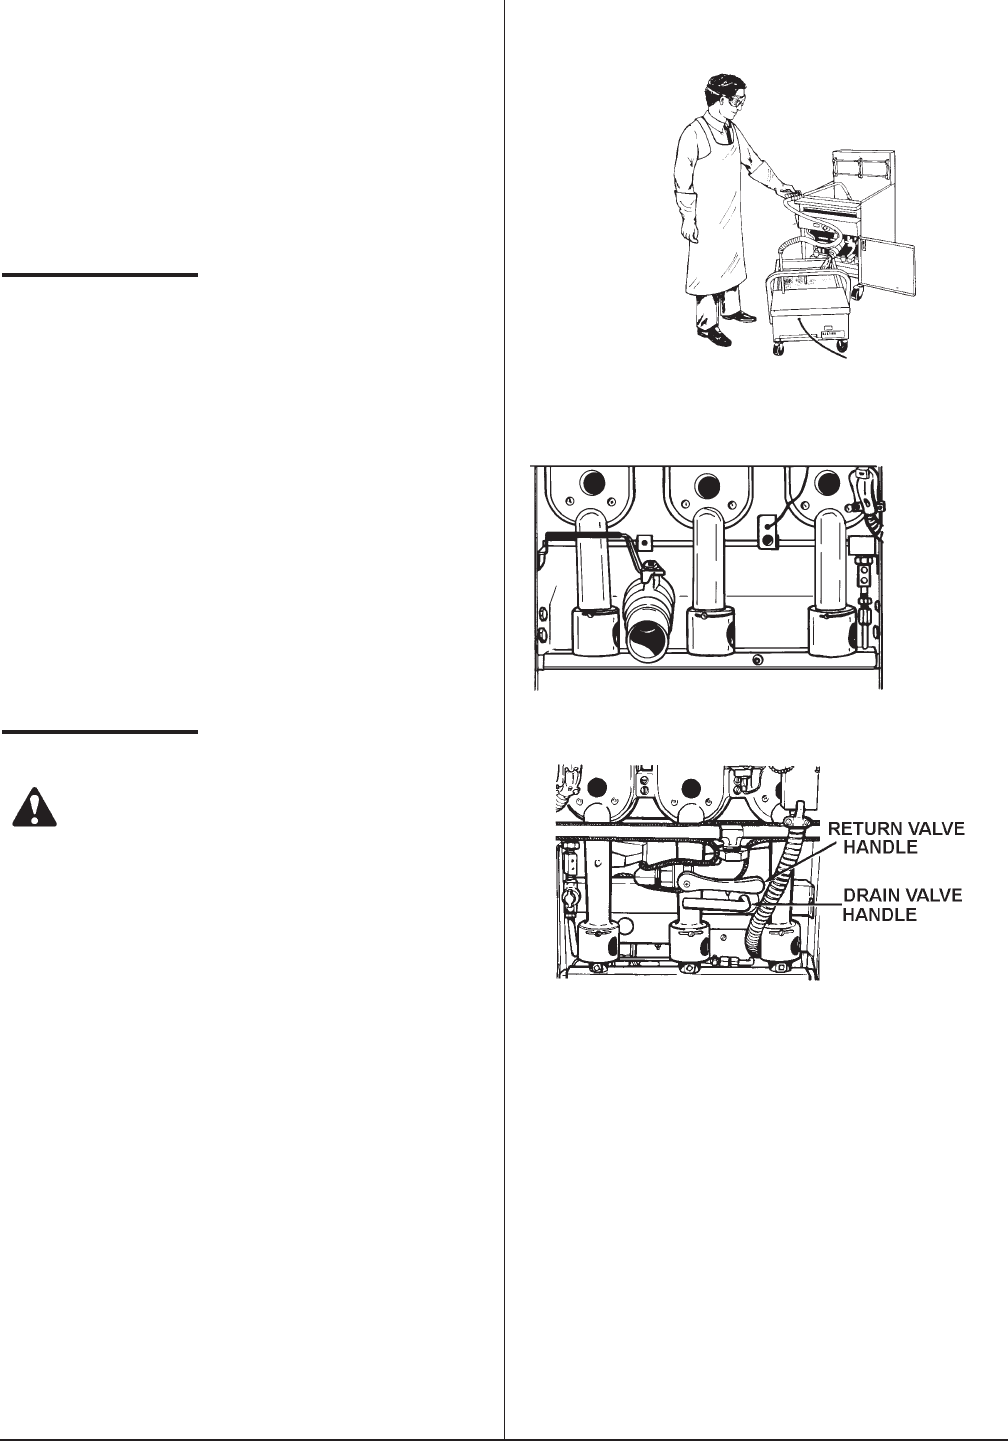
1. Operator should be outfitted with proper attire
including:
–Oil and heat resistant gloves
–Oil and heat resistant apron
–Safety goggles
–Oil and heat resistant footwear
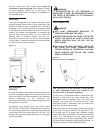
Figure 3-3
Operator in safety gear
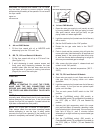
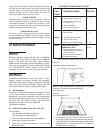
Figure 3-4
Drain and drain valve
Front Drain
Rear Drain
2. Turn off the fryer and open the door.
3. For front drain fryers, put approved container under
drain valve. For fryers with a central filter, slide filter
drawer in completely.
4. For front drains slowly turn handle forward to avoid
splashing. The drain valve will be completely open
after 1/4 turn.
5. For units with rear drain valves, slowly pull drain
valve operating handle straight out (unhook from
metal latch first).
7


