10
output contacts will close. During the countdown the colon
will flash at a one-second rate. When the countdown has
reached "00:00" the relay output contacts will open, the
display will flash, and the audible alarm will sound. To
cancel the audible alarm, press any button.
PAUSE FEATURE
To pause a cycle in progress, press any button. The relay
output contacts will open, the display will flash, and the
countdown will pause. To resume the countdown, press
any button. The display will resume the normal countdown
and the relay output contacts will close.
CANCELING A CYCLE
To cancel a cycle in progress press and hold any button
for approximately two seconds. The relay output contacts
will open and the display will show the time setting for the
channel last used.
IV MAINTENANCE
WARRANTY
REPAIRS
Keating’s warranty begins with the date of installation
(or ship date if we are not notified of an installation
date). In the event that your fryer, under warranty,
needs repairs other than routine maintenance or clea-
ning, you are requested to contact Keating of Chicago
(at 1-800-KEATING) before calling a local service
company. (Failure to do so may void your warranty).
PREVENTIVE
MAINTENANCE
Preventive maintenance should be done in daily,
weekly, monthly and yearly intervals as necessary.
Following preventive maintenance procedures will help
keep your fryer working efficiently. Proper care and
servicing will lead to years of quality performance.
A. Oil Breakdown
As part of a “Preventive Maintenance Program”, the oil
in your fryer needs to be filtered regularly to avoid
breakdown. The initial investment in the frying system
is less than the total overall costs of oil during the life of
the fryer, and with regular filtering, you can realize
substantial savings in oil costs, as well as,
maintenance charges.
B. Limited Calibration (less than 25°F off)
You will need:
One standard flat blade screwdriver
One accurate fryer thermometer
1. Set thermostat to desired frying temperature.
2. Allow fryer to cycle three times.
3. Place an accurate thermometer in the oil at the
thermostat bulb.
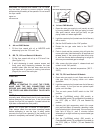
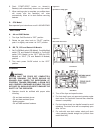
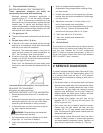
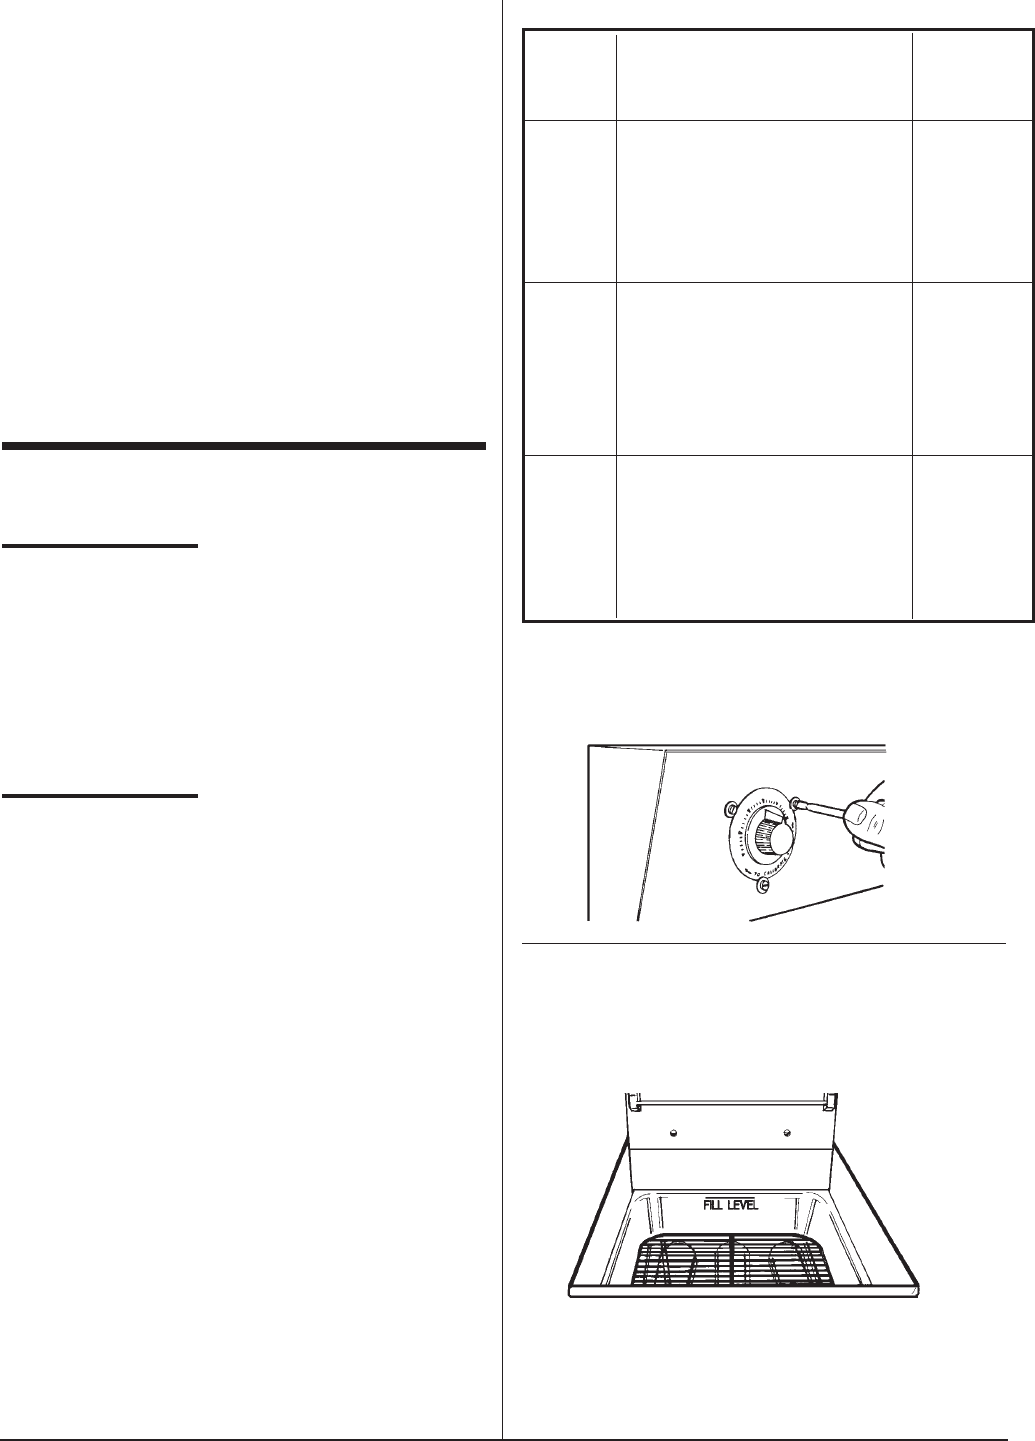
Figure 4-1
Thermostat calibration with knob on
NOTE: Locate thermometer in same position for every
calibration. Position at thermostat bulb is
recommended.
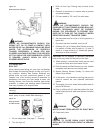
Figure 4-2
Place thermometer in oil
4. If calibration of fryer is found to be less than 25°F
off, simply loosen three dial plate retaining screws,
rotate dial plate to match thermometer reading and
tighten screws. If it is more than 25°F off contact a
qualified service company.
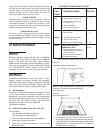
TIME OPERATOR/OWNER SECTION
FRAME
Daily Check lights and controls. III
Check that the oil is up to
“Fill Level” Line.
Clean all baskets.
Drain, strain or filter oil.*
Weekly
Drain and clean fryer.*
Boil-out fryer. III
Monthly Verify thermostat settings.
Test Hi-Limit control.
Verify all thermostat settings. IV
Yearly QUALIFIED SERVICE
PERSONNEL ONLY IV & V
Disassemble fryer to clean
pilot and burners orifices and
runner pilot tube.
Check and replace radiants.
Calibrate thermostat.
PREVENTIVE MAINTENANCE CHART
*High production facilities should be checked more often.


