


9
Oven Temperature Control
IMPORTANT: Do not use a thermometer to measure oven
temperature because opening the oven door may cause burner
cycling to give incorrect readings.
The oven provides accurate temperatures; however, it may cook
faster or slower than your previous oven, so the temperature
calibration can be adjusted. It can be changed in Fahrenheit or
Celsius.
Temperature adjustment applies to Bake, Convect Bake and
Convect Roast in the lower oven only.
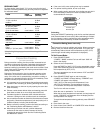
A minus sign means the oven will be cooler by the displayed
amount. The absence of a minus sign means the oven will be
warmer by the displayed amount. Use the following chart as a
guide.
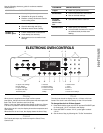
To Adjust Oven Temperature Calibration:
1. Press the appropriate BAKE pad.
2. Enter 550 using the number pads.
3. Press and hold BAKE for several seconds or until 00° appears
in the display.
If the oven temperature was previously adjusted, that change
will appear in the display. For example, if the oven
temperature was previously reduced by 15°F, the display will
show “-15°.”
4. Press AUTOSET to increase or decrease the temperature in
5° (3°C) amounts. The adjustment can be set between
35°F (21°C) and -35°F (-21°C).
5. The time of day will automatically appear in the display.
OVEN USE
Odors and smoke are normal when the oven is used the first few
times, or when it is heavily soiled.
IMPORTANT: The health of some birds is extremely sensitive to
the fumes given off. Exposure to the fumes may result in death to
certain birds. Always move birds to another closed and well-
ventilated room.
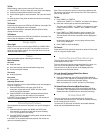
Power Failure
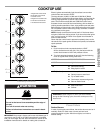
Oven Burners
Your range is equipped with pilotless ignition. With this type of
ignition system, the gas automatically shuts off and the oven will
not operate during a power failure.
A lighted match will not light the oven bake or broil burner. No
attempt should be made to operate the oven during a power
failure.
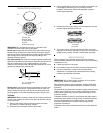
Aluminum Foil
IMPORTANT: To avoid permanent damage to the oven bottom
finish, do not line the oven bottom with any type of foil or liners.
■ On those models with bottom vents, do not block or cover
the oven bottom vents.
■ For best cooking results, do not cover entire rack with foil
because air must be able to move freely.
■ To catch spills, place foil on rack below dish. Make sure foil is
at least ¹⁄₂" (1.3 cm) larger than the dish and that it is turned
up at the edges.
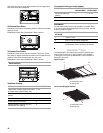
Positioning Racks and Bakeware
IMPORTANT: To avoid permanent damage to the porcelain
finish, do not place food or bakeware directly on the oven door or
bottom.
Racks
■ Position racks before turning on the oven.
■ Do not position racks with bakeware on them.
■ Make sure racks are level.
■ The upper oven is equipped with 1 rack.
■ The lower oven may be equipped with a RollerGlide™, a half
rack and/or regular flat racks.
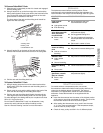
RollerGlide™ Rack
■ For best cooking results, when baking on 1 rack, use the
RollerGlide™ rack.
■ When baking on 2 racks, use the RollerGlide™ rack in the
bottom rack position, and a flat rack in the upper rack
position.
■ When roasting large cuts of meat and poultry, use the
RollerGlide™ rack for ease of movement.
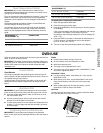
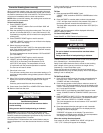
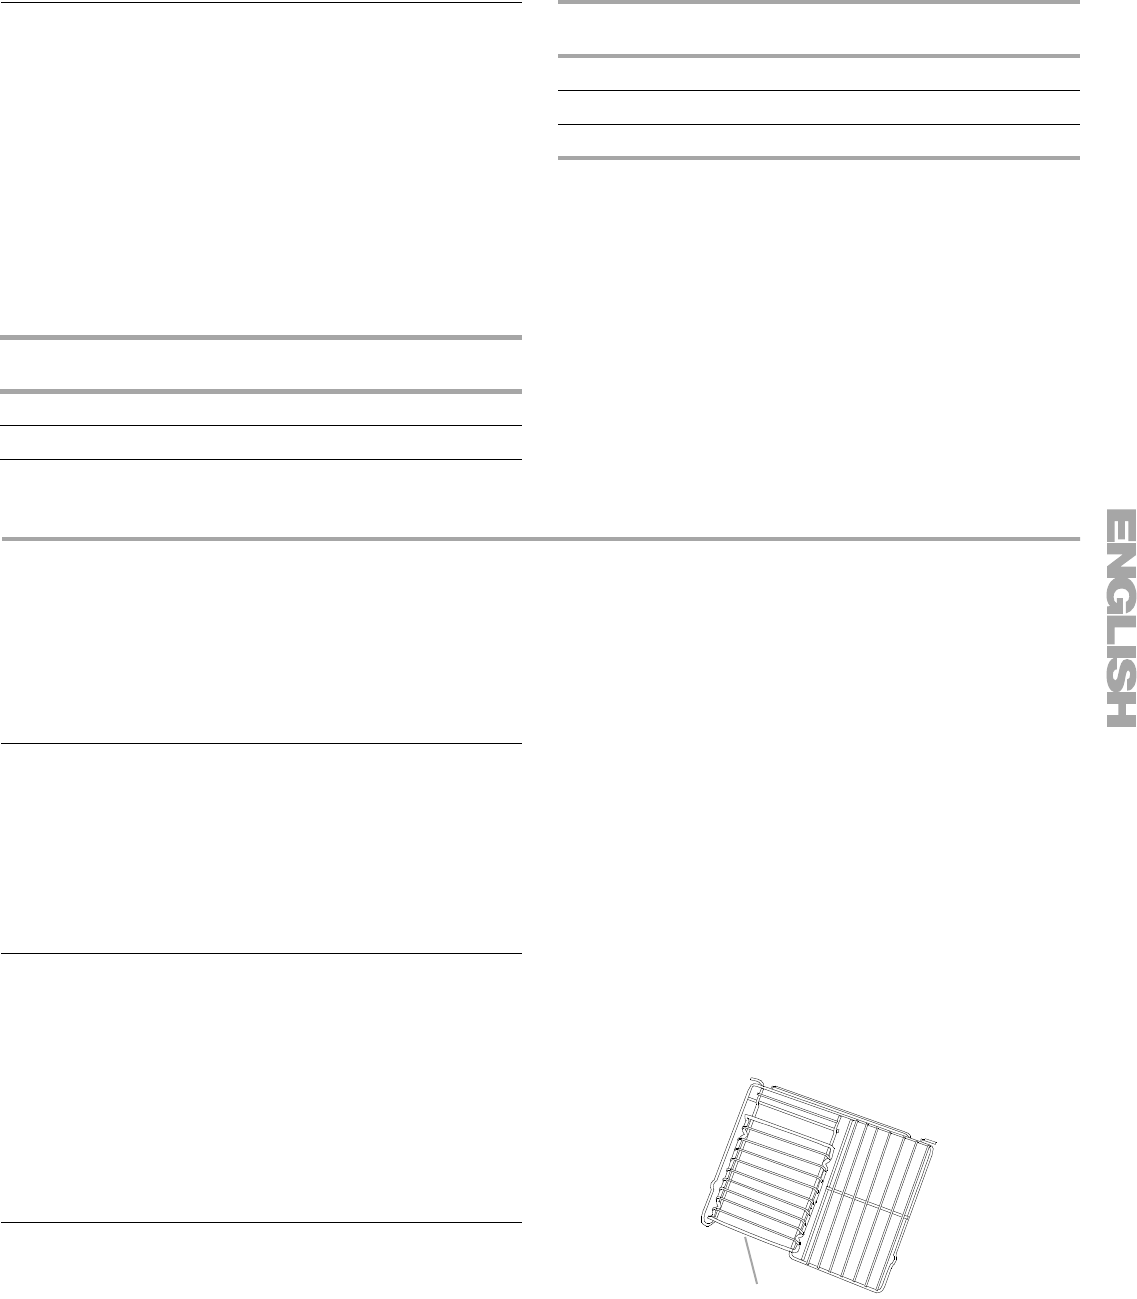
Half Rack
The half rack with removable insert is a space maximizer. When
the 2 are attached, they make a full rack.
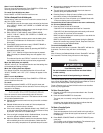
ADJUSTMENT °F
(ADJUSTMENT °C)
COOKS FOOD
5° to 10°F (3° to 6°C) ...a little more
15° to 20°F (9° to 12°C) ...moderately more
25° to 35°F (15° to 21°C) ...much more
-5° to -10°F (-3° to -6°C) ...a little less
-15° to -20°F (-9° to -12°C) ...moderately less
-25° to -35°F (-15°C to -21°C) ...much less
ADJUSTMENT °F
(ADJUSTMENT °C)
COOKS FOOD
A.Removable insert
A