


MAINTENANCE
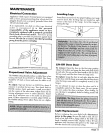
Electrical Connection Leveling Legs
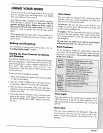
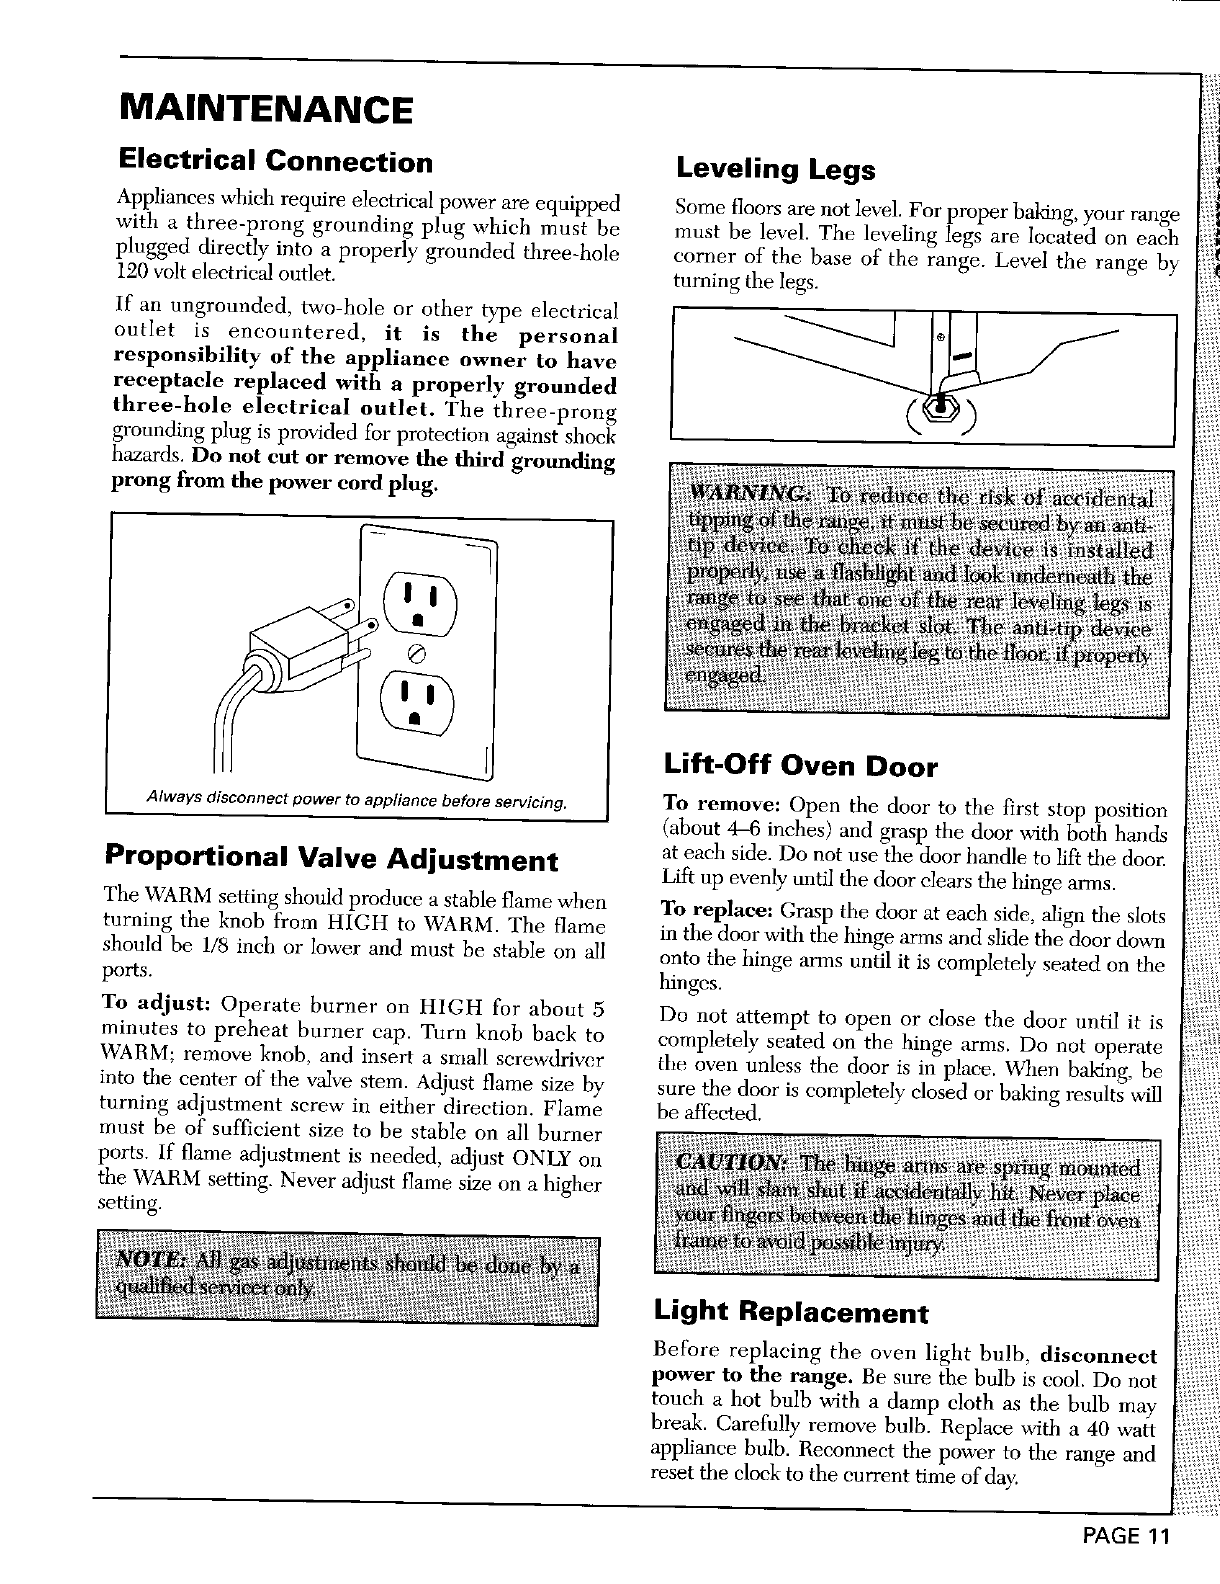
Appliances which require electrical power are equipped Some floors are not level. For proper baldng, your range
with a three-prong grounding plug which must be must be level. The leveling legs are located on each
plugged directly into a properly grounded three-hole corner of the base of the range. Level the range by
120 volt electrical outlet, turning the legs,
If an ungrounded, two-hole or other type electrical _ll[l-
outlet is encountered, it is the personal
responsibility of the appliance owner to have
receptacle replaced with a properly grounded
three-hole electrical outlet. The three-prong ((_)
grounding plug is provided for protection against shock
hazards. Do not cut or remove the third grounding
prong from the power cord plug.
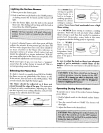
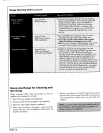
Lift-Off Oven Door
Always disconnect power to appliance before servicing. TO remove: Open the door to the first stop position
(about 4_6 inches) and grasp the door with both hands
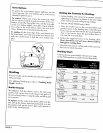
Proportional Valve Adjustment at each side. Do not use the door handle to lift tim door.
Lift up evenly until the door dears tile hinge arms.
The WARM setting should produce a stable flame when To replace: Grasp the door at each side, align the slots
turning the knob from HIGH to WARM. The flame in the door with tim hinge arms and slide the door down
should be 1/8 inch or lower and must be stable on 'all onto the hinge arms until it is completely seated on the
ports, hinges.
To adjust: Operate burner on HIGH for about 5 Do not attempt to open or close the door until it is
minutes to preheat burner cap. Turn knob back to completely seated on the hinge arms. Do not operate
WARM; remove knob, and insert a slnall screwdriver the oven unless the door is in place. When baking, be
into tile center of the valve stem. Adjust flame size by sure the door is completely closed or baking results will
turning adjustment screw in either direction. Flame be affected.
must be of sufficient size to be stable on all burner
ports. If flame adjustment is needed, adjust ONLY on
the WARM setting. Never adjust flame size on a higher
setting.
Light Replacement
Before replacing the oven light bulb, disconnect
power to the range. Be sure the bulb is cool Do not
touch a hot bulb with a damp cloth as the bulb may
break. Carefully" remove bulb. Replace with a 40 watt
appliance bulb. Reconnect the power to the range and
reset the clock to the current time of day.
PAGE 11