


13EN
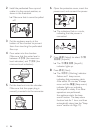
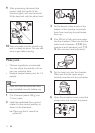
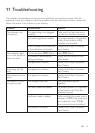
2 Install the perforated Á ow cup and
rotate it to the correct position, as
shown in the illustration.
» Make sure that it cannot be
pulled off.
3 Put the lily bulbs, Job’s-tears, and rice
evenly at the bottom of the chamber
to prevent them from touching the
perforated Á ow cup.
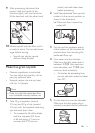
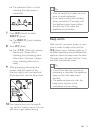
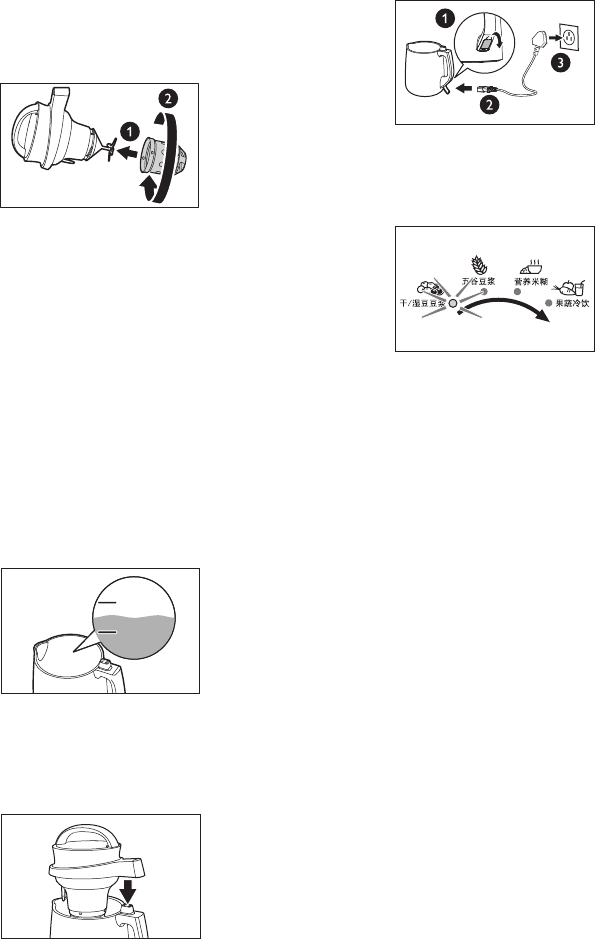
4 Pour water into the chamber.
Make sure that the water level is
between ഌට໎ (the maximum
level indication) and ༳ට໎ (the
minimum level indication).
• To shorten the processing time,
you can add warm water no hotter
than 70§.
ഌට໎
ഌට໎
༳ට໎
༳ට໎
ഌට໎
༳ට໎
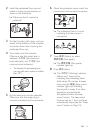
5 Put the head unit into the chamber.
Make sure that the upper plug is
correctly inserted into the connector.
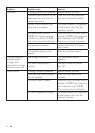
6 Open the protective cover, insert the
power cord, and connect the power.
» The indicators Á ash in a circle,
indicating that the power is
connected.
7 Press ࿎ᄸ (Select) to select
႓ဥૠ (Rice paste).
» The ႓ဥૠ (Rice paste)
indicator lights up.
8 Press గײ (Start).
» The ܁ቘᇓ (Working) indicator
Á ashes and 1 beep occurs,
indicating that processing starts.
After about 25 minutes, 6 beeps
occur and the А໕ (Keep warm)
indicator lights up, indicating
that soymilk is ready. If no other
operations are performed,
the appliance starts the keep
warm function. The keep warm
function lasts for 1 hour, and then
automatically stops (see the “Keep
warm” section on Page 15).