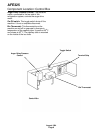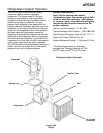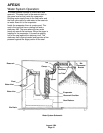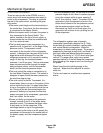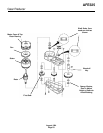
Gear Reducer Rebuild
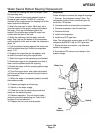
1. After the gear reducer has been removed, the
internal components may be inspected and/or
replaced. Remove all bolts holding the two case
halves together.
2. Tap against the roll pins at each end of the gear
cases to split them.
3. Pry the case halves apart.
4. Check the internal condition of the gear reducer.
If rusty or water is present, replace the complete
assembly. The oil should be black and the proper
oil level is 1/8" from the top of the biggest gear
(with all gears installed). Check the input seal.
The gears may be replaced individually.
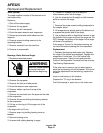
Auger Drive Motor
The windings or top bearing & cover may be
replaced without removing the evaporator or gear
reducer from the machine.
1. Disconnect electrical power.
2. Shut off water supply.
3. Remove top panel.
4. Remove right side panel.
5. Drain the reservoir and evaporator.
6. Disconnect the reservoir outlet tube from the
bottom of the reservoir.
7. Remove screws holding reservoir mounting
bracket to the cabinet.
8. Lift the reservoir up & away from the top of the
auger drive motor.
9. Remove the 4 bolts holding the auger motor
cover to the gear reducer case.
10. Lift the plastic switch housing off the auger
drive motor.
11. Hold the centrifugal switch and remove the
screw holding it to the rotor of the motor.
12. Lift the centrifugal switch up and off the motor.
13. Lift the motor cover up and off the motor.
14. Pull the fan up and off the rotor.
If the windings are to be replaced, remove the left
side panel and control box cover.
1. Locate the auger drive motor wires plugged into
a relay on the circuit board.
2. Disconnect the auger motor’s wires and pull
them back to the auger drive motor.
3. Lift the auger motor windings off the gear
reducer.
If the rotor needs to be removed:
1. Run a screw into the top of the rotor.
2. Grasp the screw with a grip pliers.
3. Pull and/or tap on the pliers to pull the rotor &
bearing out of the gear reducer.
4. Inspect the bearing and input seal. Replace
them if worn.
Note: When the rotor is re-installed, be certain that
the bearing is fully seated in the gear case.
Electrical Shock Hazard
Disconnect electrical
power before beginning.
AFE325
August 1994
Page 22


