17
Model 490 Operating Procedures
Step 4
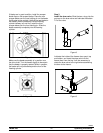
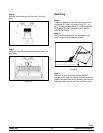
Remove the dr aw valve from the freezer door.
Remove the two o-rings from the draw v alve.
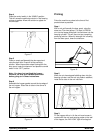
Note: To remove o-rings, use a single s ervice towel
to grasp the o-ring. Apply pr essure in an upward
direction until the o-ring pops out of its groove. With
the other hand, push the top of the o- ring forward,
and it will roll out of the gr oove and can be easily
removed. If there is more than one o-ring to be
removed, always remove the rear o-ring first. This
will allow the o-ring to slide over the forward o-rings
without falling into the open grooves.
Step 5
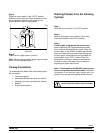
Thoroughly brush clean all disassembled par ts in the
cleaning solution, making s ure all lubricant and mix
film is r emoved. Take particular care to brush clean
the draw valve core in the freezer door. P lace all the
cleaned parts on a clean dry surface to air dry
overnight.
Step 6
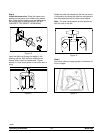
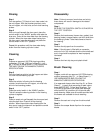
Return to the freezer with a small amount of
cleaning solution. With the black bristle brush, brush
clean the rear shell bearing at the back of the
freezing cylinder.
Figure 22
Step 7
Using single service towels, wipe clean all exterior
surfaces of the freezer.


