


25
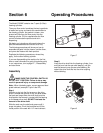
Model C300 NP Operating Procedures
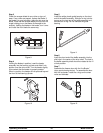
Step 11
Place a pail beneath the door spout. Open the draw
valve and drain the freezing cylinder to remove any
incorrectly brixed product. Close the draw valve.
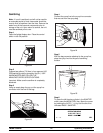
Step 12
Hold a large cup under the prime plug port on the
door, until the liquid level (not foam) reaches
1/4-3/8” (6-9 mm) below the prime hole. Press the
OFF (<- -) key and then close the prime plug.
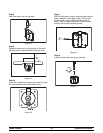
Step 13
Press the BEATER (- - -) key. Let the unit run in the
BEATER mode for one minute. Press the OFF (<- -)
key.
Step 14
Press the PRIME (+ + +) key. Allow the liquid level
to fill to the prime plug hole
Repeat Steps 1 through 14 for the other freezing
cylinder.
Step 15
To place the freezing cylinders in the AUTO mode,
press the AUTO (- ->) key on both sides. When the
unit cycles off, the product will be at serving
viscosity.
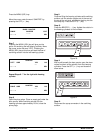
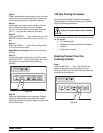
Figure 35
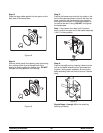
Step 16
Close the lighted display when complete. Replace
the panels and the hood, and attach with screws.
Install the front drip tray and the splash shield on the
front of the freezer.
120 Day Closing Procedure
We recommend that the machine be completely
disassembled and cleaned at least every 120 days
using the following procedures.
ALWAYS FOLLOW LOCAL HEALTH CODES
To disassemble the Model C300, the following items
will be needed:
S Two cleaning pails
S Necessary brushes (provided with freezer)
S Cleaner
S Single service towels
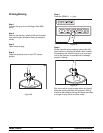
Draining Product From the
Freezing Cylinder
Step 1
Press the BEATER (- - -) key. This will allow the
beater to operate to push the product from the
freezing cylinder. Open the draw valve and drain the
product from the machine.
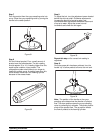
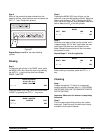
Figure 36