22
Model C713Operating Procedures
110107
Section 6 Operating Procedures
The C713 machine stores mix in the hoppers. It has
two 3.4 quart (3.2 liter) capacity freezing cylinders
with a three spout door. Mix flows by gravity through
a feed tube down into the freezing cylinders.
We begin our instructions at the point where we
enter the store in the morning and find the parts
disassembled and laid out to air dry from the
previous night's cleaning.
These opening procedures will show you how to
assemble these parts into the freezer, sanitize them,
and prime the freezer with fresh mix in preparation
to serve your first portion.
If you are disassembling the machine for the first
time or need information to get to this starting point
in our instructions, turn to page 30, “Disassembly”,
and start there.
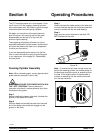
Freezing Cylinder Assembly
Note: When lubricating parts, use an approved food
grade lubricant (example: Taylor Lube).
MAKE SURE THE POWER SWITCH IS IN
THE “OFF” POSITION! Failure to follow this
instruction may result in severe personal injury from
hazardous moving parts.
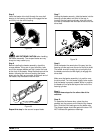
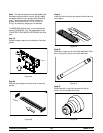
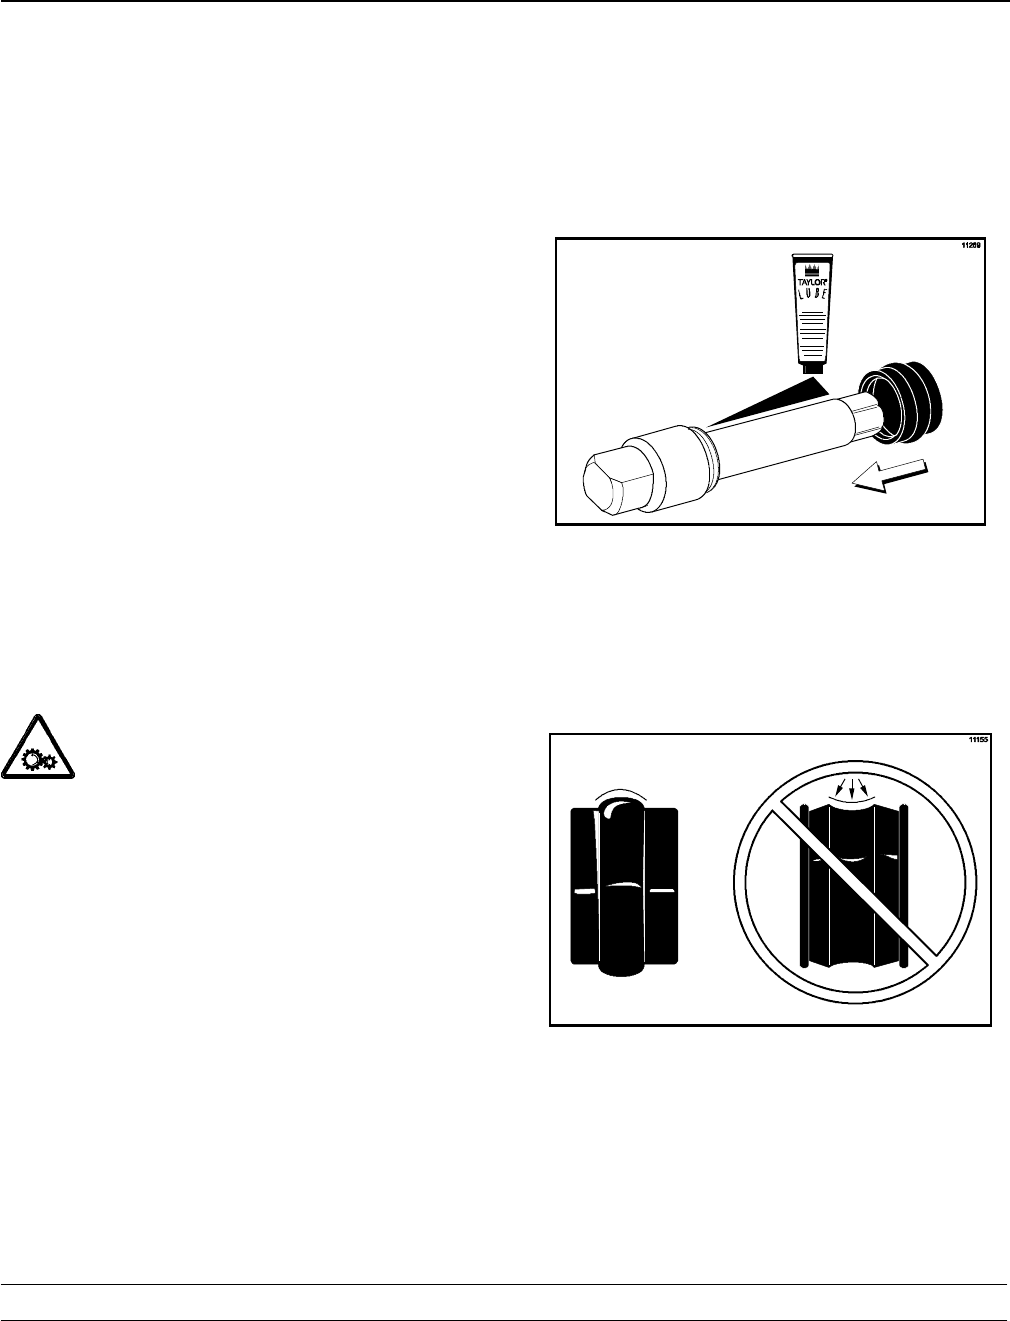
Step 1
Before installing the beater drive shaft, lubricate the
groove on the beater drive shaft.
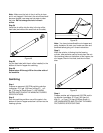
Step 2
Slide the beater drive shaft boot seal over the small
end of the beater drive shaft and engage into the
groove on the shaft.
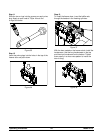
Step 3
Heavily lubricate the inside portion of the boot seal
and also lubricate the flat end of the boot seal that
comes in contact with the rear shell bearing.
Step 4
Apply an even coat of lubricant to the shaft. DO
NOT lubricate the hex end.
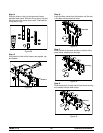
Figure 30
Note: To ensure the mix does not leak out of the
back of the freezing cylinder, the middle section of
the boot seal should be convex or extend out from
the seal. If the middle section of the boot seal is
concave or extending into the middle of the seal,
turn the seal inside out.
Figure 31


