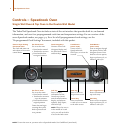
The Speedcook Oven The Speedcook Oven
5
The Speedcook Oven
2. Select a food item and specifications.
NOTE: Unlike traditional ovens, you will not set the time or temperature. Preprogrammed settings, which have been developed through
extensive testing by our staff of professional chefs, may differ in time and temperature from what your original recipe indicates.
3. Begin the preheat cycle.
4. When the preheat cycle is complete, place the food in the oven.
The oven will chime to let you know the preheat cycle is complete.
WARNING: Inside of oven is HOT – insert food with caution.
5. Press “Start” to begin the cook cycle.
NOTE: Before beginning a cook cycle, make sure your food item has been placed in the oven. Except for the preheat cycle, the oven
should not be run with an empty cook cavity.
NOTE: The oven door must be completely closed before the oven will initiate a cook cycle.
Continued on page 6.
For information on “Adjust Settings” see pages 11-15.
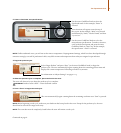
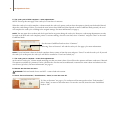
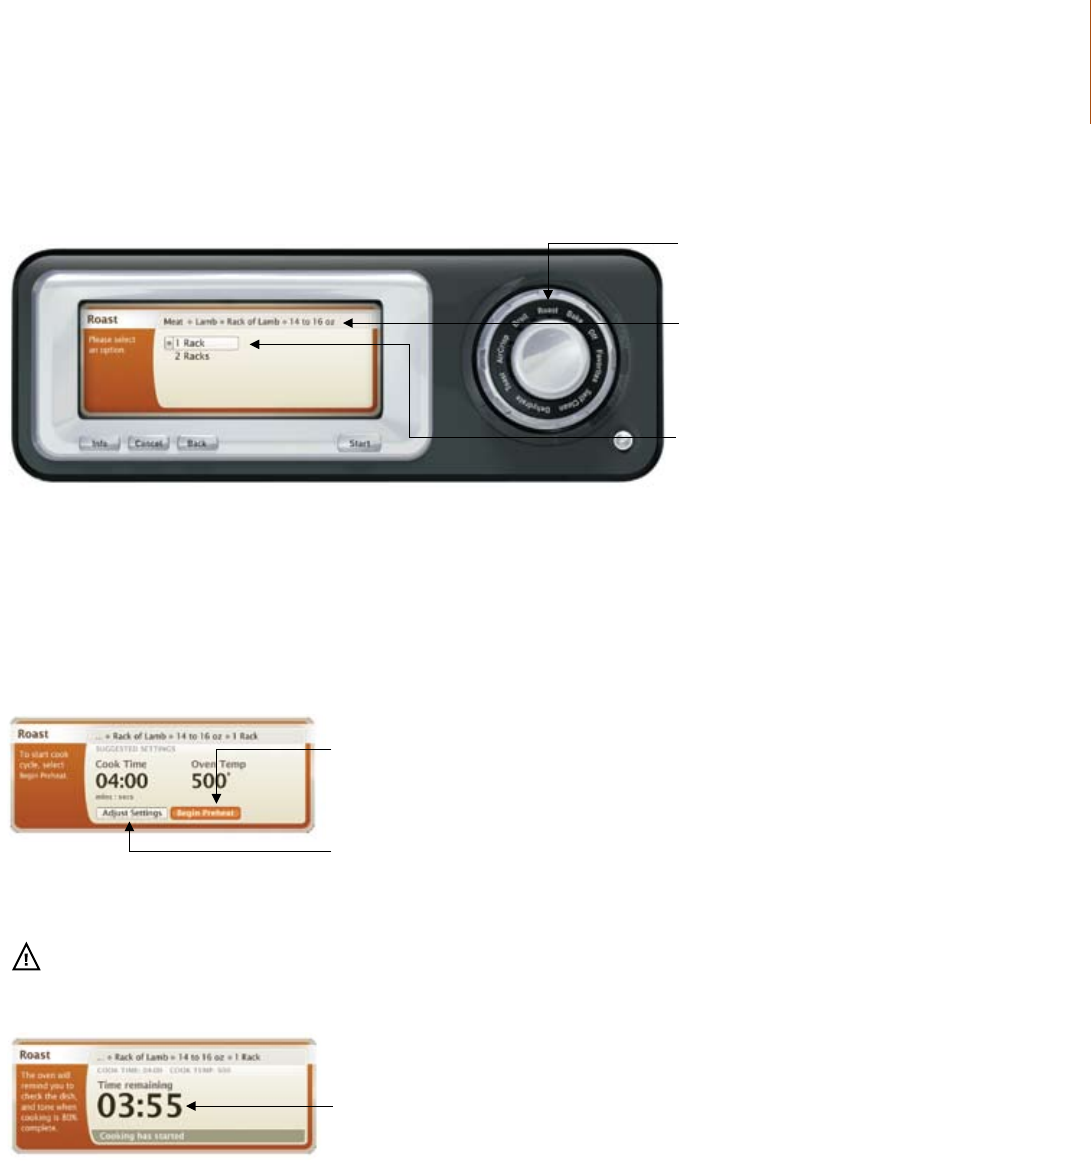
Select “Begin Preheat” and press “Start” (or the inner CookWheel knob) to begin the
preheat cycle. The oven automatically begins counting down the remaining preheat time and
displays the current temperature. Preheating will take 8-14 minutes.
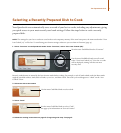
Use the outer CookWheel knob to select the
Speedcook mode. In this example, “Roast” is
selected.
Your selections will appear across the top of
the screen. In this example, “Meat” was selected
and followed by “Lamb,” “Rack of Lamb,” and then
“14 to 16 oz.”
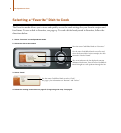
Use the inner CookWheel knob to select the
item and item specications. To make a selection,
scroll to the desired option and press the inner
CookWheel knob or “Start” key. In this example,
the specication “1 Rack” is selected.
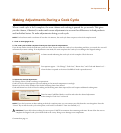
The oven automatically begins counting down the remaining cook time once “Start” is pressed.


