


25
Design
■
Features
■
Performance
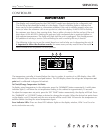
CONTROLLER
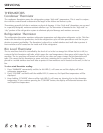
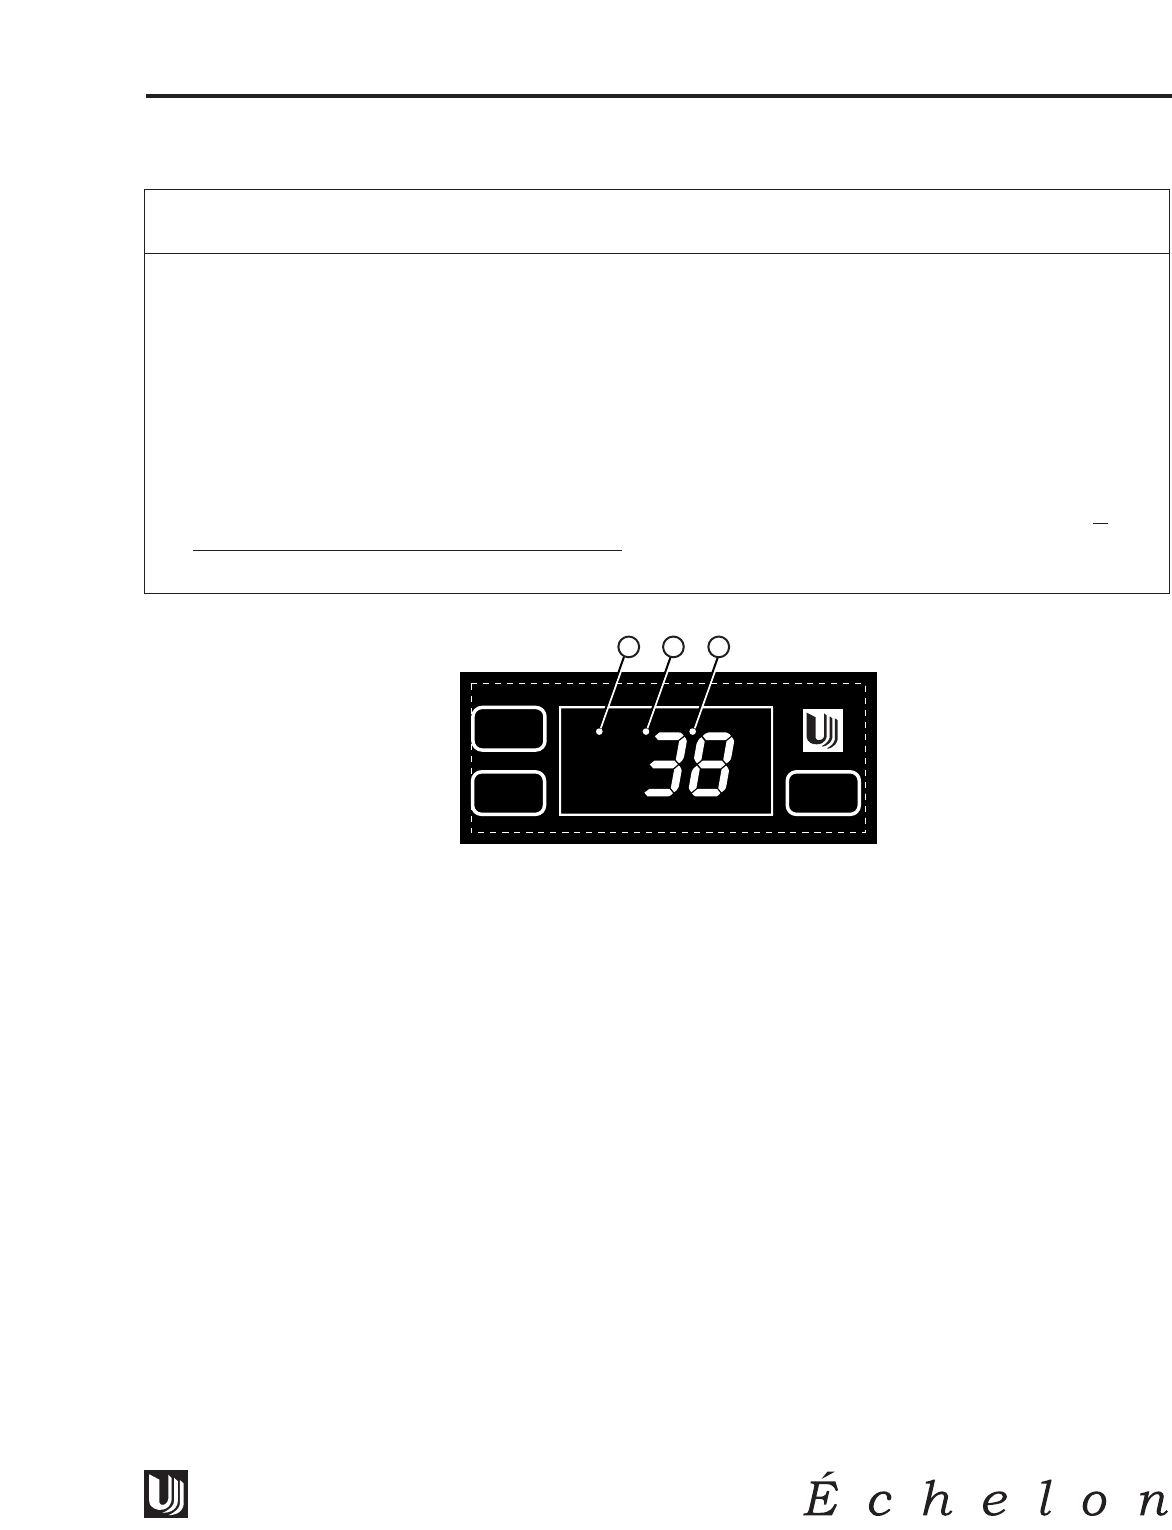
The temperature controller is located below the clear ice maker. It consists of an LED display, three LED
status indicator lights and three touchpad buttons. The LED display shows the refrigerator temperature set
point and is calibrated in degrees Fahrenheit.
To Check/Change Temperature Set Point:
To display actual temperature in the refrigerator, press the “WARMER” button momentarily. A solid status
indicator light (1) will show the air temperature reading in the cabinet for approximately 10 seconds.
To adjust the temperature set point, press the “SET TEMP” button momentarily; the display will flash. Press
the “WARMER” or “COOLER” button as desired to change the set point. When the desired set point shows
on the display, wait 10 seconds and the new set point will be saved. Wait 24 hours for the temperature to
stabilize before checking the actual temperature again.
Error Indicator LEDs: There are three LED indicator lights on the display window, LEDs 2 and 3 are for
service technician use only.
SET
TEMP
WARMER
COOLER
CLRCO011
1 2 3
SERVICING
The display and control board on the CLRCO2075 model was designed to be a diagnostic tool.
The first thing that should be looked at is the display. Check for flashing lights to indicate that
there may be a drain problem or a thermistor problem. If the unit is working properly when you
arrive (or when the customer calls to set up service) check the display. If the #3 LED is flashing
the customer may have a slow running drain. Pour a gallon of water in the bin and see if the unit
shuts down. If the #2 LED is flashing the unit may have overheated due to restricted airflow or
high ambient temperatures. The lights will flash until the unit is unplugged. This should prevent
the problem of running a service call and finding the unit is working the way it should.
The following is the way to use the control board as a tool to help you in diagnosing the unit. It
is important to follow the directions exactly. For some areas you may need to have the on/off
switch turned to the off position or clean position.
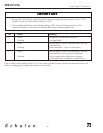
IMPORTANT