


4-20
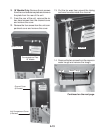
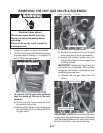
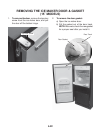
10. Tip the front of the cabinet back and prop
it up (see steps 5 through 11 on pages 4-9
and 4-10 for the procedure).
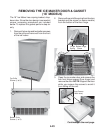
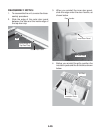
9. Pull the two clips off the rear studs of the
compressor.
Clip On Stud
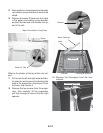
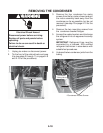
11. Access the sealed system and discharge
the refrigerant into an approved recovery
system.
IMPORTANT: Refrigerant lines must be
connected by a licensed, EPA certifi ed
refrigerant technician in accordance with
established procedures.
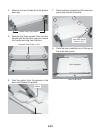
12. Cut the suction and discharge lines from
the compressor.
13. Cut the drier fi lter from the system (do not
use a torch to remove the drier fi lter).
14. Unbraze the compressor suction and dis-
charge joints from the tubing.
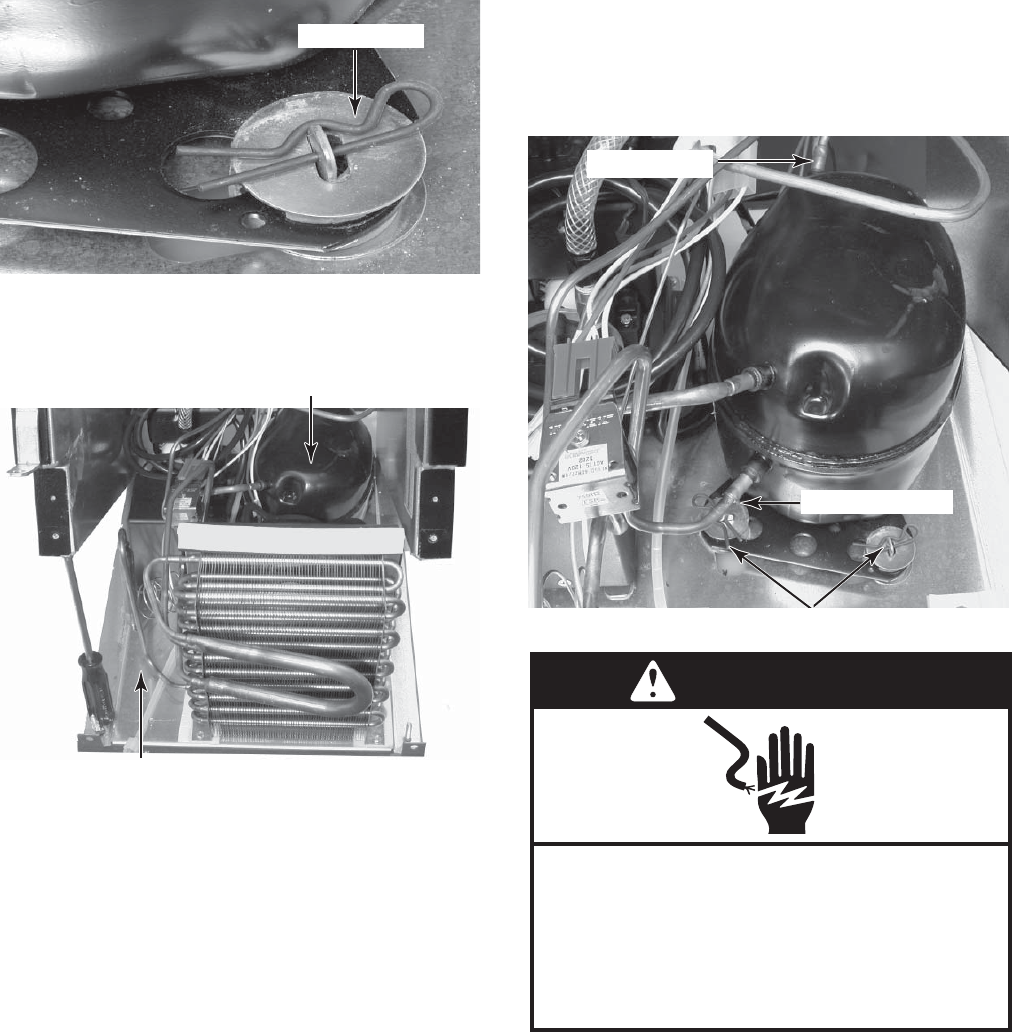
Filter/Drier
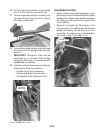
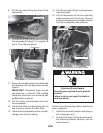
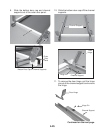
2 Clips, Metal Spacers, & Rubber Isolators
Discharge Line
15. Pull the two clips off the front compressor
mounting studs.
16. Lift the compressor off the four mounting
studs and remove it from the unit. Remove
the four metal spacers and rubber isolators
from the compressor stud locations.
Suction Line
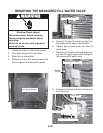
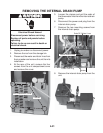
Perform the following steps after installing the
new compressor.
1. Install the overload protector and relay on
the compressor pins.
2. Connect the wires to the ground terminal,
the overload protector terminal, and the
relay terminal.
Compressor
Electrical Shock Hazard
Connect green ground wire to ground
terminal.
Failure to do so can result in death or
electrical shock.
WARNING
WARNING