


8-2
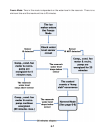
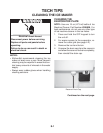
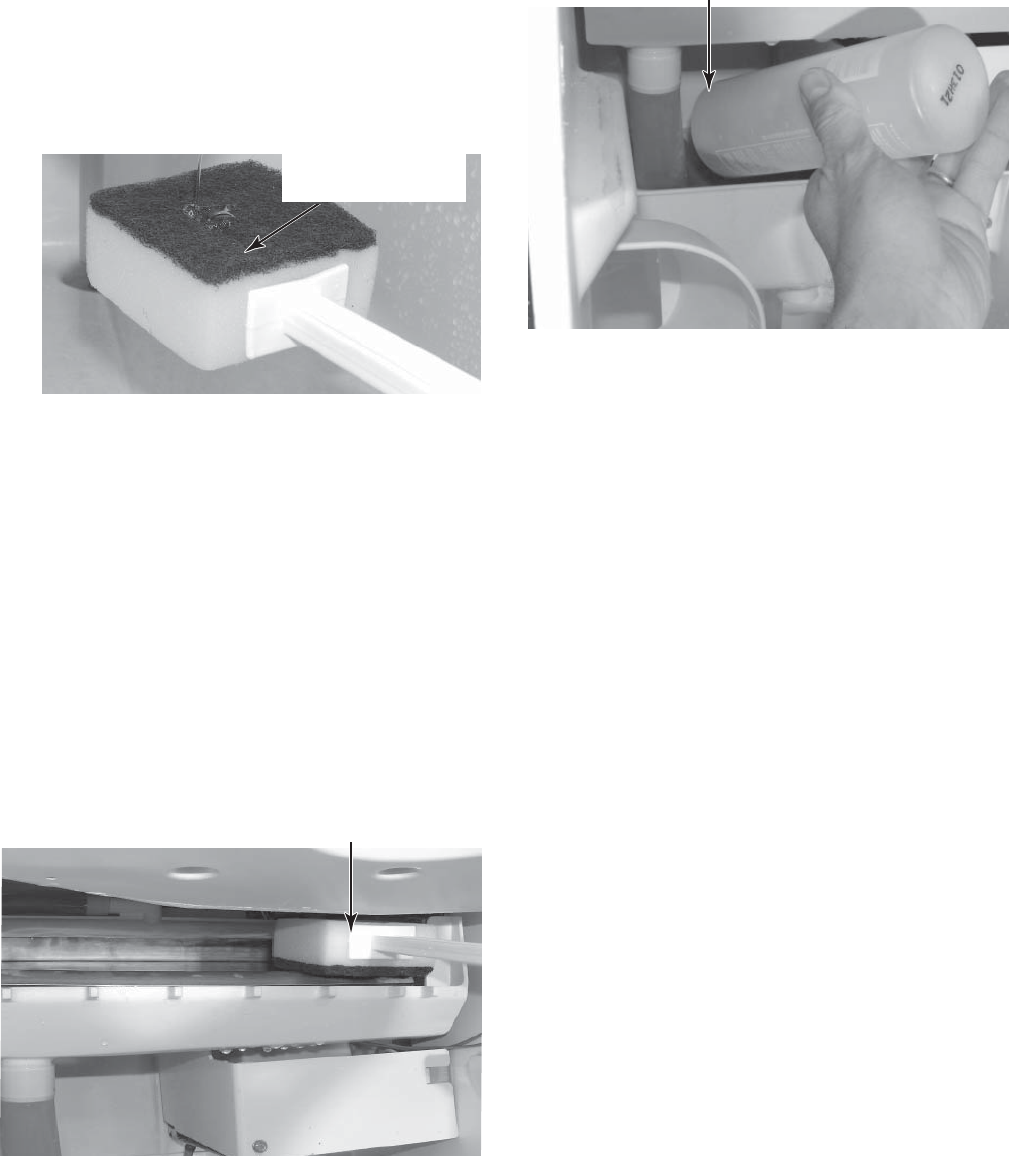
7. Using only front-to-back motions, clean the
top of the plate, the sidewalls, and the front
edge of the evaporator. The front-to-back
motion is important to avoid scratches that
could keep the ice slab from sliding off the
evaporator plate.
NOTE: More solution may be necessary if
there is a large amount of scale buildup on
the evaporator. The scrubbing process may
take ten minutes or more, depending on the
amount of scale buildup on the plate. The entire
plate should feel smooth when the cleaning is
fi nished.
8. Pour the remaining solution from the bottle
into the water reservoir. Using the empty
bottle, fi ll the reservoir with clean water
to within 1/4" of the top of the overfl ow
port.
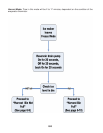
Scrub Front-To-Back
Add Remaining Cleaner
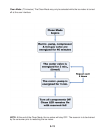
5. Read and follow all of the handling informa-
tion that was supplied with the ice machine
cleaner.
IMPORTANT: Use the entire bottle to clean
the unit.
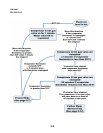
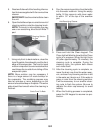
6. Open the bottle and pour a small amount of
cleaning solution onto the cleaning brush.
NOTE: If a brush is not available you may
use a non scratching, blue Scotch-Brite™
pad.
Cleaning Solution
On Pad
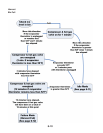
9. Press and hold the Clean keypad. The
Clean light will blink to show that the Clean
cycle is in progress. When the light turns
off (after approximately 70 minutes), the
cleaning cycle is complete. During the
cleaning cycle, the system both cleans
and rinses itself.
10. After the cleaning cycle is complete, re-
move the drain cap from the water reser-
voir, and see if any cleaning solution is left
in the water as it drains out. If the water is
green in color from the cleaning solution,
it will be necessary to run another clean-
ing cycle to fl ush the system. Be sure to
replace the drain cap securely to avoid
leaking.
11. When the fl ushing process is completed,
press the ON keypad to resume ice pro-
duction.