12
ASSEMBLY & OPERATION
ATTACHING THE SCRAPER BEATER,
FLAT BEATER, DOUGH HOOK OR
WHISK TO THE MIXER MOTOR HEAD
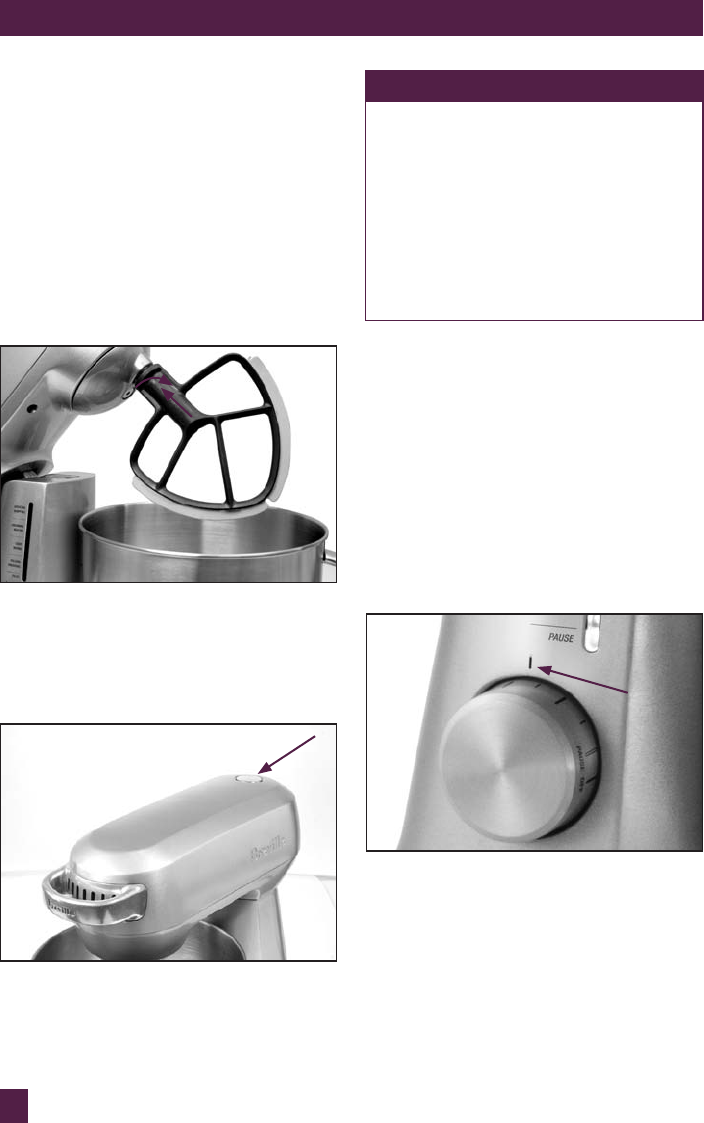
1. Ensure the mixer motor head is in the
raised/open position. Align the groove
in the top of the mixing attachment with
the locking pin on the spindle extending
down from the mixer motor head.
2. Push the attachment upwards and turn
clockwise until it locks securely onto the
locking pin on the spindle (see Fig. 1).
Fig. 1
3. Lower the mixer motor head by
depressing the tilt back button and
gently pushing the mixer motor head
down until it locks into the horizontal
(closed) position (see Fig. 2).
Fig. 2
4. The splash guard can now be assembled
if required. Slide the main ring into
position on top of bowl, then assemble
the pour spout.
NOTE
When ingredients are in the mixing
bowl, the scraper beater may make a
slight noise as it scrapes the sides and
bottom of the bowl. This is normal and
should not cause concern.
Do not turn the mixer on with the
scraper beater in place if the mixing
bowl is empty. This will cause the
scraper beater to make a loud noise as
it scrapes the bowl.
OPERATING THE MIXER
Planetary Mixing Action
By replicating a similar mixing action
used by commercial mixers in bakeries
and patisseries, The Breville Scraper
Mixer Pro head rotates around the bowl
whilst rotating the beater in the opposite
direction. This ensures a superior and
thorough mixing result without the need
for a rotating bowl.
1. Ensure the speed control dial is set to
the ‘Off’ position, plug the cord into a
220-240v power outlet and switch the
power ‘ON’ at the power outlet. The
illuminated LED speed indicator band
will flash and the Count Up/Down timer
will display “0:00.” The mixer is now
ready to be used.


