1-4
exposed to temperatures in the range of 425ºF to 450ºF (218ºC to 232ºC). The high-limit thermostat
is the same for CE and Non-CE applications, but the terminals for attaching it to Robertshaw and
Honeywell gas valves differ. When a replacement high-limit thermostat is ordered, make sure the
kit appropriate for the valve in use is ordered.
1.2 Accessing Fryers for Servicing
DANGER
Moving a fryer filled with cooking oil/shortening may cause spilling or splattering of
the hot liquid. Follow the draining instructions in Chapter 4 of the 45 Series Gas
Fryer Installation and Operation Manual before attempting to relocate a fryer for
servicing.
1. Shut off the gas supply to the unit. Unplug the power cord(s). Disconnect the unit from the gas
supply.
2. Remove any attached restraining devices.
3. Relocate the fryer for service accessibility.
4. After servicing is complete, reconnect the unit to the gas supply, reattach restraining devices,
and plug in the electrical cords.
1.3 Checking the Burner Manifold Gas Pressure
WARNING
This task should be performed by qualified service personnel only.
1. Ensure that the gas valve knob or button is in the OFF position.
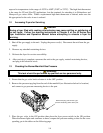
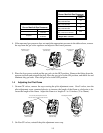
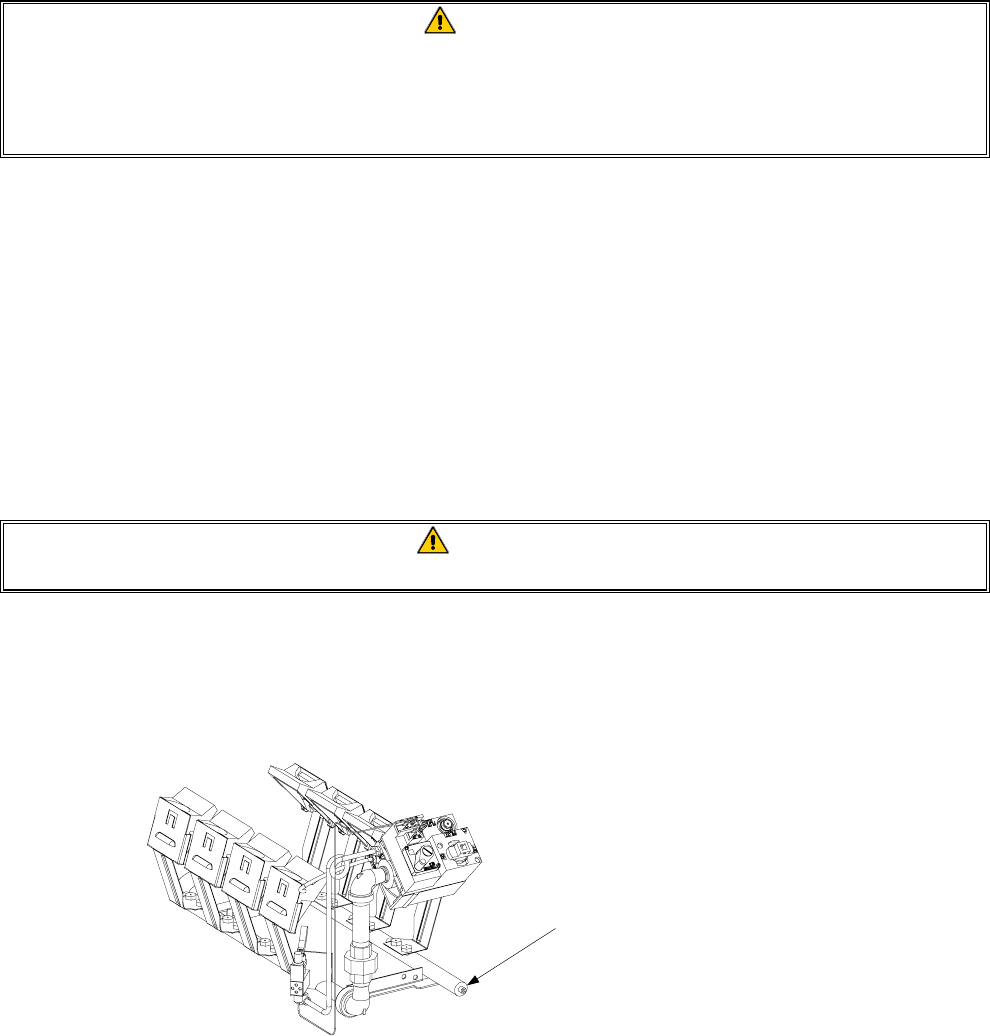
2. Remove the pressure tap plug from the end of the manifold (see illustration below for location)
and connect a gas pressure-measuring device to the port.
Remove this plug and connect a gas
pressure-measuring device to the port.
3. Place the gas valve in the ON position then place the fryer power switch in the ON position.
When the burner lights and continues to burn, compare the pressure reading to that for the corre-
sponding gas in the tables on the following page.


