6-5
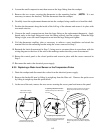
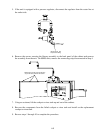
4. Loosen the small compression nut, then unscrew the large fitting from the cookpot.
5. Remove the two screws securing the thermostat to the mounting bracket. (NOTE: It is not
necessary to remove the bracket.) Pull the thermostat from the cookpot.
6. Carefully insert the replacement thermostat into the cookpot, being careful not to bend the shaft.
7. Position the thermostat along the inside of the left leg of the element and secure it in place with
two metal wire ties.
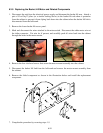
8. Unscrew the small compression nut from the large fitting on the replacement thermostat. Apply
thread sealer to the large fitting and screw the fitting securely into the cookpot. When the large
fitting is tight, screw the small compression nut into the large fitting and tighten.
9. Coil the thermostat capillary tube as necessary to achieve a neat installation and attach the
terminal block to the mounting bracket using the screws removed in Step 5.
10. Reattach the leads disconnected in Step 3, being sure to reconnect them in accordance with the
wiring diagram on the door of the unit or the markings made when they were disconnected.
11. Return the control panel to the closed position and secure in place with the screws removed in
Step 3.
12. Reconnect the unit to the electrical power supply.
6.3.5 Replacing a Water Level Sensor or the Temperature Probe
1. Drain the cookpot and disconnect the cooker from the electrical power supply.
2. Remove the basket lift arm by lifting it straight up from the lifter rod. Remove the probe cover
by lifting it straight up from the probe block.
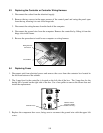
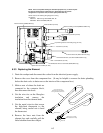
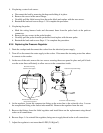
3. At the rear of the unit, remove the two screws securing the access panel and remove the panel.
Disconnect incoming
water lines from nipples.
Remove these two screws
and remove the access panel.
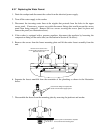
If replacing a water level sensor:
Remove its Keps nut to disconnect
the lead.
Remove the retaining screw from the sensor
flange and pull the sensor from the probe
block.
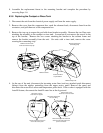
If replacing the temperature probe:
Mark the wiring harness leads and
disconnect the probe leads at the
push on connectors.
Remove the screws from the probe bracket
and push the probe out the back of the probe
block.


