


Henny Penny Model OE-100
2-6
2-6. HEATING ELEMENTS
(Continued)
1091
Replacement
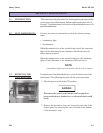
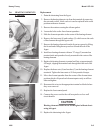
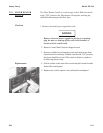
1. Drain the shortening from the frypot.
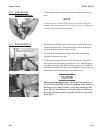
2. Remove the heating element wire from the terminals by removing
the nuts and washer. Label each so it can be replaced in the same
position on the new element.
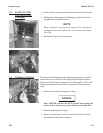
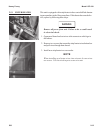
3. Remove the retainer securing the silicone gasket.
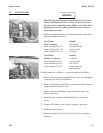
4. Loosen the bolts on the four element spreaders.
5. Slide the element spreaders to the center of the heating element.
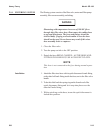
6. Remove the brass nuts (4) and washers (3) which secure the ends
of the elements through the frypot wall.
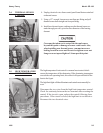
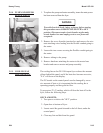
7. Remove the heating elements from the frypot as a group by lifting
the far end and sliding them up and out toward the rear of the
frypot.
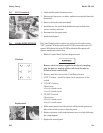
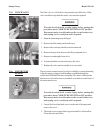
8. Install new heating elements with new "0" rings (2) mounted on
terminal ends and spreaders loosely mounted in the center of the
heating elements.
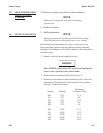
9. Replace the heating elements, terminal end first, at approximately
450 angle, slipping the terminal ends through the front end of the
frypot.
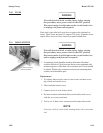
10. Replace the brass nuts (4) and washers (3) on the heating element
terminals. Tighten the brass nuts to 30 foot pounds of torque.
11. Move the element spreader from the center of the element into a
position which will spread each element apart evenly on all four
sides and tighten.
12. Reconnect the wires to the appropriate terminal as labeled when
they were removed.
13. Replace the front control panel.
14. Connect the power cord to the wall receptacle or close wall
circuit breaker.
Heating elements should never be energized without short-
ening in frypot.
15. Replace the shortening in the frypot.