20
Hints and Care
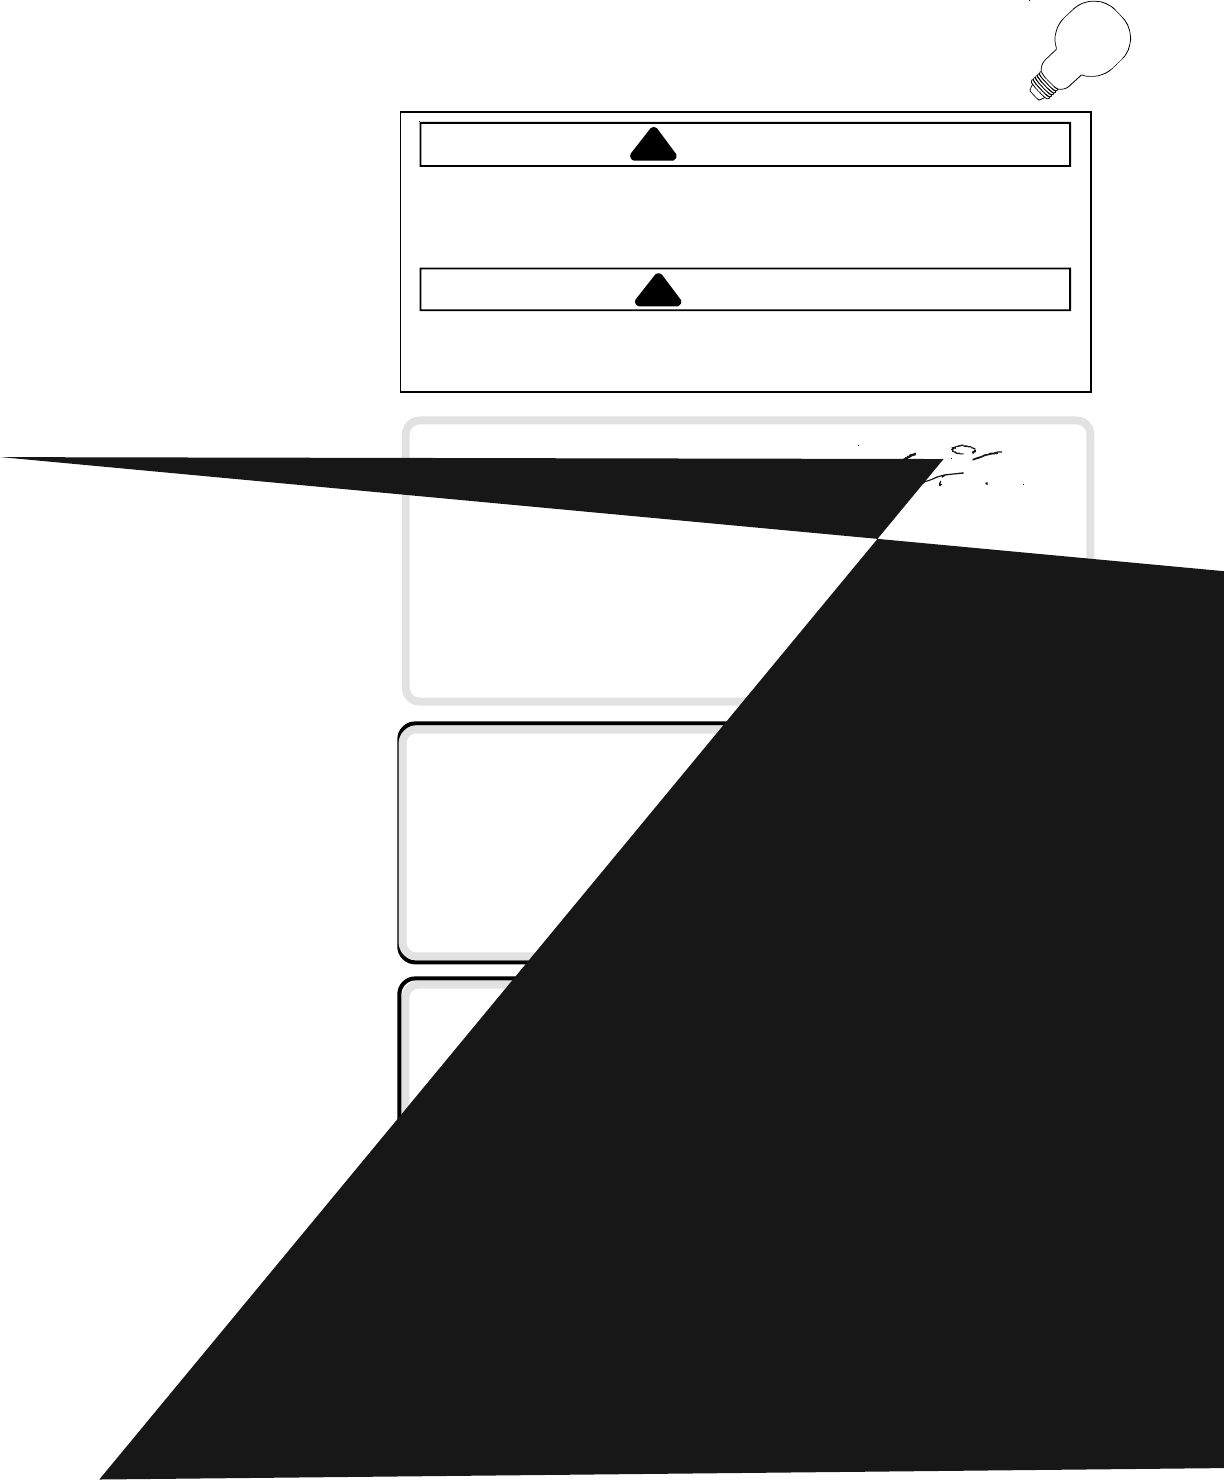
WARNING
!
To avoid electrical shock which can cause severe personal injury or death,
disconnect power to refrigerator before replacing light bulb. If unable to
disconnet power by unplugging power cord then remove the fuse at mains.
After replacing light bulb, connect power.
CAUTION
!
To avoid personal injury or property damage, observe the following:
• Allow light bulb to cool.
• Wear gloves when replacing light bulb.
How to Remove and Replace Light Bulbs
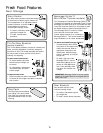
Ice ’N Water dispenser
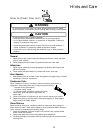
1. Locate light bulb inside top edge of dispenser frame. Unscrew to remove.
2. Replace bulbs with a 230/240VAC bulb no greater than 12 watts. Extra
light bulbs are provided in crisper due to local unavailability.
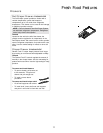
Dispensing model freezer section
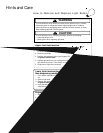
1. Remove ice bin by lifting front of bin and pulling out.
2. Remove light bulb cover by pinching top tab (A) and
pulling cover out of liner.
3. Replace with appliance bulbs, type Krypton E27,
no greater than 25 watts.
4. Insert bottom tab (B) of light cover into liner and snap
top portion over light assembly.
5. Replace ice bin by sliding in until bin locks into place.
A
B
A
B
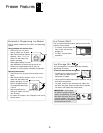
Lower fresh food section and
Non-dispensing model freezer section
1. Pinch bottom tabs (A) on light cover and pull straight
out.
2. Remove light bulb.
3. Replace with appliance bulbs, type Krypton E27,
no greater than 25 watts.
4. Insert top tabs (B) of light cover into refrigerator liner and
snap bottom portion over light assembly.
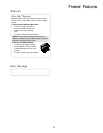
Upper fresh food section
1. Locate finger gaps on each side of clear light
shield. Insert fingers and press in on each side
of shield. Pull shield down and remove.
2. Remove light bulbs.
3. Replace with appliance bulbs, type Krypton E27,
no greater than 25 watts.
4. Replace light bulb cover by inserting front tabs of
light shield into holes in liner directly in front of light assembly.
5. Snap back of light cover into place.


