


28
P/N 44757 Rev. C V1 2/02
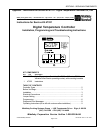
Instructions for Service Kit 44756
Conveyor Speed Controller Kit for PS200R68-series ovens
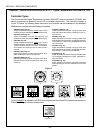
KIT COMPONENTS:
Qty. P/N Description
1 37337 Conveyor speed controller with digital display
1 44749 Cable assembly, PS200R68-series ovens
1 44757 Instructions, PS200R68-series oven conveyor speed controller kit
W ARNING
BEFORE PERFORMING ANY SERVICE WORK, THE ELECTRICAL POWER SUPPLY
AND THE GAS
SUPPLY
MUST BE TURNED OFF.
1. Disconnect the oven from its electrical power supply at
the circuit breaker/fused disconnect. For gas ovens,
shut off the gas supply to the oven.
2. Identify the 24-pin control cable (female at both ends) that
connects the rear of the remote box (on top of the oven) to
the rear of the machinery compartment (on the side of the
oven).
3. Remove and discard the cable.
4. Open the machinery compartment door and locate the
conveyor speed control module.
5. One at a time, disconnect the leads from the terminals on
the existing speed control module and connect them to
the corresponding terminals on the new control module.
6. Remove the ribbon cable plug from its socket on the old
speed control module, and attach it to the corresponding
socket on the new control module.
7. Remove and discard the old control module from the in-
side of the machinery compartment door.
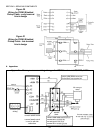
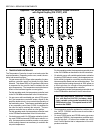
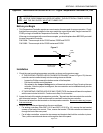
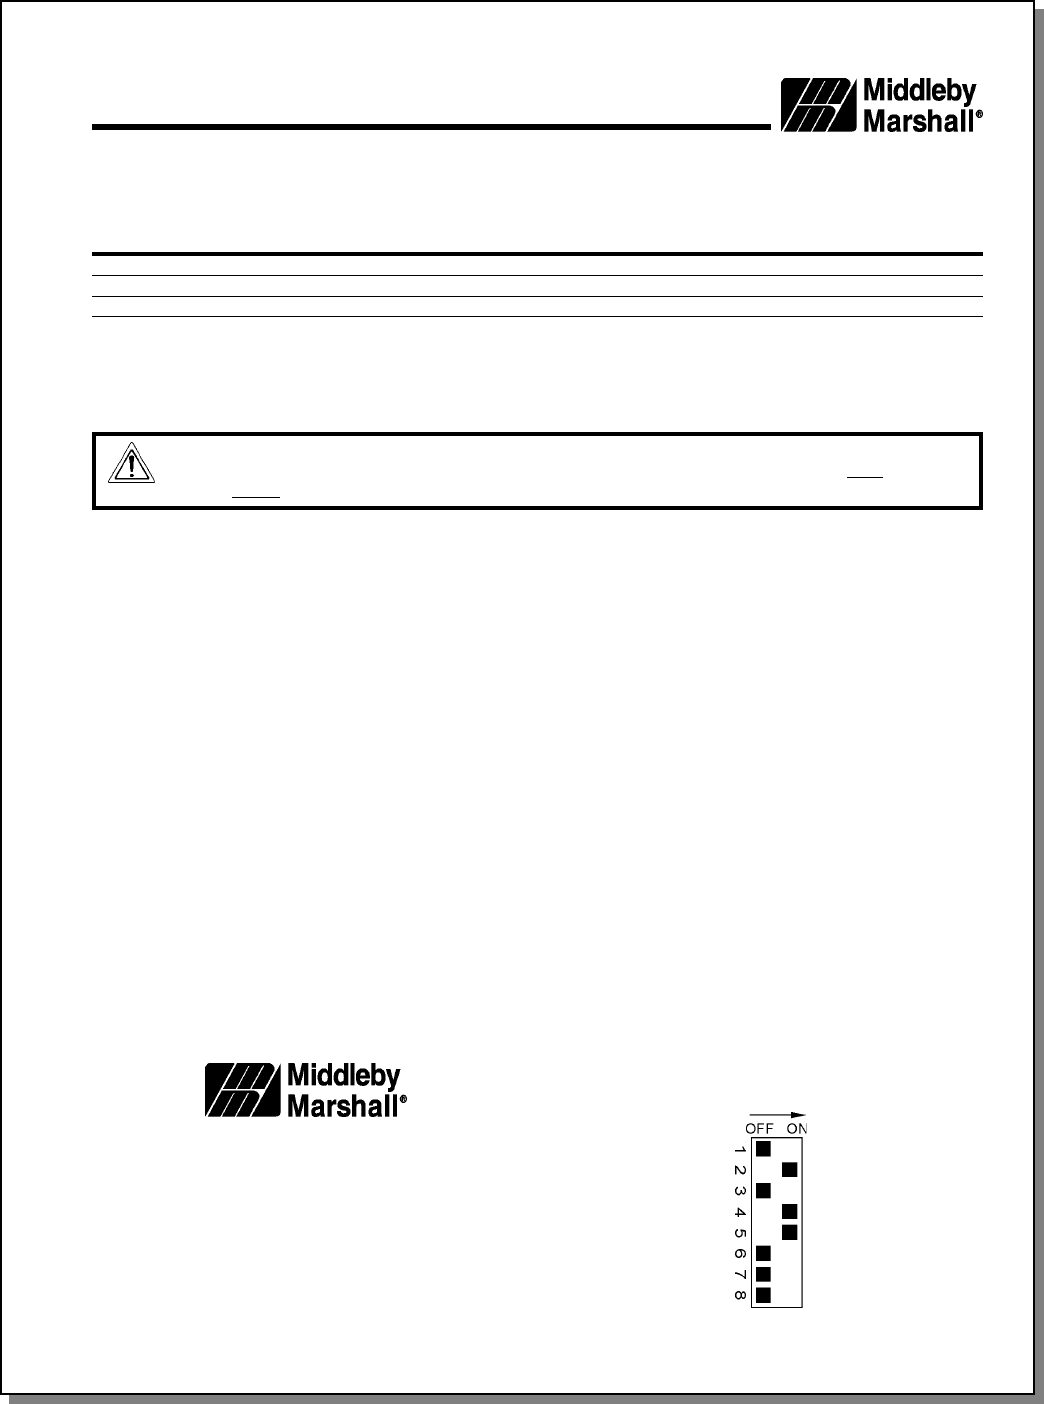
8. Adjust the DIP switch settings on the new speed control
module to the correct settings for the PS200-series oven
with a 3-30 minute bake time range. These settings are
Middleby Cooking Systems Group 1400 Toastmaster Drive Elgin, IL 60120 USA (847) 741-3300 FAX (847) 741-4406
This Service Kit will update one Middleby Marshall PS200R68, PS220R68, or PS224R68 oven to operate using the current
digital conveyor speed controller with keypad display (P/N 37337), instead of the previous controller with thumbwheel
adjustment (P/N 42810-0133). If the oven is already equipped with controller P/N 37337, this Kit is not necessary; P/N 37337
may be used as a direct replacement for the existing controller.
shown on the case of the controller and are also provided
in Figure 1.
9. Install the new module in place. Close and fasten the
machinery compartment door.
10. Temporarily remove the remote box from the top of the
oven. Open the remote box.
11. Disconnect the thumbwheel units ribbon cable plug from
its socket on the remote board. Then, remove and dis-
card the thumbwheel unit.
12. Install the new digital display unit in place. Connect its
ribbon cable plug into its socket on the remote board.
13. Close the remote box and reinstall it atop the oven.
14. Install the new kit-supplied control cable between the back
of the remote box and the back of the machinery compart-
ment.
15. Restore the electrical and gas utility supplies to the oven.
16. Test the operation of the new conveyor speed controller to
make certain that it is operating properly. The oven is now
ready for operation.
Figure 1
DIP Switch Settings
Middleby Cooking Systems Group
1400 Toastmaster Drive
Elgin, IL 60120
(847) 741-3300 FAX (847) 741-4406
Middleby Corporation Service
Hotline 1-800-238-8444
SECTION 3 - SERVICING COMPONENTS
Appendix - Instructions for Service Kit 44756 - Conveyor Speed Controller Kit
for PS200R68-series Ovens, 2/02