


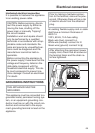
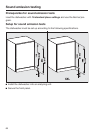
Water connection
67
Drainage
– The machine comes equipped with a
built-in non-return valve on the dis‐
charge side to prevent waste water
from flowing back into the dishwash‐
er.
– Take the drain line of the dishwasher
and attach the drain line as high as
possible under the counter rim of the
kitchen sink before connecting the
end to the drain. The loop will serve
to prevent a backed up drain or large
volume of water in the sink from si‐
phoning back into the dishwasher.
– The dishwasher is supplied with ap‐
prox. 5' 11" (1.5 m) of flexible drain
hose with an internal diameter of 7/8"
(22 mm).
– The drain hose can be extended us‐
ing extensions and adapters. The
drainage length must not be longer
than 13' 1 1/2" (4 m) and the delivery
head must not exceed 3' 3 3/8"
(1 m).
– If the hose is to be directly fitted to
the drainage outlet on site, use the
hose clip supplied (see installation di‐
agram).
– The hose can be directed to the left
or the right of the appliance.
– The on-site connector for the drain
hose can be adapted to different
widths of hose. If the connector pro‐
trudes too far into the drain hose, it
will need to be shortened. Otherwise
the drain hose may become blocked.
– The drain hose must not be short‐
ened.
ɘ Make sure that there are no
kinks in the hose, and that it is not
squashed or stretched.
After servicing the appliance, ensure
that the drain does not leak.
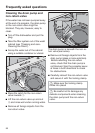
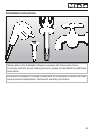
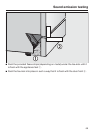
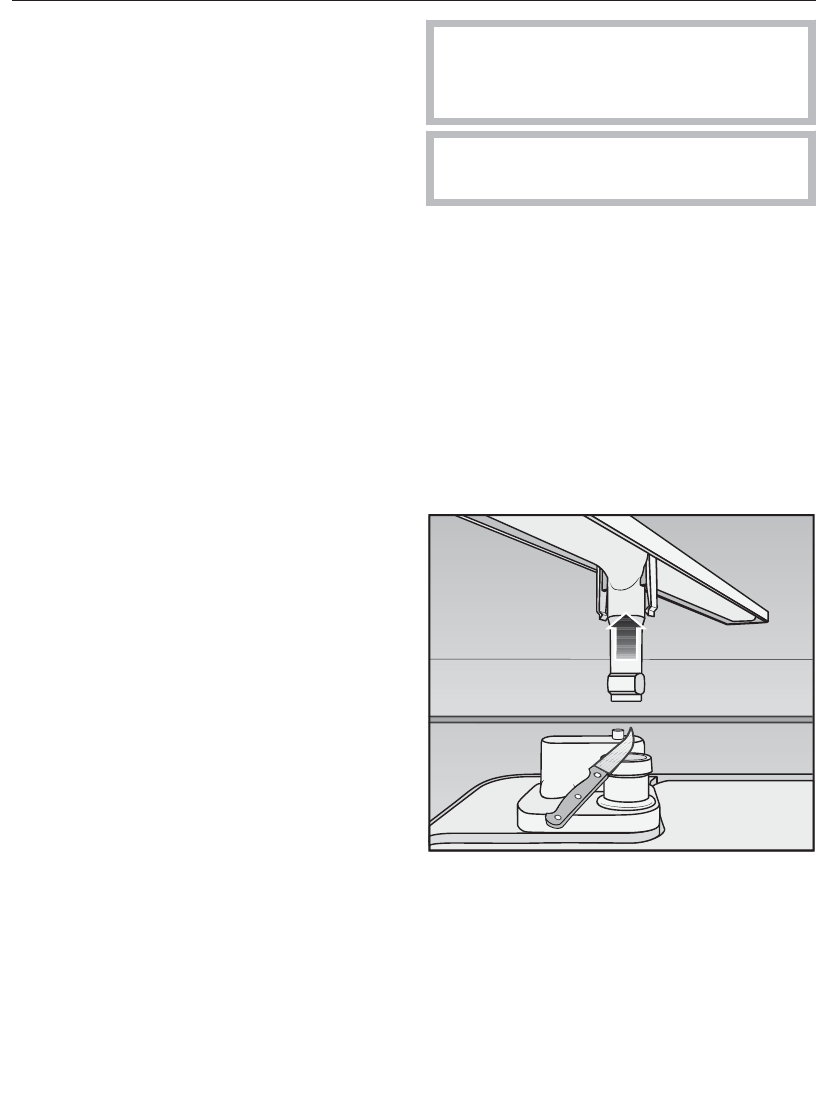
Venting the drain
If the on-site drain connection is situat‐
ed lower than the guide path for the
bottom basket rollers in the open door,
the drain must be vented. Otherwise a
siphoning effect during a program can
cause the appliance to empty itself of
water.
ĺ To vent: open the dishwasher door
fully.
ĺ Pull the lower spray arm firmly up‐
wards to remove it.
ĺ Cut off the top of the vent valve in the
wash cabinet.