


25
Make sure you lower BOTH REAR ROLLERS. There
are two adjusting nuts, one for each roller, at both the
front bottom corners of the cooker.
Unfold the rear edge of pack base tray. Carefully push
the cooker backwards off the pack base and into
position. Take care not to damage the power cable.
Push the cooker close to its fi nal position, leaving just
enough space to get behind it.
Levelling
You are recommended to use a spirit level on a shelf in
one of the ovens to check for level.
Place the cooker in its intended position taking care
not to twist it within the gap between the kitchen units
as damage may occur to the cooker or the units.
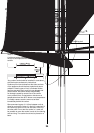
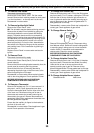
The rollers can be adjusted to level the cooker. To
adjust the height of the rear of the cooker use the
levelling tool supplied to turn the adjusting nuts at the
front bottom corners of the cooker.
Adjust the height of the front roller to level the cooker.
Turn clockwise to raise the cooker and anticlockwise to
lower.
When you are satisfi ed with the height and level
raise the front of the cooker by one turn of the front
roller adjuster. Screw down the front feet to meet the
fl oor. Screw the front roller adjuster anticlockwise to
raise the front roller so that the front of the cooker is
supported on the feet, not the front roller, to prevent
accidental movement of the cooker.
Leave the levelling tool on the adjuster with the
handle of the tool facing the rear of the cooker, so
that the customer can use it if they wish to move
the cooker.
Replace the drawer by locating on side runners and
push in.
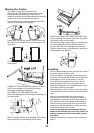
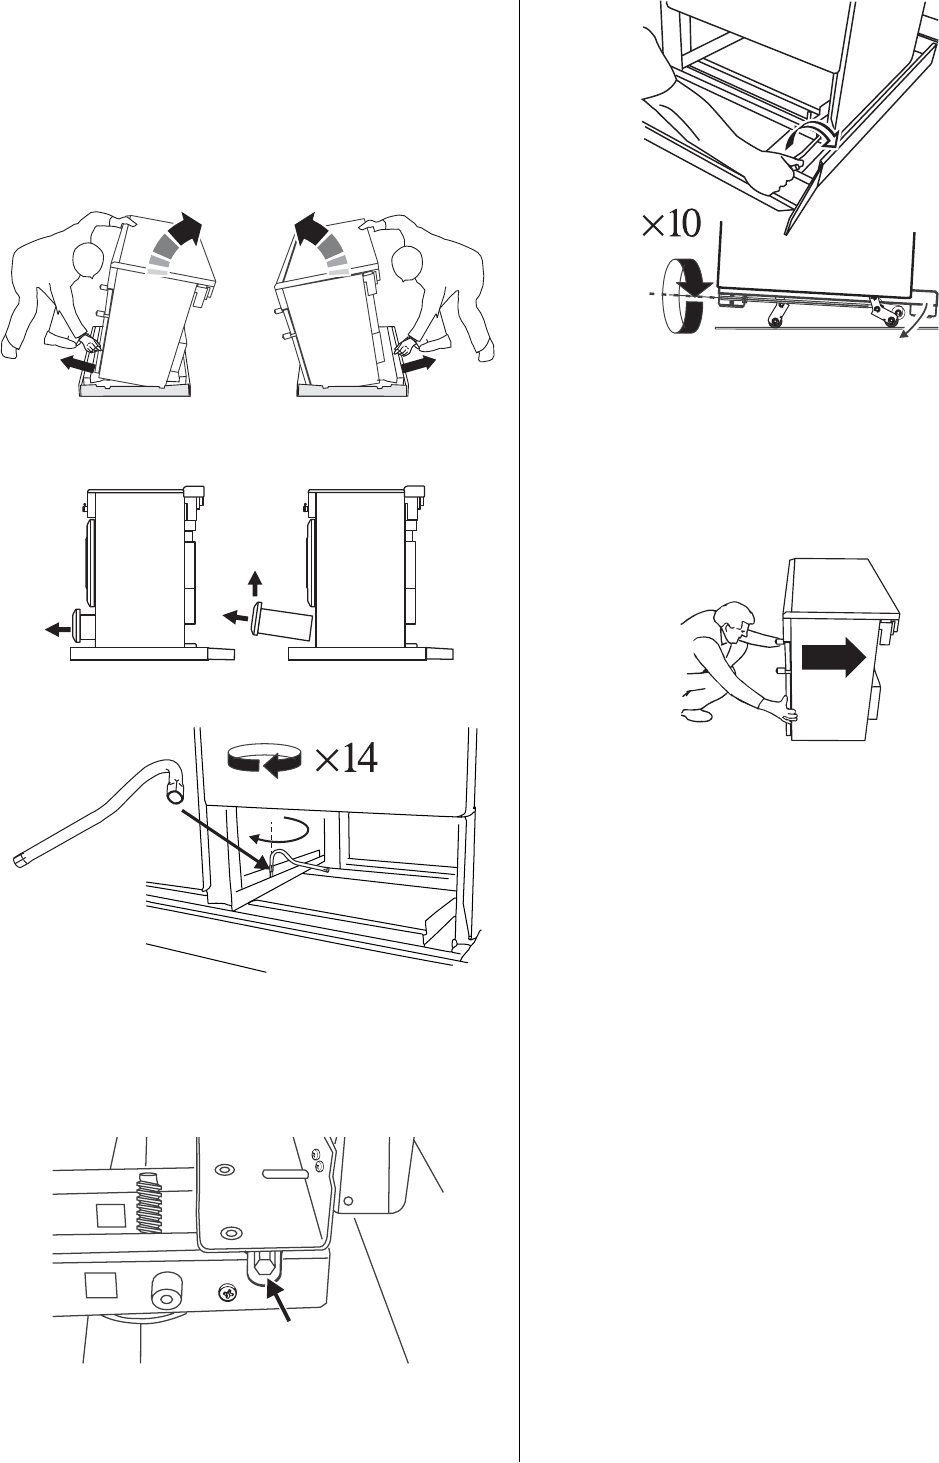
Moving the Cooker
The cooker is very heavy. Take great care.
We recommend two people manoeuvre the cooker.
Ensure that the fl oor covering is fi rmly fi xed, or
removed to prevent it being disturbed when moving the
cooker around. You will need the levelling tool.
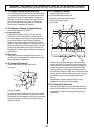
From the back tilt the cooker forward and remove the
rear half of the polystyrene base pack.
Repeat from the front and remove the front half of the
poly base. Pull the drawer out to its furthest point. Lift it
up and out.
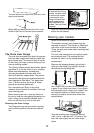
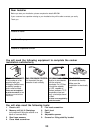
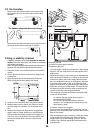
Fit the levelling tool on the rectangular adjuster as
shown below.
LOWER THE FRONT ROLLER by doing 14 complete
(360º) turns clockwise. (This means turning and
removing the levelling tool 56 times).
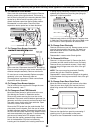
Now LOWER THE TWO REAR ROLLERS.
First fi t the levelling tool on the hexagonal adjusting nut
as shown below.
Make 10 complete (360º) turns clockwise. (This means
turning and removing the levelling tool 20 times).