INSERTING THE GRILL MODULE
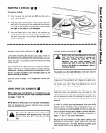
To insert the grill:
1. Be sure the controls are OFF.
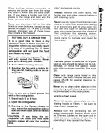
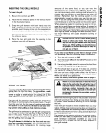
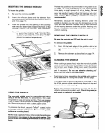
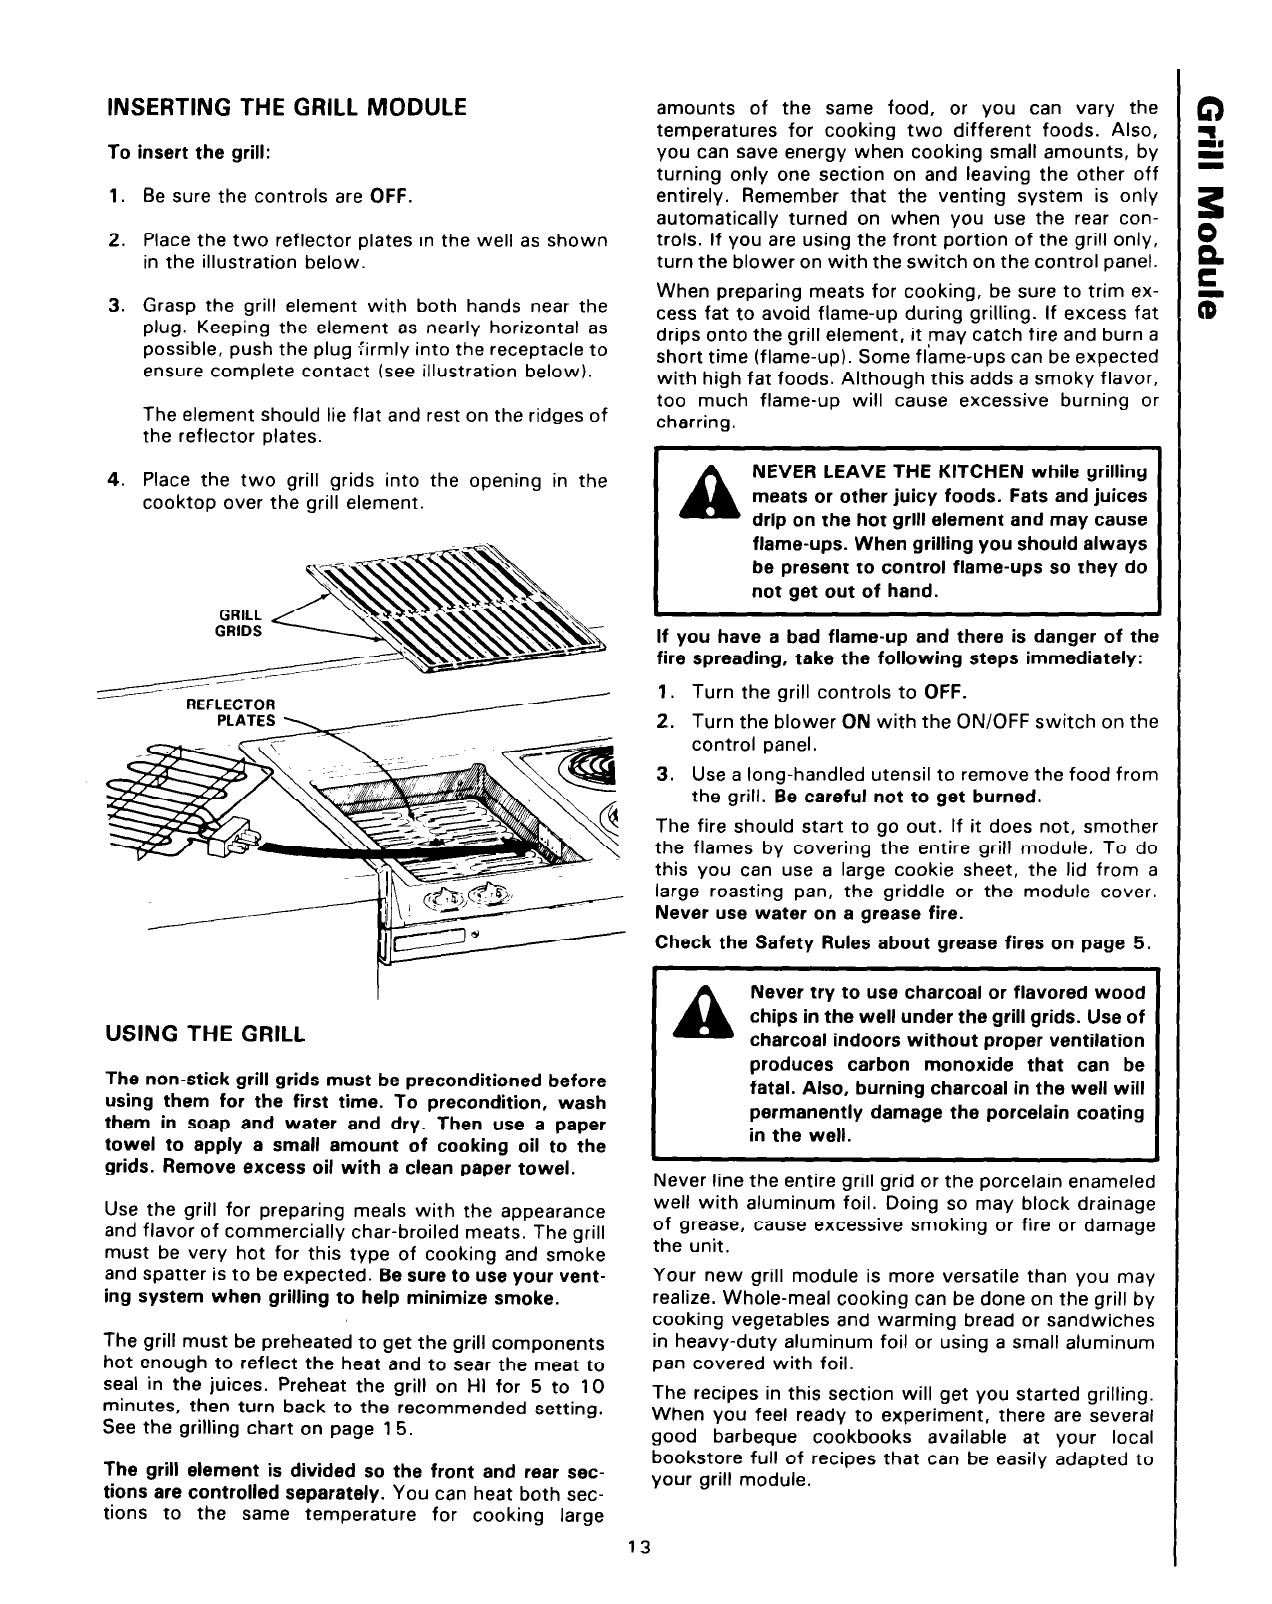
2. Place the two reflector plates in the well as shown
in the illustration below.
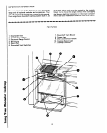
3. Grasp the grill element with both hands near the
plug. Keeping the element as nearly horizontal as
possible, push the plug firmly into the receptacle to
ensure complete contact (see illustration below).
The element should lie flat and rest on the ridges of
the reflector plates.
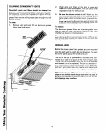
4. Place the two grill grids into the opening in the
cooktop over the grill element.
USING THE GRILL
The non-stick grill grids must be preconditioned before
using them for the first time. To precondition, wash
them in soap and water and dry. Then use a paper
towel to apply a small amount of cooking oil to the
grids. Remove excess oil with a clean paper towel.
Use the grill for preparing meals with the appearance
and flavor of commercially char-broiled meats. The grill
must be very hot for this type of cooking and smoke
and spatter is to be expected. Be sure to use your vent-
ing system when grilling to help minimize smoke.
The grill must be preheated to get the grill components
hot enough to reflect the heat and to sear the meat to
seal in the juices. Preheat the grill on HI for 5 to 10
minutes, then turn back to the recommended setting.
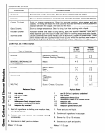
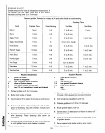
See the grilling chart on page 15.
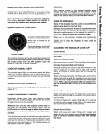
The grill element is divided so the front and rear sec-
tions are controlled separately. You can heat both sec-
tions to the same temperature for cooking large
amounts of the same food, or you can vary thf
temperatures for cooking two different foods. Also
you can save energy when cooking small amounts, b\
turning only one section on and leaving the other of
entirely. Remember that the venting system is onl)
automatically turned on when you use the rear con
trols. If you are using the front portion of the grill only
turn the blower on with the switch on the control panel
When preparing meats for cooking, be sure to trim ex
cess fat to avoid flame-up during grilling. If excess fa,
drips onto the grill element, it may catch fire and burn i
short time (flame-up). Some flame-ups can be expectec
with high fat foods. Although this adds a smoky flavor
too much flame-up will cause excessive burning o
charring.
A
NEVER LEAVE THE KITCHEN while grilling
meats or other juicy foods. Fats and juices
drip on the hot grill element and may cause
flame-ups. When grilling you should always
be present to control flame-ups so they do
not get out of hand.
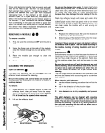
If you have a bad flame-up and there is danger of the
fire spreading, take the following steps immediately:
1. Turn the grill controls to OFF.
2. Turn the blower ON with the ON/OFF switch on thr
control panel.
3. Use a long-handled utensil to remove the food fron
the grill. Be careful not to get burned.
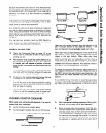
The fire should start to go out. If it does not, smothe
the flames by covering the entire grill module. To dc
this you can use a large cookie sheet, the lid from :
large roasting pan, the griddle or the module cover
Never use water on a grease fire.
Check the Safety Rules about grease fires on page 5.
A
Never try to use charcoal or flavored wood
chips in the well under the grill grids. Use of
charcoal indoors without proper ventilation
produces carbon monoxide that can be
fatal. Also, burning charcoal in the well will
permanently damage the porcelain coating
in the well.
Never line the entire grill grid or the porcelain enamelec
well with aluminum foil. Doing so may block drainage
of grease, cause excessive smoking or fire or damage
the unit.
Your new grill module is more versatile than you may
realize. Whole-meal cooking can be done on the grill by
cooking vegetables and warming bread or sandwiches
in heavy-duty aluminum foil or using a small aluminum
pan covered with foil.
The recipes in this section will get you started grilling.
When you feel ready to experiment, there are several
good barbeque cookbooks available at your local
bookstore full of recipes that can be easily adapted to
your grill module.
13


