USING THE OVEN
The oven of your new range is entirely controlled by the
Electronic Range Control. When the oven is in use the
blower of the downdraft venting system will come on
automatically to keep internal components cool and to
vent oven smoke and odors to the outside. For oven
use a LO blower setting is recommended. Follow in-
structions below.
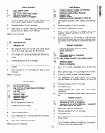
To Set the Clock:
1. Push CLOCK button.
2. Turn SET knob to current time of day.
To Set the Timer:
1. Push TIMER button.
2. Turn SET knob to desired amount of time (up to 9
hours, 55 minutes).
3. To cancel TIMER, push TIMER button and turn SET
knob back to 0:OO.
4. When time is up a tone will sound three times.
Note: The timer is a reminder only and will not operate
the range.
To Bake:
1. Push BAKE button.
2. Turn SET knob to desired temperature. When a few
seconds have passed, after setting the
temperature,
the display will show the oven
temperature as it rises (in 25 O steps). Push the
BAKE button again to show the temperature you
have selected. Do not move the SET knob when the
rising temperature is being shown. Doing so will
change the selected temperature.
3. When finished baking, push the OVEN OFF button.
To Broil (Top Element Only):
1. Push BROIL button.
2. Turn SET knob to HI or LO Broil (see page 2 1).
3. When finished broiling, push the OVEN OFF button.
To Use Timed Oven/Delay Start
Program your Electronic Range Control for timed oven
operations. Fix your food as you would normally and let
the oven do the rest. Follow the step by step instruc-
tions below:
A
Never let food sit for more ,than 4 hours
before cooking starts, when you set your
oven for a delay start. Room temperature is
ideal for the growth of harmful bacteria. Be
sure the oven light is off because heat from
the bulb will speed bacteria growth.
22
To Start Now and Stop Later:
1. Push COOK TIME button.
2. Set length of baking time with SET knob.
3. Push BAKE button.
4. Set desired temperature with SET knob.
To Start Later and Stop Later:
1. Push COOK TIME button.
2. Set length of baking time with SET knob.
3. Push STOP TIME button.
4. Set time of day when baking should be completed.
5. Push BAKE button.
6. Set desired temperature with SET knob.
7. When STOP TIME is reached, 3 beeps will sound.
To turn tone off before third beep push OVEN OFF
button.
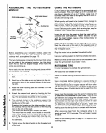
When a timed function has been programmed you can
recall what has been entered by pushing the correspon-
ding function button. If, for example, you have pro-
grammed in a delayed timed bake operation and cur-
rently the time of day is displayed, simply push STOP
TIME to find out when the cycle will stop or BAKE TIME
for length of baking time entered. The messages at the
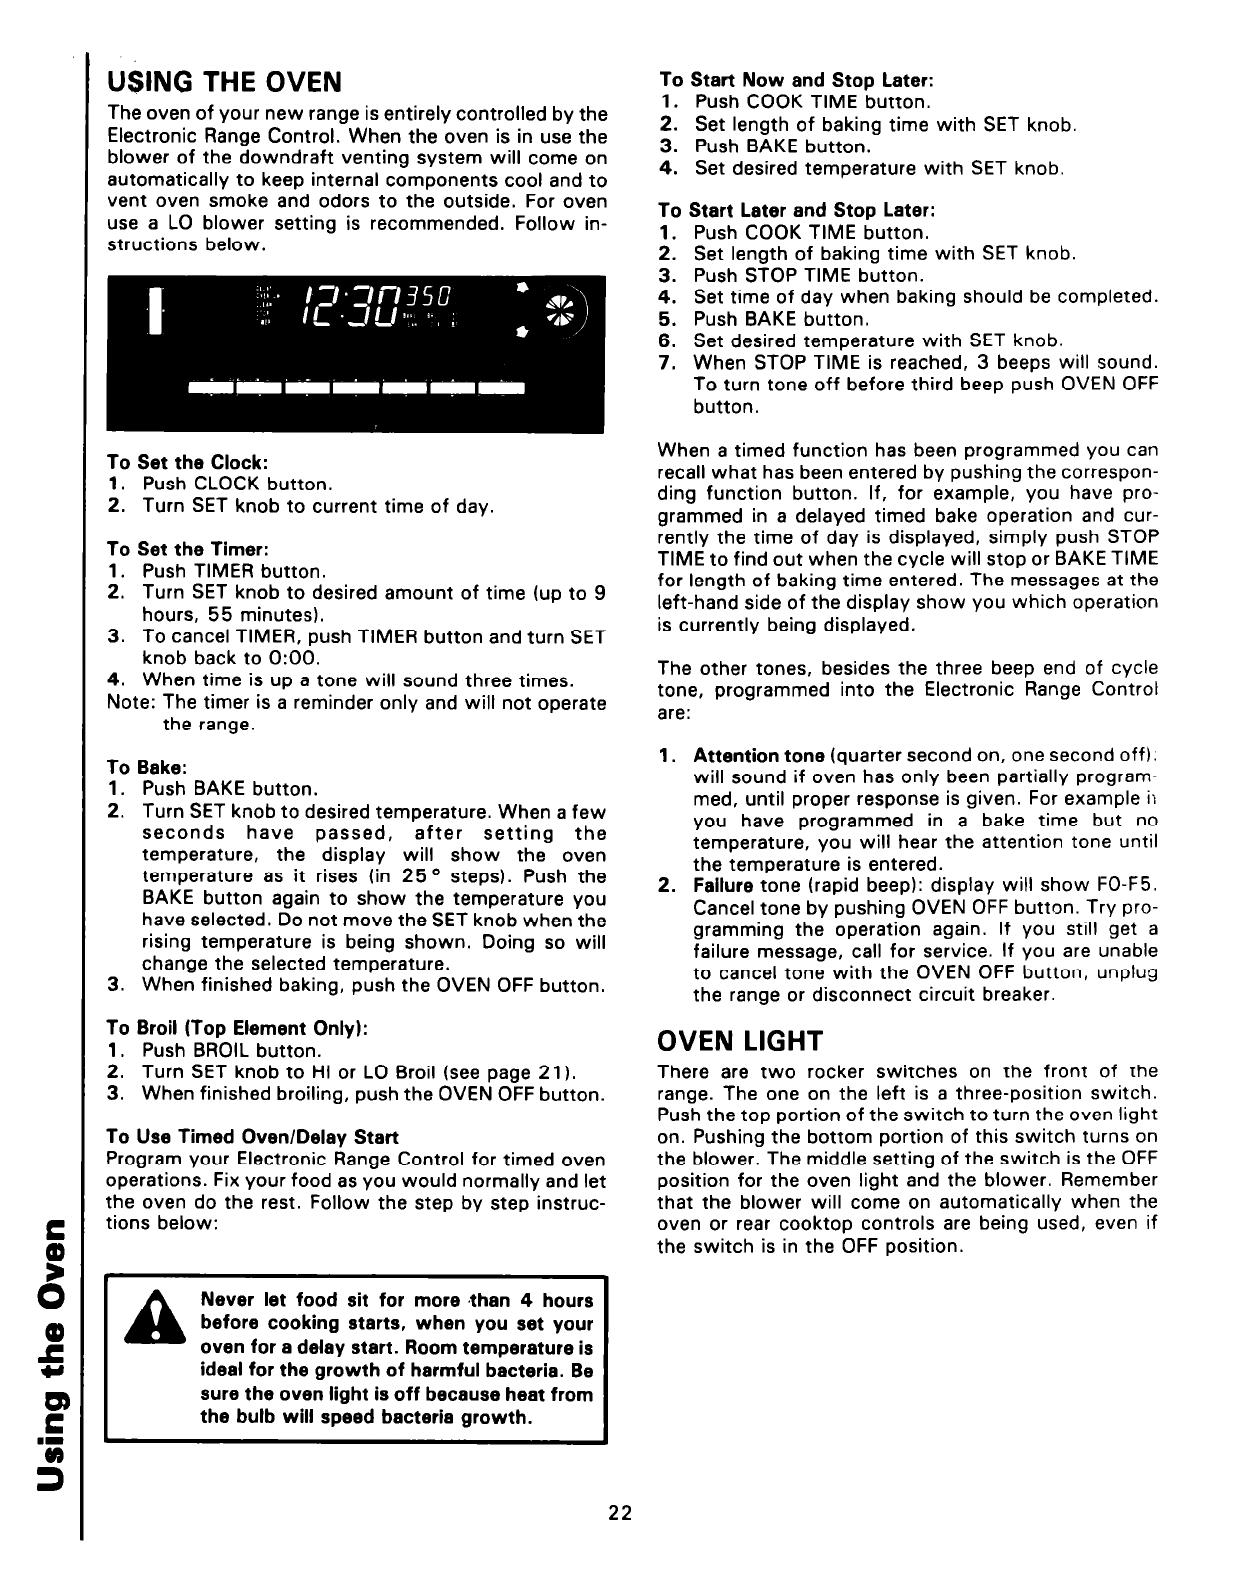
left-hand side of the display show you which operation
is currently being displayed.
The other tones, besides the three beep end of cycle
tone, programmed into the Electronic Range Control
are:
1. Attention tone (quarter second on, one second off).
will sound if oven has only been partially program-
med, until proper response is given. For example il
you have programmed in a bake time but no
temperature, you will hear the attention tone until
the temperature is entered.
2. Failure tone (rapid beep): display will show FO-F5.
Cancel tone by pushing OVEN OFF button. Try pro-
gramming the operation again. If you still get a
failure message, call for service. If you are unable
to cancel tone with the OVEN OFF button, unplug
the range or disconnect circuit breaker.
OVEN LIGHT
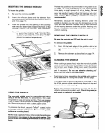
There are two rocker switches on the front of the
range. The one on the left is a three-position switch.
Push the top portion of the switch to turn the oven light
on. Pushing the bottom portion of this switch turns on
the blower. The middle setting of the switch is the OFF
position for the oven light and the blower. Remember
that the blower will come on automatically when the
oven or rear cooktop controls are being used, even if
the switch is in the OFF position.


