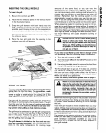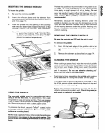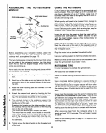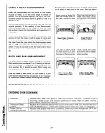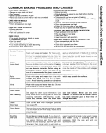
ASSEMBLING THE ROTISWKEBAB
MODULE
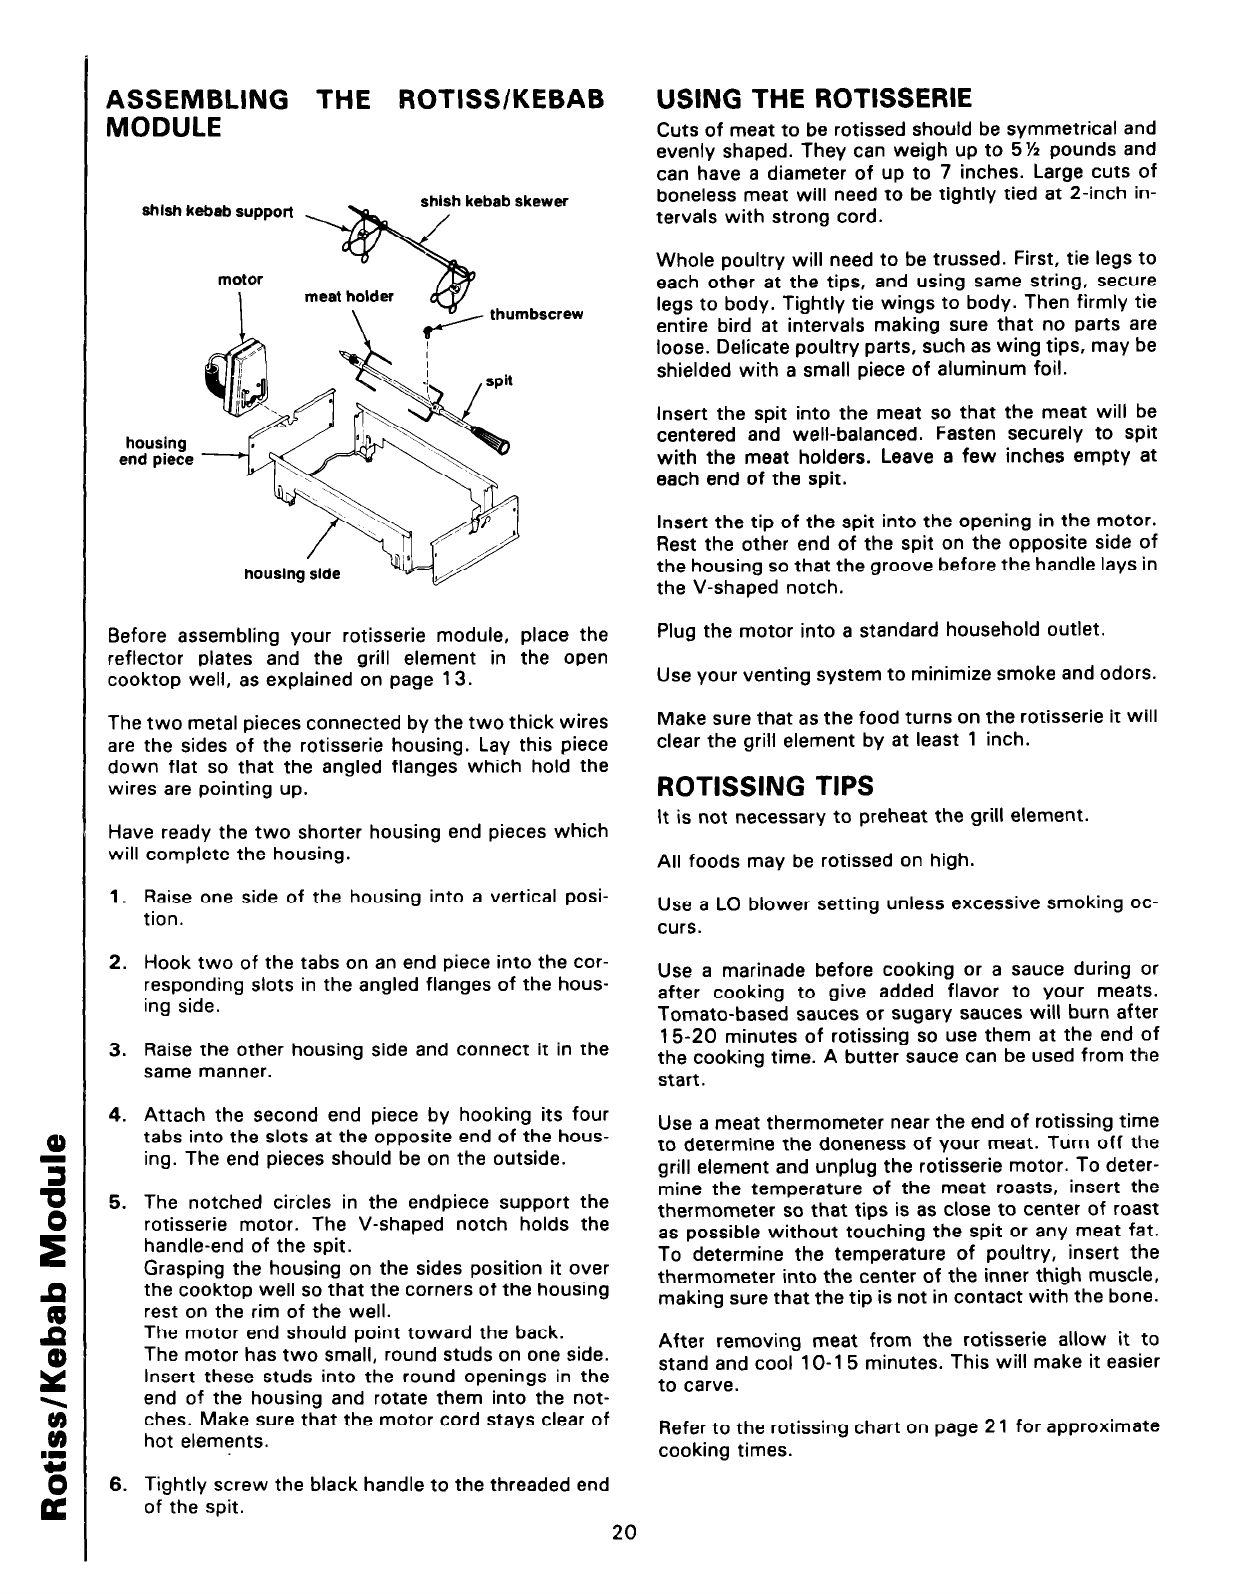
shish kebab support
thumbscrew
housing
end piece
Before assembling your rotisserie module, place the
reflector plates and the grill element in the open
cooktop well, as explained on page 13.
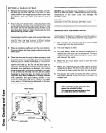
The two metal pieces connected by the two thick wires
are the sides of the rotisserie housing. Lay this piece
down flat so that the angled flanges which hold the
wires are pointing up.
Have ready the two shorter housing end pieces which
will complete the housing.
1.
2.
3.
4.
5.
6.
Raise one side of the housing into a vertical posi-
tion.
Hook two of the tabs on an end piece into the cor-
responding slots in the angled flanges of the hous-
ing side.
Raise the other housing side and connect it in the
same manner.
Attach the second end piece by hooking its four
tabs into the slots at the opposite end of the hous-
ing. The end pieces should be on the outside.
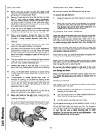
The notched circles in the endpiece support the
rotisserie motor. The V-shaped notch holds the
handle-end of the spit.
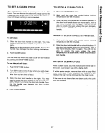
Grasping the housing on the sides position it over
the cooktop well so that the corners of the housing
rest on the rim of the well.
The motor end should point toward the back.
The motor has two small, round studs on one side.
Insert these studs into the round openings in the
end of the housing and rotate them into the not-
ches. Make sure that the motor cord stays clear of
hot elements.
Tightly screw the black handle to the threaded end
of the spit.
20
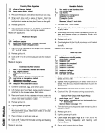
USING THE ROTISSERIE
Cuts of meat to be rotissed should be symmetrical and
evenly shaped. They can weigh up to 5% pounds and
can have a diameter of up to 7 inches. Large cuts of
boneless meat will need to be tightly tied at 2-inch in-
tervals with strong cord.
Whole poultry will need to be trussed. First, tie legs to
each other at the tips, and using same string, secure
legs to body. Tightly tie wings to body. Then firmly tie
entire bird at intervals making sure that no parts are
loose. Delicate poultry parts, such as wing tips, may be
shielded with a small piece of aluminum foil.
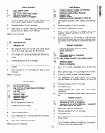
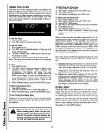
Insert the spit into the meat so that the meat will be
centered and well-balanced. Fasten securely to spit
with the meat holders. Leave a few inches empty at
each end of the spit.
Insert the tip of the spit into the opening in the motor.
Rest the other end of the spit on the opposite side of
the housing so that the groove before the handle lays in
the V-shaped notch.
Plug the motor into a standard household outlet.
Use your venting system to minimize smoke and odors.
Make sure that as the food turns on the rotisserie it will
clear the grill element by at least 1 inch.
ROTISSING TIPS
It is not necessary to preheat the grill element.
All foods may be rotissed on high.
Use a LO blower setting unless excessive smoking oc-
curs.
Use a marinade before cooking or a sauce during or
after cooking to give added flavor to your meats.
Tomato-based sauces or sugary sauces will burn after
15-20 minutes of rotissing so use them at the end of
the cooking time. A butter sauce can be used from the
start.
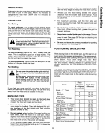
Use a meat thermometer near the end of rotissing time
to determine the doneness of your meat. Turn off the
grill element and unplug the rotisserie motor. To deter-
mine the temperature of the meat roasts, insert the
thermometer so that tips is as close to center of roast
as possible without touching the spit or any meat fat.
To determine the temperature of poultry, insert the
thermometer into the center of the inner thigh muscle,
making sure that the tip is not in contact with the bone.
After removing meat from the rotisserie allow it to
stand and cool 1 O-1 5 minutes. This will make it easier
to carve.
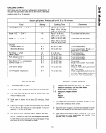
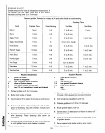
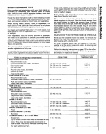
Refer to the rotissing chart on page 2 1 for approximate
cooking times.


