


14
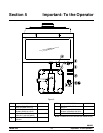
Model 428Important: To the Operator
080313
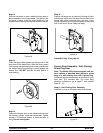
Power Switch
The center position is OF F. The right posit ion is
AUTO, which activates the beater motor and the
refrigeration system. The left position is WASH,
which a ctivates the beater moto r only.
Display Light Switch
The display light switch is located under the control
channel. The left position is “OFF” . The right position
is “ON”, and activates the display light.
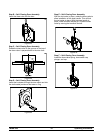
Viscosity Adjustment
The viscosity (t hickness) of the product can be
adjusted by tur ning the viscosity adjustm ent scr ew
on the right side of the unit, under the display light.
T urn the viscosity adjust ment screw clockwise for a
thicker p roduct, or counterclockwise for a thinner
product. After making an adjustment, allow the
refrigeration system to cycle 2 or 3 times to
accurately evaluate the viscosity.
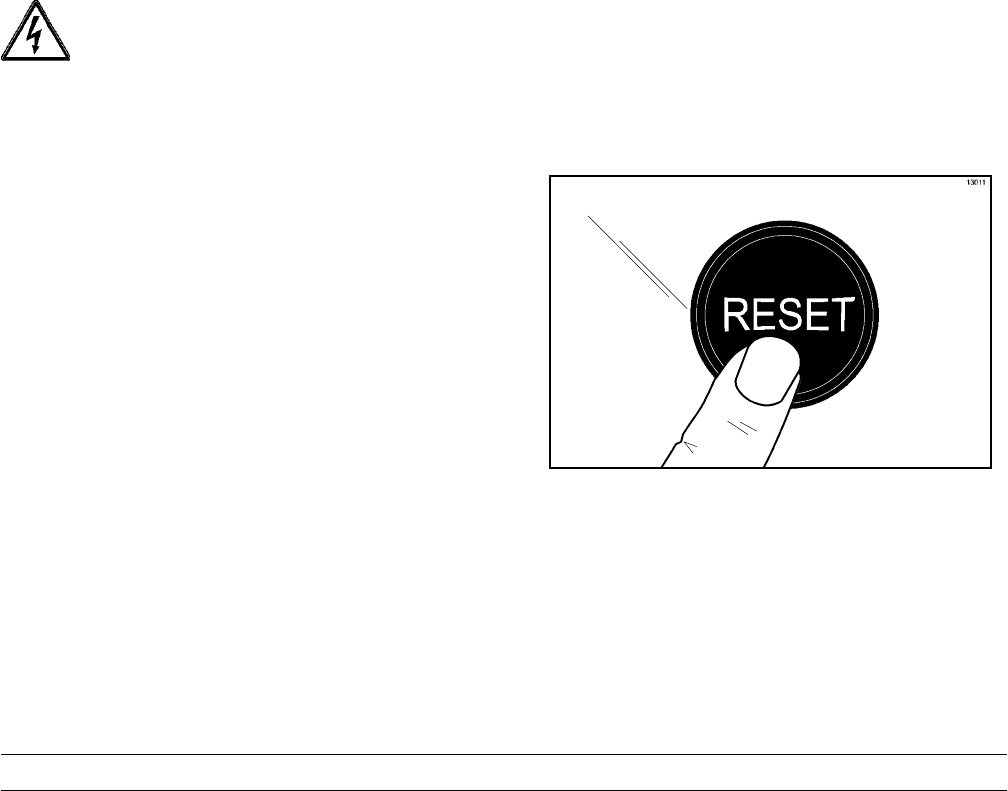
Do not use m etal objects to press the
reset butto n. Failure to follow this instruction may
result in electrocution.
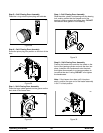
Indicator Light - “ADD MIX”
A mix level indicating light is located o n the front of
the machine. The light flashes to indicate when the
mix hopper has a low supply of product and should
be refilled as soon as possible.
Indicator Light - “MIX OUT”
A mix out indicating light is located on the front of
the machine. When the light is flashing, it indicates
that the hopper is empty and the mix supply needs
replenishing. To prevent damage to the unit,
refriger ation discont inues automatically when the
MIX OUT indicator light is flashing.
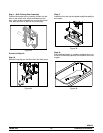
Standby Switch (Toggle Switch)
This switch determines which mode of operation the
freezing cylinder is operating in. The left posit ion
places the unit in the AUTO mode. The right posit ion
places the unit in the STANDBY mode.
Note: Th epower switch must be in the AUTO position
in order for the standby swit ch to funct ion.
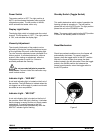
Reset Mechan ism
Should a n overload condition occ ur, the freezer will
automatically shut down. To properly reset the
freezer, place the toggle switch in the OFF position.
W ait two or three minutes; then press the reset
button locat ed in the left side panel. Place the toggle
switch in the WASH position and observe the
freezer’s performance; return the toggle switc h to
the AUTO position.
Figure 6