18
Model 428Operat ing Procedures
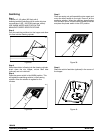
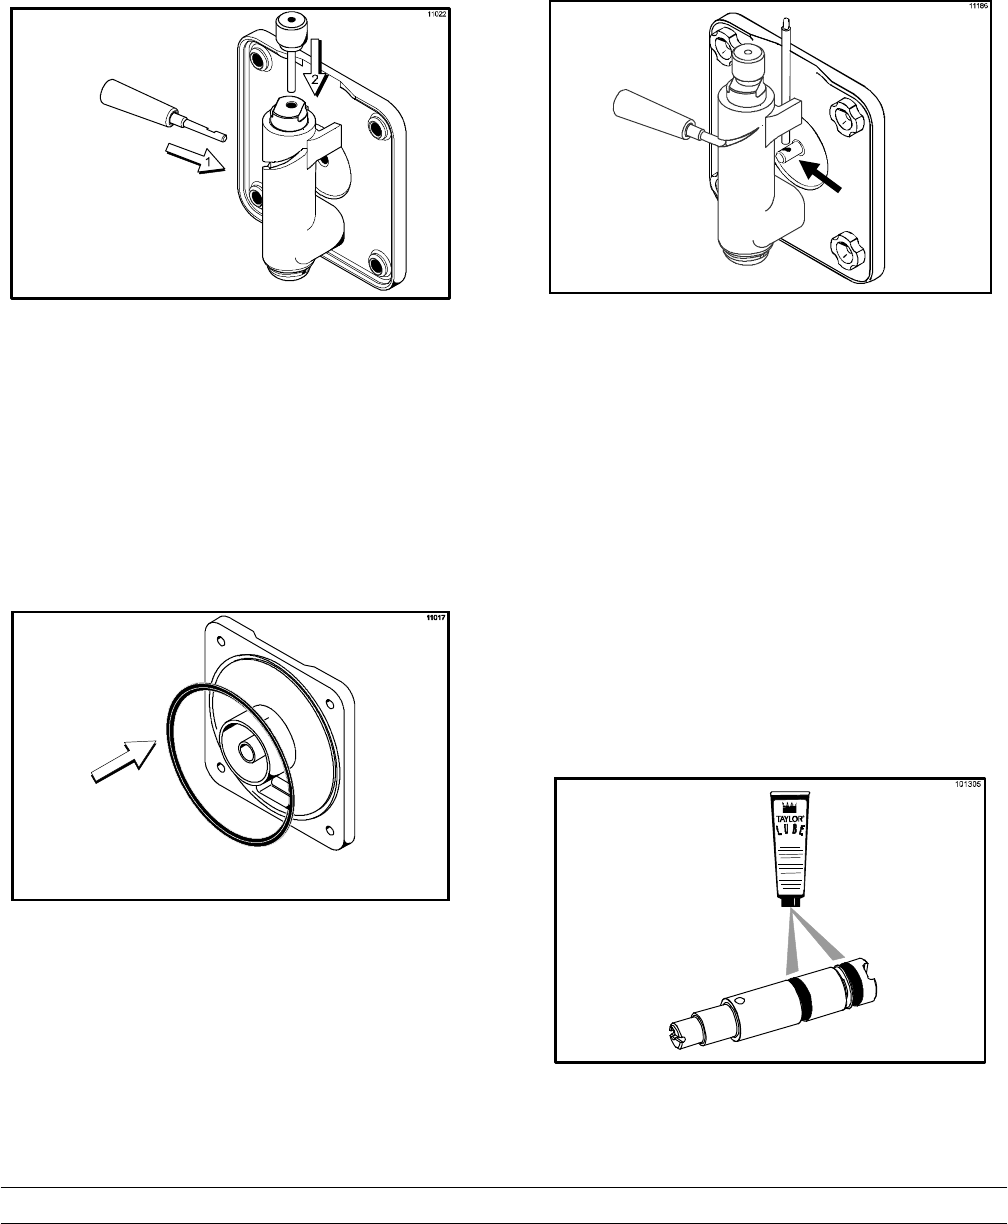
Step 12
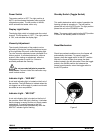
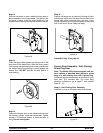
With the ice buster in place, rot ate the draw valve to
allow installation of the draw handle. This will lock the
ice buster in place. Ins tall the draw handle pin, and
close the draw valve by moving the handle to the left .
Figure 19
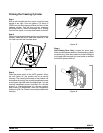
Step 13
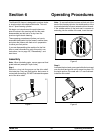
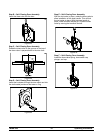
Place the large rubber gasket into the groove on the
back side of the freezer door . Slide the white, plasti c
frontbearingontothebearing hub, making certain that
the flanged end of the bearing is rest ing against the
freezer door. DO NOT lubricate the door gasket or
front bearing.
Figure 20
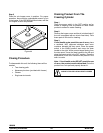
Step 14
Position the fr eezer door on the 4 st uds on the front of
the freez ing cylinder. Install the handscrews. Tighten
equally in a criss-c ross pattern to insure th e door is
snug. Do not over-tighten.
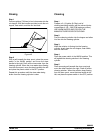
Step 15
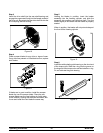
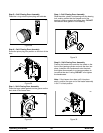
Position the tor que arm by inserting it through the slot
in th e torque swit ch arm and down into the hole in the
torque rotor which protrudes fr om the door. Verify
proper inst allation by moving the torque rotor back and
fort h to be sure it moves freely and easily.
Figure 21
Proceed to Step 16 on page 21.
Freezer Door Assembly -- Self--Closing/
Prime Plug Door
Note: The Model 428 comes equipped with two
door options: a standard door without a prime
plug or a self--closing door with a prime plug.
Follow the appropriate assembly procedures for your
style door. (For standar d door ([no prim e plug]
assembly instr uctions, go to page 17 and perform
Steps 8 -- 15).
Step A -- Self--Closi ng Door Assembly
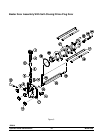
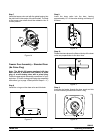
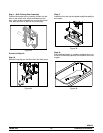
Install the o--rings on the draw valve and lubricate.
Figure 22


