


12
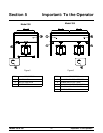
Models 358 & 359Important: To the Operator
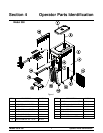
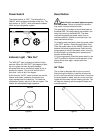
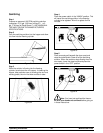
Power Switch
The middle position is “OFF”. The left position is
“WASH”, which activates the beater motor only. The
right position is “AUTO”, which activates the beater
motor and the refrigeration system.
Figure 7
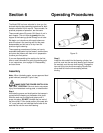
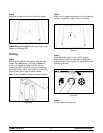
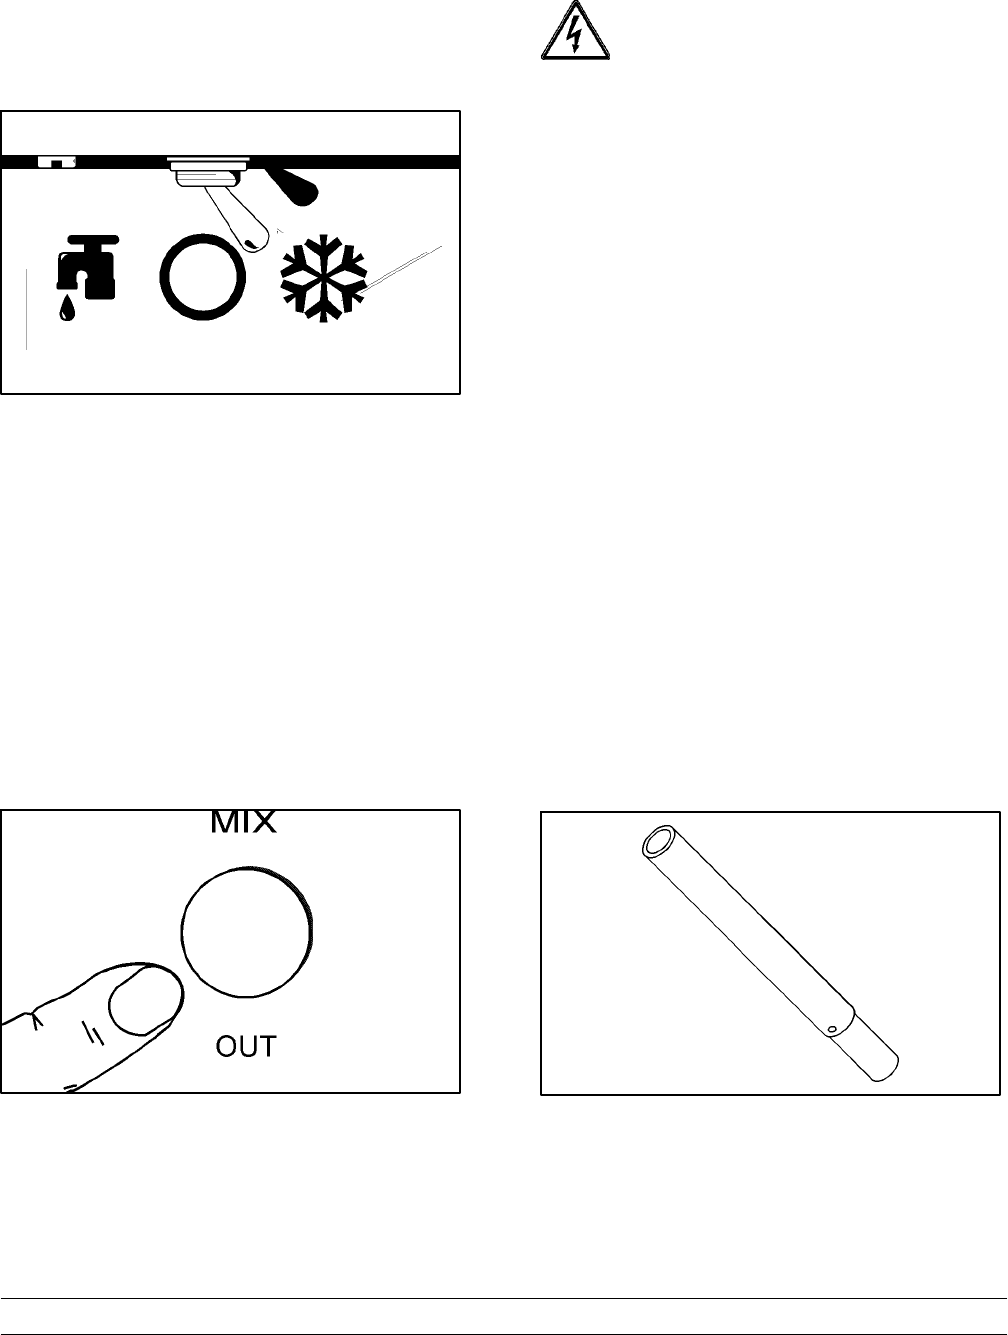
Indicator Light - “Mix Out”
The “MIX OUT” light is located on the front of the
machine. When the “MIX OUT” light begins to flash,
the mix hopper has been almost completely
exhausted and has an insufficient supply of mix to
operate the freezer. Only a small amount of mix
(less than 1 pint) is left in the hopper.
At this time the “AUTO” mode is locked out and the
freezer shuts down, protecting the freezer from
costly damage due to a freeze-up. To initiate the
refrigeration system, add mix to the mix hopper. The
freezer will automatically begin operation.
Figure 8
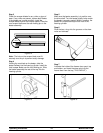
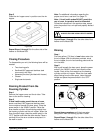
Reset Button
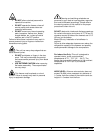
Note: Do not use metal objects to press
the reset button. Failure to follow this instruction
may result in serious electrical shock.
The reset button is located in the left side panel on
the Model 358. The reset buttons are located in the
lower front panel on the Model 359. The reset
mechanism protects the beater motor from an
overload condition. Should an overload occur, the
reset mechanism will trip.
To properly reset the freezer, place the power switch
in the “OFF” position. Press the reset button firmly.
Place the power switch in the “WASH” position and
observe the freezer's performance. Open the side
access panel to check if the beater motor is turning
the drive shaft in a clockwise (from operator end)
direction without binding.
If it is turning properly, place the power switch in the
“AUTO” position to resume normal operation. If the
freezer shuts down again, contact a service
technician.
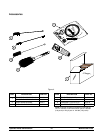
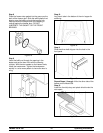
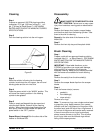
Air Tube
The air tube is designed with a hole on one end.
After priming the machine, install the air tube into
the mix inlet hole with the hole end down. Every time
the draw handle is raised, new mix and air from the
hopper will flow down into the freezing cylinder. This
will keep the freezing cylinder properly loaded and
maintain overrun.
Figure 9