


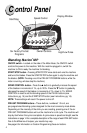

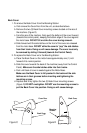

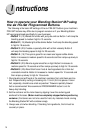
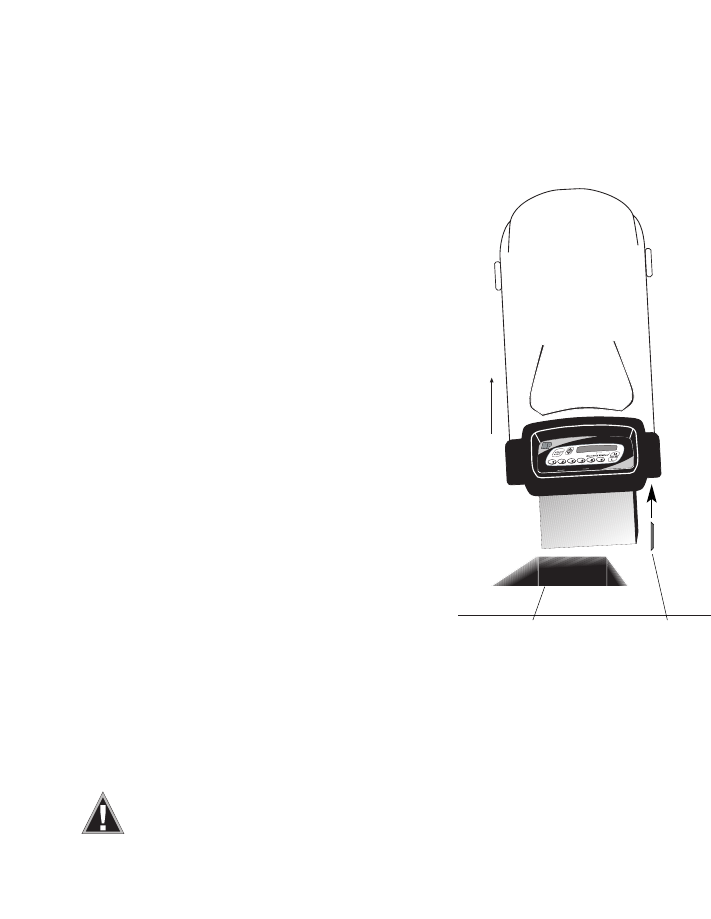
4. Insert the custom programmed chip with the
words, “THIS SIDE FACING TO THE FRONT
OF THE MACHINE” toward you and the
silver contact bars up, into the slot. The
DISPLAY WINDOW will read “NEW MODULE.”
5. Within 10 seconds the six PRE-SET
buttons will be re-programmed and the
DISPLAY WINDOW will read “SAVED” then
“READY.” If nothing happens when the
programming chip is fully inserted, turn the
chip in the opposite direction and try again.
6. Remove the programming chip and return
it to the original package.
7. Press one of the six PRE-SET buttons to
reveal, in the DISPLAY WINDOW, the name of
the program/drink.
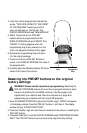
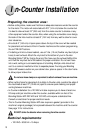
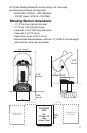
8. Carefully place the Blending Station MP motor
back into the hole in the counter.
Resetting the PRE-SET buttons to the original
factory settings
WARNING: Please read all step before reprogramming. Resetting the
PRE-SET PROGRAM buttons will revert the six program buttons to times
that are not optimized for the MP48 container. Use the program chip
supplied with your machine and follow the instructions on page 6 for
programming your machine with the correct MP programs.
1. Enter the OWNER CONTROLS (press the Vita-Mix Logo). “MODE” will appear
in the display window. Press the PRE-SET buttons 1 and then 6. The display
window will say “COUNT TEMP TOTAL.”
2. Press the Vita-Mix Logo two more times to reveal the instructions on resetting the
PRE-SET buttons.
3. Press and hold button 4 until the DISPLAY WINDOW reads “RESTORING PLEASE
WAIT.” The PRE-SET buttons are now reset to the original factory settings.
P
E
R
FOR
M
ANC
E
M
A
XI
MUM
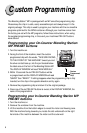
Custom
Programmed
Chip
In-Counter
Hole
7