FULL SIZE GAS CONVECTION OVENS - REMOVAL AND REPLACEMENT OF PARTS
F24682 (Rev. B, October 2007) Page 16 of 68
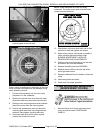
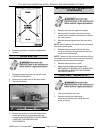
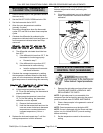
5. Reverse procedure to install the replacement
window.
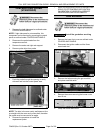
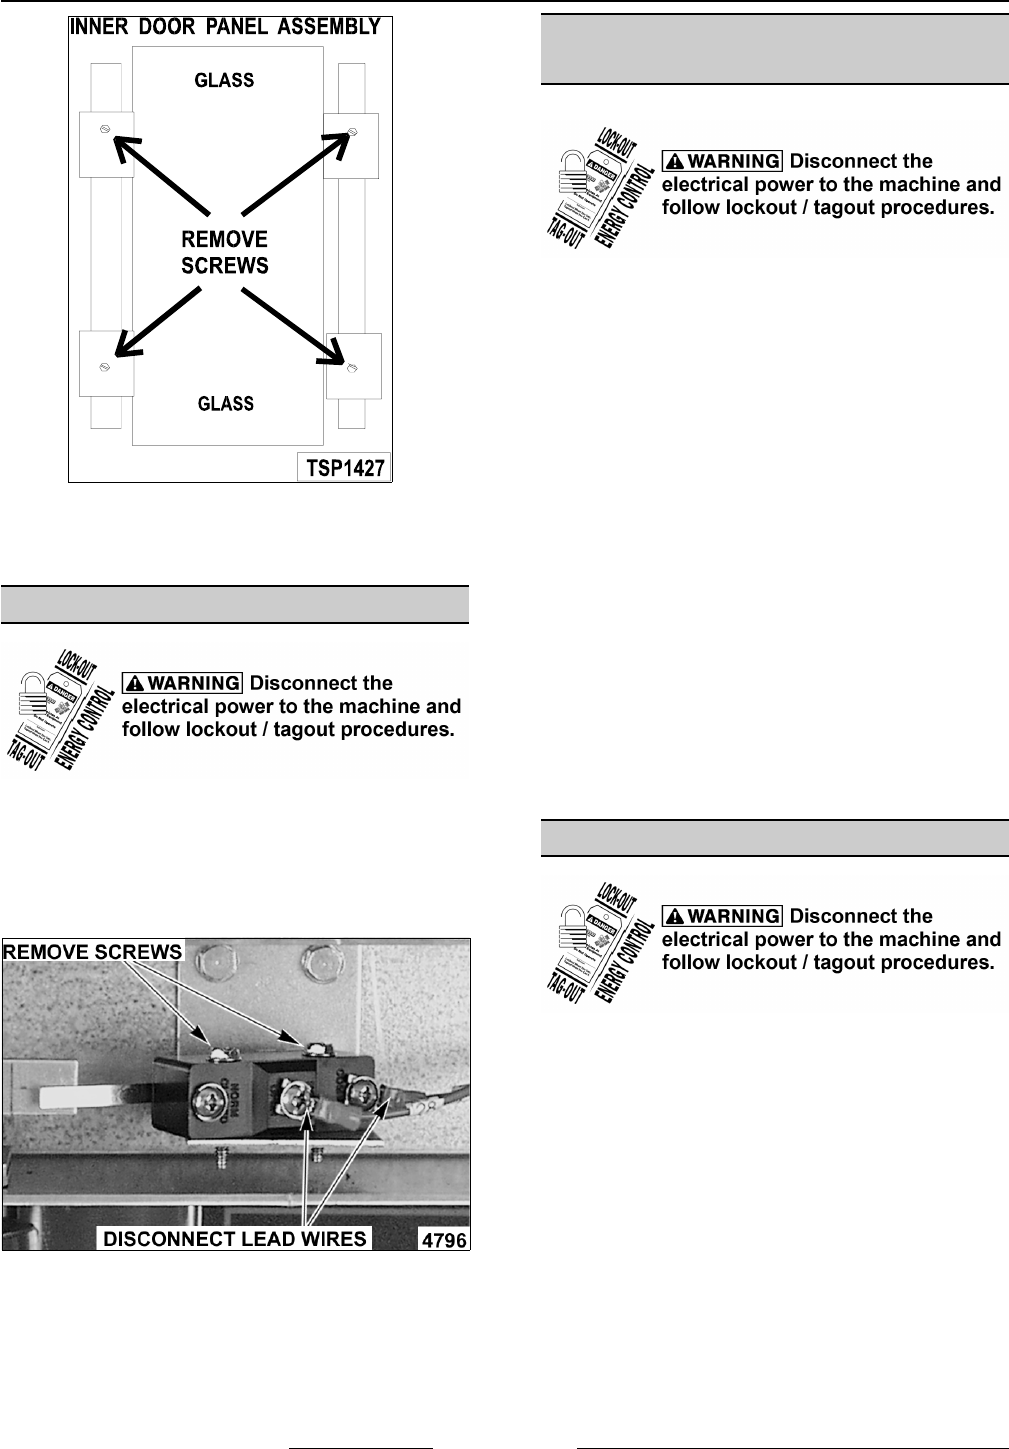
DOOR SWITCH
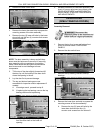
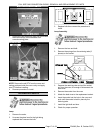
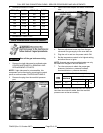
1. Remove the top front cover as outlined under
COVERS AND PANELS.
2. Disconnect the lead wires to the door switch.
3. Remove the switch.
4. Reverse procedure to install the replacement
switch and check for proper adjustment as
outlined under DOOR SWITCH ADJUSTMENT
in SERVICE PROCEDURES AND
ADJUSTMENTS.
MECHANICAL KX THERMOSTAT
(VC4GS/6GS)
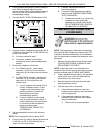
1. Remove the racks and right rack support.
2. Remove the thermostat knob and mounting
screws from the control panel and then remove
the control panel.
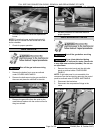
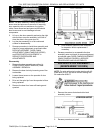
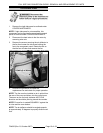
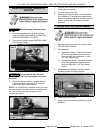
3. Remove the probe guard from the oven cavity
wall.
NOTE: When installing, the probe should not extend
beyond the probe guard.
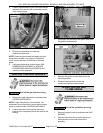
4. Remove the thermostat bulb from the oven
cavity by pushing it through the oven wall and
into the control panel area.
NOTE: The hole in the oven cavity wall does not line
up straight with the oven cavity outer shell, therefore
the probe must be removed at an angle.
5. Reverse the procedure to install.
6. Adjust the thermostat as outlined under
MECHANICAL THERMOSTAT CALIBRATION
(VC4GS/6GS) in SERVICE PROCEDURES
AND ADJUSTMENTS.
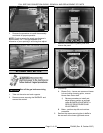
HIGH LIMIT THERMOSTAT
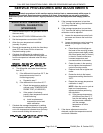
1. Take out racks from the oven.
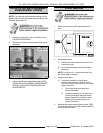
2. Remove the high limit thermostat
cover/mounting plate from inside the oven
cavity at the top.


