FULL SIZE GAS CONVECTION OVENS - SERVICE PROCEDURES AND ADJUSTMENTS
F24682 (Rev. B, October 2007)Page 27 of 68
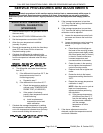
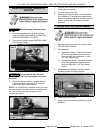
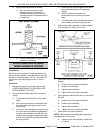
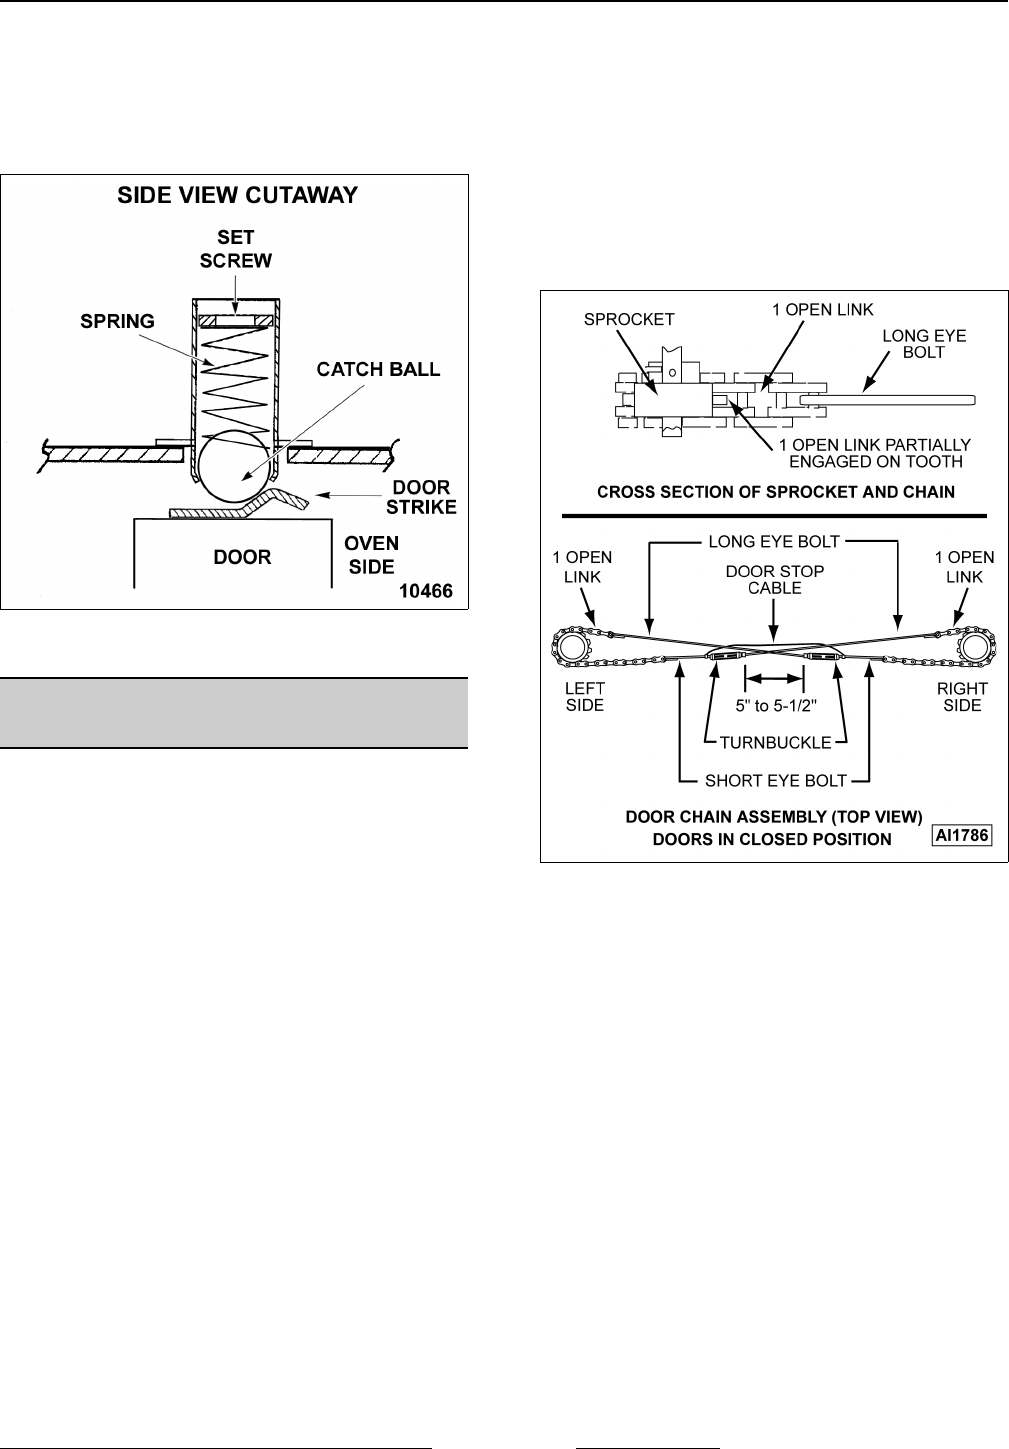
A. Adjust catch ball tension as follows:
1) Turn set screw inside the catch
assembly housing clockwise to
increase tension on catch ball and
counterclockwise to decrease tension
on catch ball.
2) Continue adjustment until proper door
operation is achieved.
DOOR CHAIN ADJUSTMENT
(SIMULTANEOUS DOORS)
Introduction
When the oven doors are in proper adjustment, as
the doors come together, the right door will lead the
left door in closing by about 1/4 inch. The doors will
feel like they are self closing the last 1/2 inch of
travel.
Procedure
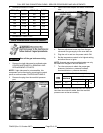
1. Remove the lower sill cover as outline under
COVERS AND PANELS in REMOVAL AND
REPLACEMENT OF PARTS.
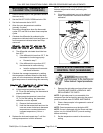
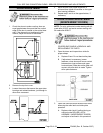
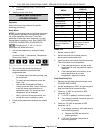
2. Close doors and check door chain for factory
setting.
A. Turnbuckles should be 5 to 5 1/2 inches
apart.
B. Short eye bolt should be connected to the
end of the chain that goes to the front of
the sprocket.
C. At the rear of the sprocket, one open link of
the chain should be partially engaged with
a tooth on the sprocket, the next open link
should not be engaged (completely empty),
and the last open link should be secured to
the long eye bolt.
D. Chain must be tight enough that the doors
move simultaneously when opened or
closed.
E. When the doors are opened, the
turnbuckles will move away from each
other.
F. The stop cable must be positioned where it
moves freely and does not get pinched.
3. Position door chain assembly to factory setting
if the conditions in step 2 are not met.
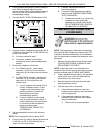
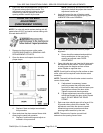
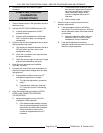
4. If right door does not lead the left door in
closing:
A. Loosen locknut on both turnbuckles.
B. Loosen left turnbuckle.
C. Tighten right turnbuckle.
D. Tighten locknut on both turnbuckles.
5. If the right door leads the left door by more than
3/8 inch:
A. Loosen locknut on both turnbuckles.
B. Loosen right turnbuckle.
C. Tighten left turnbuckle.
D. Tighten locknut on both turnbuckles.
6. Check doors for proper operation.
NOTE: The locknuts must be tight during testing or
the adjustment will not hold.
A. If doors do not close properly, repeat step
4, 5 and 6.


