Page 3-3
3-3
Cooking Products Service Manual
Original July, 1996 4321891
© 1996 Whirlpool Corporation
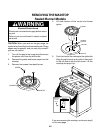
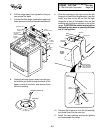
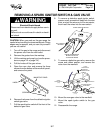
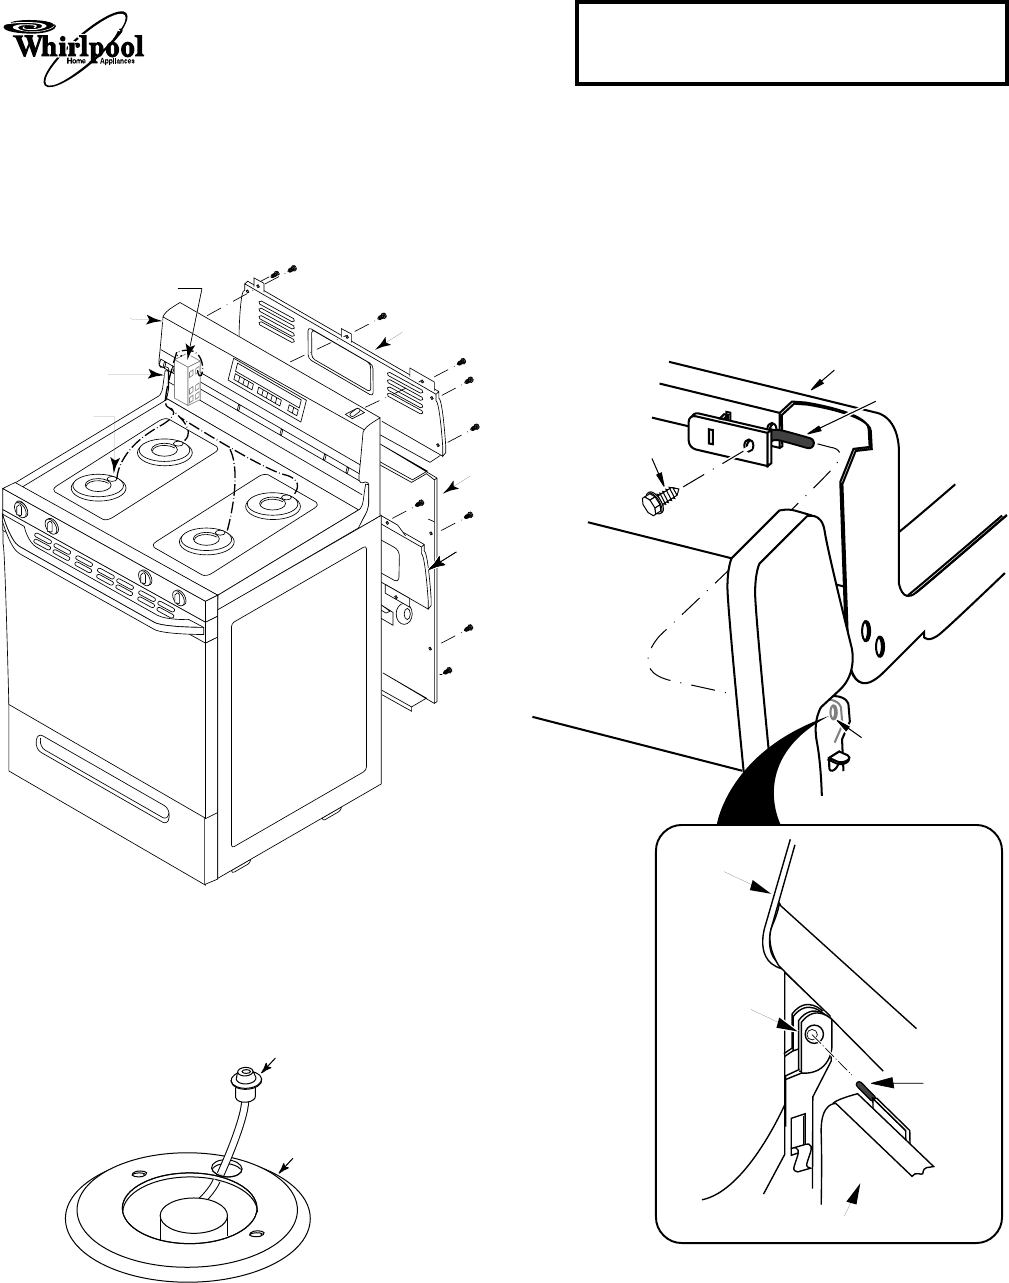
9. Slide the maintop to the right so that the left
hinge pin is free of the hinge bracket, (see the
inset), and then to the left so that the right
hinge pin is free of its bracket, then set the
maintop with the burner ignitors on top of the
range. CAUTION: Be careful not to pull on
the spark ignitor wires or you will pull them
out of the ignitors.
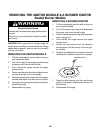
6. Pull the range away from the wall so that you
can access the back.
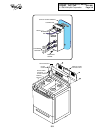
7. From behind the range, remove the upper and
lower access covers and the lower heat shield.
UPPER
ACCESS COVER
LOWER
ACCESS
COVER
LOWER
HEAT
SHIELD
IGNITOR MODULE
UPPER
CONSOLE
BURNER
IGNITOR
(4)
ROUTE WIRES
THROUGH
UPPER CONSOLE
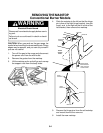
8. Unplug the burner ignitor wires from the igni-
tor module, pull them through the back of the
upper console to the front, and remove them
from the maintop.
BURNER IGNITOR
MAINTOP
HINGE PIN
MOUNTING
SCREW
UPPER
ACCESS
PANEL
MAINTOP
INSERT HINGE
PIN IN BRACKET
HOLE IN UPPER
ACCESS PANEL
HINGE
BRACKET
HINGE PIN
UPPER
CONSOLE
MAINTOP
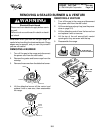
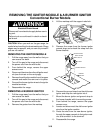
10. Remove the hinge pins from the old maintop
and install them on the new one.
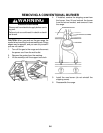
11. Install the new maintop and burner ignitors
and reassemble the range.


