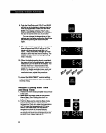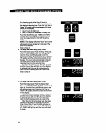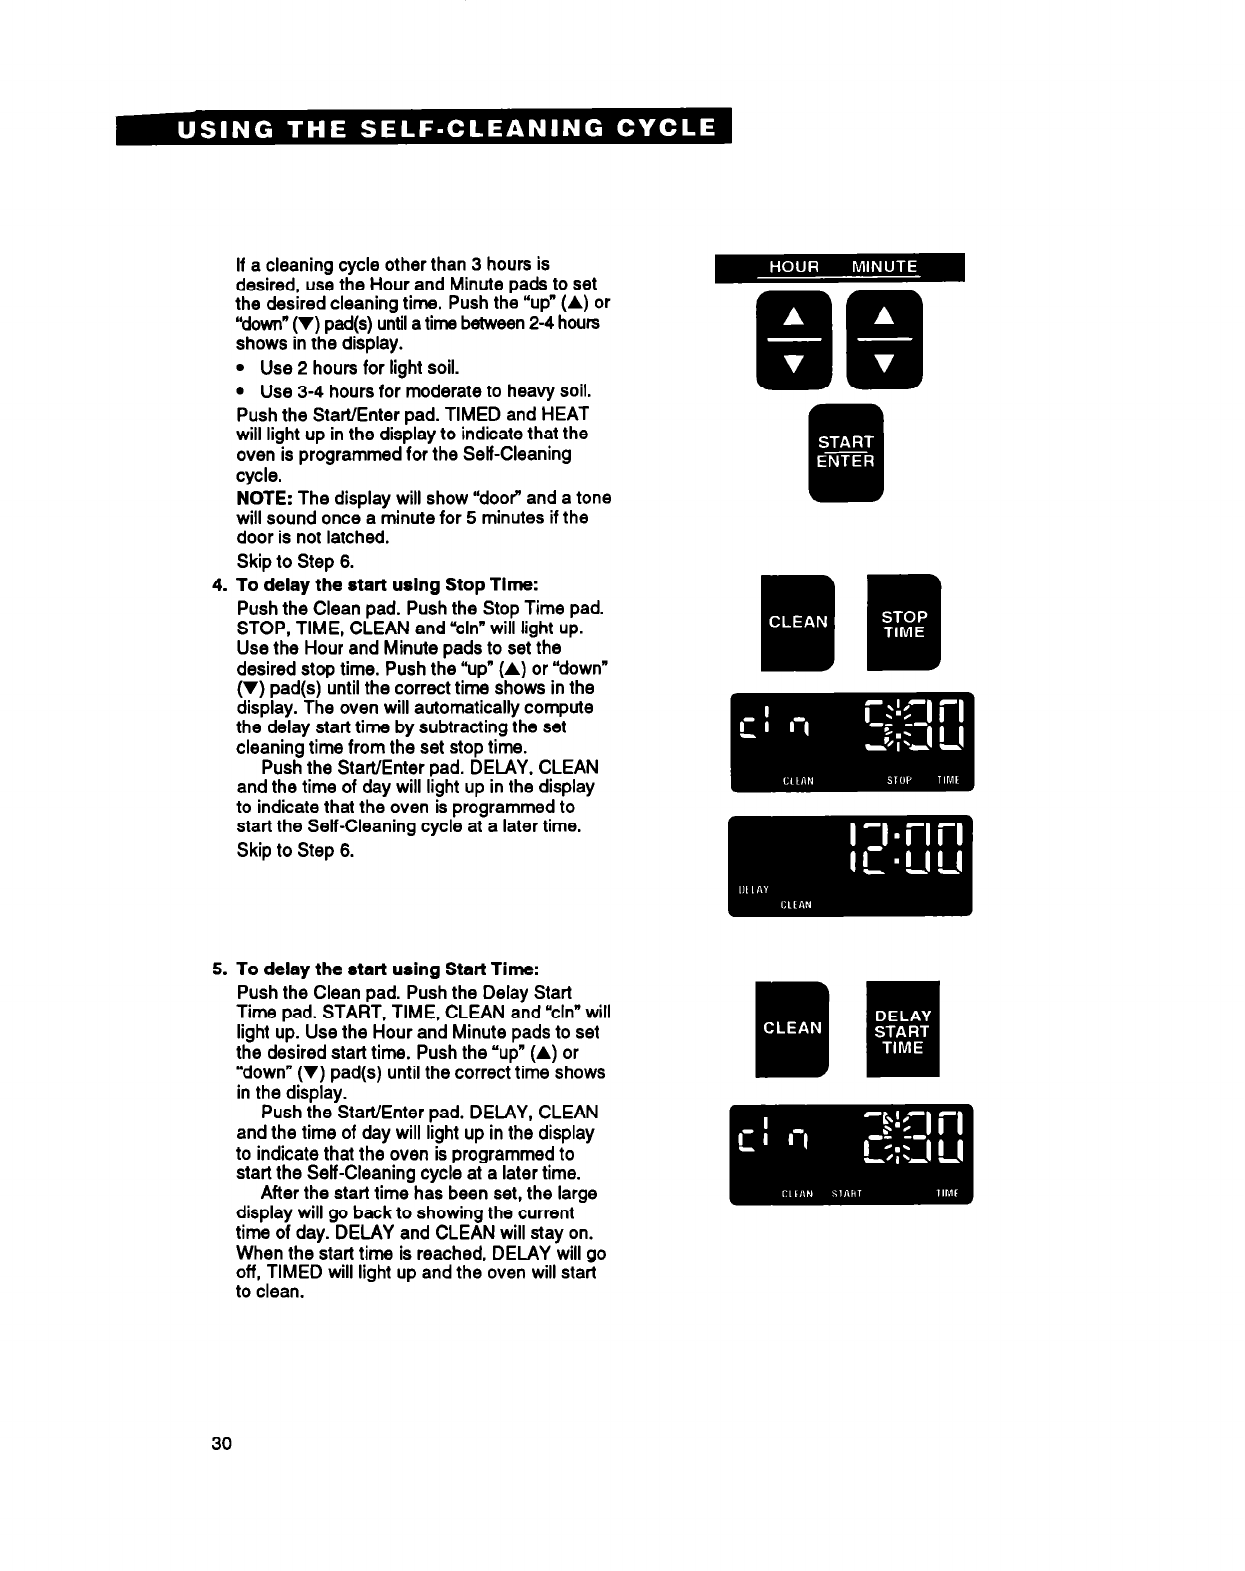
If a cleaning cycle other than 3 hours is
desired, use the Hour and Minute pads to set
the desired cleaning time. Push the “up” (A) or
“down” (V) pad(s) until a time between 2-4 hours
shows in the display.
l Use 2 hours for light soil.
l Use 3-4 hours for moderate to heavy soil.
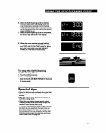
Push the Start/Enter pad. TIMED and HEAT
will light up in the display to indicate that the
oven is programmed for the Self-Cleaning
cycle.
NOTE: The display will show “door” and a tone
will sound once a minute for 5 minutes if the
door is not latched.
Skip to Step 6.
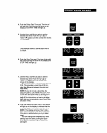
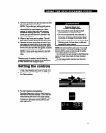
4. To delay the start using Stop Time:
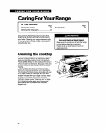
Push the Clean pad. Push the Stop Time pad.
STOP, TIME, CLEAN and “cln” will light up.
Use the Hour and Minute pads to set the
desired stop time. Push the “up” (A) or “down”
(V) pad(s) until the correct time shows in the
display. The oven will automatically compute
the delay start time by subtracting the set
cleaning time from the set stop time.
Push the Start/Enter pad. DELAY, CLEAN
and the time of day will light up in the display
to indicate that the oven is programmed to
start the Self-Cleaning cycle at a later time.
Skip to Step 6.
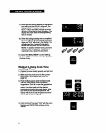
5. To delay the start using Start Time:
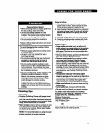
Push the Clean pad. Push the Delay Start
Time pad. START, TIME, CLEAN and “cln” will
light up. Use the Hour and Minute pads to set
the desired start time. Push the “up” (A) or
“down” (V) pad(s) until the correct time shows
in the display.
Push the Start/Enter pad. DELAY, CLEAN
and the time of day will light up in the display
to indicate that the oven is programmed to
start the Self-Cleaning cycle at a later time.
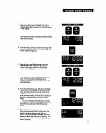
After the start time has been set, the large
display will go back to showing the current
time of day. DELAY and CLEAN will stay on.
When the start time is reached, DELAY will go
off, TIMED will light up and the oven will start
to clean.
30


