Creating reveal lesson activities
N OTE
You’ll complete the following tasks when creating reveal lesson activities:
l Creating tables (see Creating tables in SMARTNotebook software on page 58)
l Resizing cells (see Resizing tables, columns or rows on page 65)
l Filling a table’s background with a picture (see Changing a table’s properties on page 63)
l Adding objects to cells (see Adding objects to tables on page 60)
l Adding and removing cell shades (see Adding or removing cell shades on page 68)
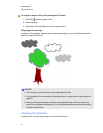
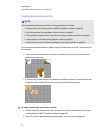
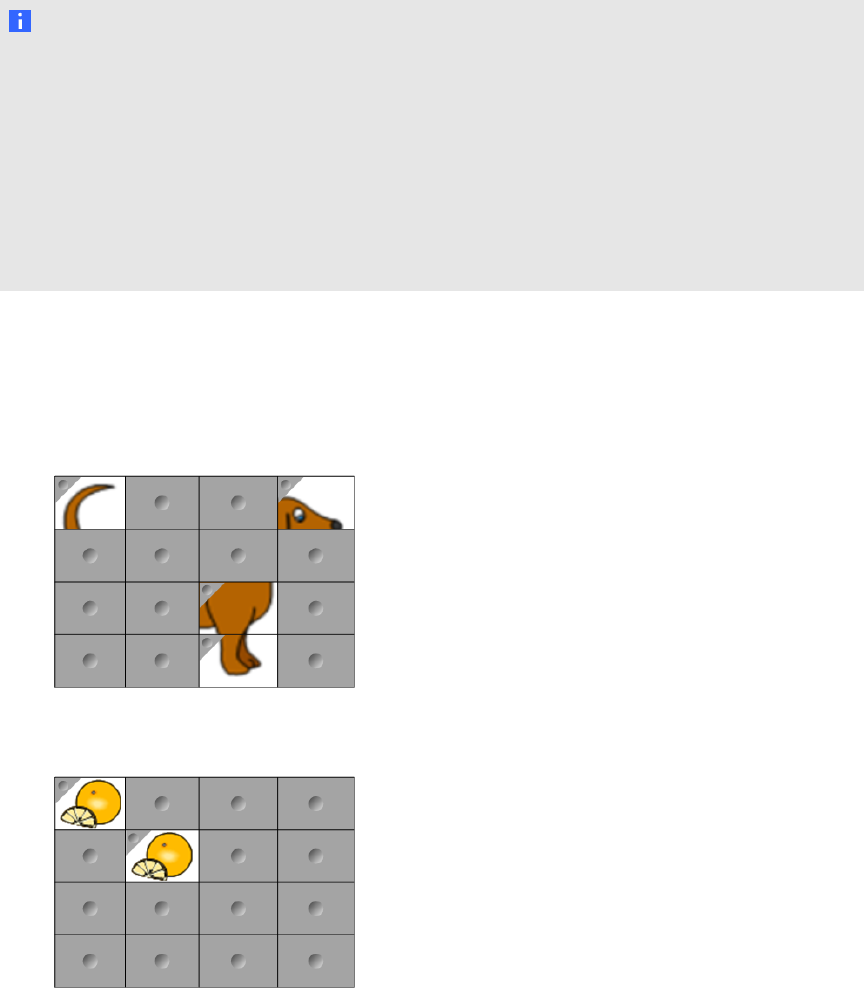
You can use tables and cell shades to create a variety of reveal lesson activities. The following are
two examples:
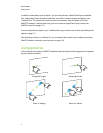
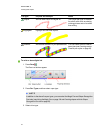
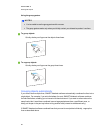
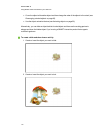
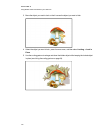
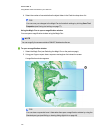
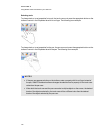
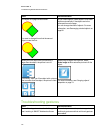
l A puzzle-style reveal lesson activity where you reveal parts of a picture until students can
guess what the picture is.
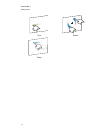
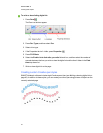
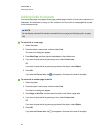
l A memory-style reveal lesson activity where you reveal the contents of the cell and then ask
students to choose other cells until they find the cell with matching contents.
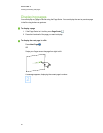
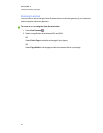
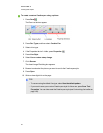
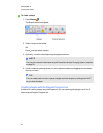
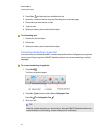
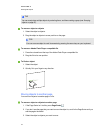
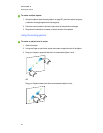
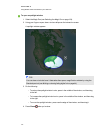
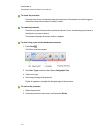
g To create a puzzle-style reveal lesson activity
1. Create a table with the number of cells you want to include in the reveal lesson activity (see
Creating tables in SMARTNotebook software on page 58).
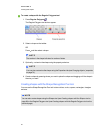
2. Resize the cells as appropriate (see Resizing tables, columns or rows on page 65).
C HA PT ER 8
UsingSMARTNotebooksoftwareinyour classroom
121