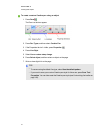
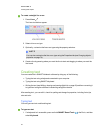
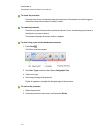
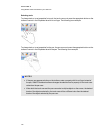
3. Select the table, press the table’s menu arrow, and then select Properties.
The Properties tab appears.
4. Press Fill Effects.
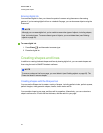
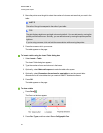
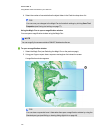
5. Select Image fill, press Browse, browse to and select the picture you want to use in the reveal
lesson activity, and then press Open.
6. Select Scale image to fit.
7. Press the table’s menu arrow, and then select Add Table Shade.
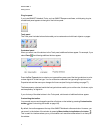
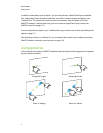
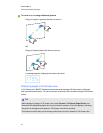
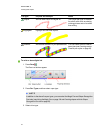
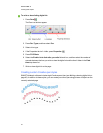
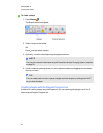
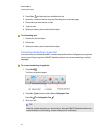
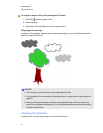
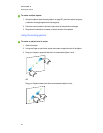
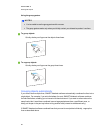
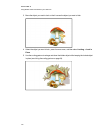
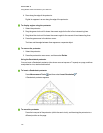
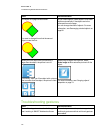
g To create a memory-style reveal lesson activity
1. Insert the objects you want to include in the lesson activity.
2. Create a table with the number of cells you want to include in the reveal lesson activity (see
Creating tables in SMARTNotebook software on page 58).
3. Resize the cells as appropriate (see Resizing tables, columns or rows on page 65).
4. Drag the objects into the cells of the table.
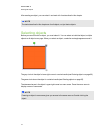
5. Press the table’s menu arrow, and then select Add Table Shade.
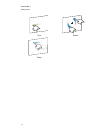
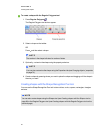
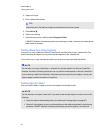
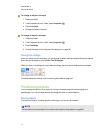
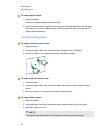
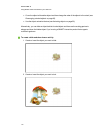
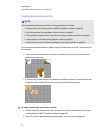
g To present a reveal lesson activity
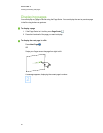
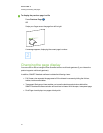
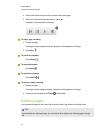
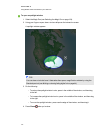
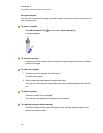
Press a individual cell’s cell shade to reveal the contents of the cell.
To hide the cell behind the cell shade, press <> in the corner of the cell.
Using other resources to create lesson activities
The Lesson Activity Toolkit and Lesson Activity Examples in the Gallery include interactive objects
you can use to create lesson activities. For more information on the Lesson Activity Toolkit, the
Lesson Activity Examples and the Gallery in general, see Finding and using content from the Gallery
on page 112.
The SMARTExchange website includes thousands of lesson plans, question sets and other content
that you can download and then open in SMARTNotebook software. For more information on the
SMARTExchange website, see Finding and using content from the SMARTExchange website on
page 113.
C HA PT ER 8
UsingSMARTNotebooksoftwareinyour classroom
122