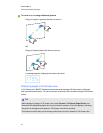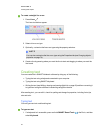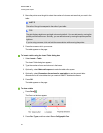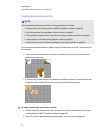
3. Do the following:
o
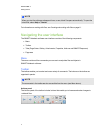
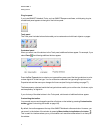
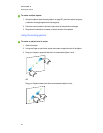
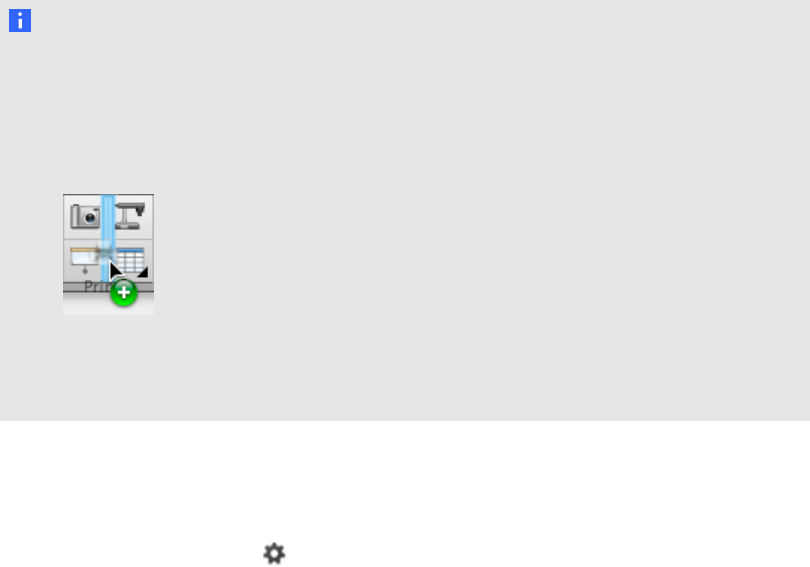
To add abutton to the toolbar, press its icon in the dialog box, and then drag it to the
toolbar.
o
To remove a button from the toolbar, press its icon in the toolbar, and then drag it away
from the toolbar.
o
To rearrange the buttons, press an icon in the toolbar, and then drag it to a new position in
the toolbar.
N OTES
o
You can only add, remove and rearrange buttons in the panel of the toolbar you
selected in step 2. For example, if you pressed Actions in step 2, you can only add,
remove and rearrange buttons in the Actions panel.
o
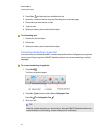
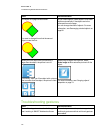
To span a button across rows, drag and hold it between two columns of buttons.
If you’re using a smaller screen resolution, only span one or two buttons across rows
to prevent issues when the toolbar is wider than the SMARTNotebook software
window.
4. Press Done.
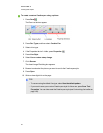
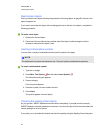
g To restore the default set of toolbar buttons
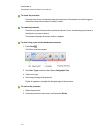
1.
Click Customize the toolbar .
OR
Right-click the toolbar.
A dialog box appears.
2. Press Restore Default Toolbar.
A PPEN DI X A
Customizingthe toolbar
144