30
Special Set-Up Procedure (Continued)
TAPING HEADS
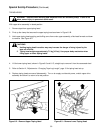
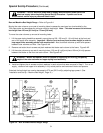
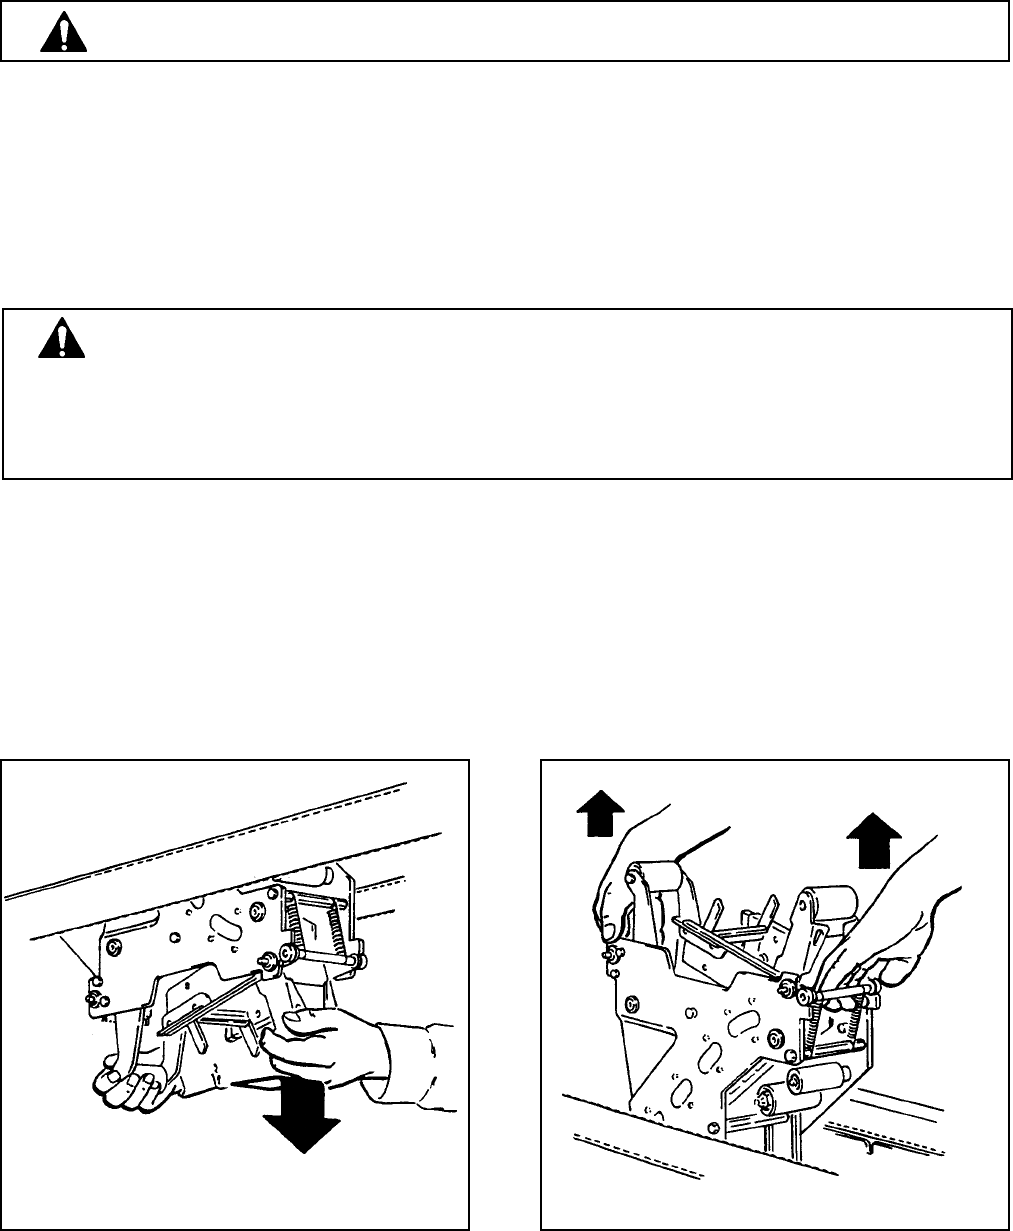
4. Lift the lower taping head, shown in Figure 6-3 and 6-1C, straight up to remove it from the case sealer bed.
5. Refer to Section II, "Adjustments – Changing Tape Leg Length", page 13 for taping head set-up.
6. Replace taping heads reverse of disassembly. Turn on air supply and electric power, unlatch upper drive
assembly and allow it to return to its rest position.
CAUTIONS
1. Holding taping head in another way may increase the danger of being injured by the
tape cut-off knife.
2. Taping head weighs approximately 7.2 kg [16 lbs]. Use proper body mechanics when
lifting upper or lower taping heads.
WARNING – Use care when working near knifes as knifes are extremely sharp. If care is not
taken, severe injury to personnel could result.
With upper drive assembly in raised position:
1. Remove tape from upper taping head.
2. Pivot up the clamp that secures the upper taping head as shown in Figure 6-1B.
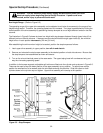
3. Hold upper taping head applying and buffing arms from under upper assembly, slide head forward and down
to remove. See Figure 6-2.
Figure 6-2 – Remove Upper Taping Head
Figure 6-3 – Remove Lower Taping Head


