16
Care and Cleaning
Removing Oven Door
CAUTION
!
To avoid risk of personal injury or door damage, lay
the door flat with the inside of the door facing down for
safe, temporary storage. The door is heavy.
Hinge Type 1
1. Open the door to the fully opened position.
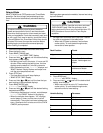
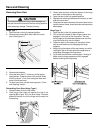
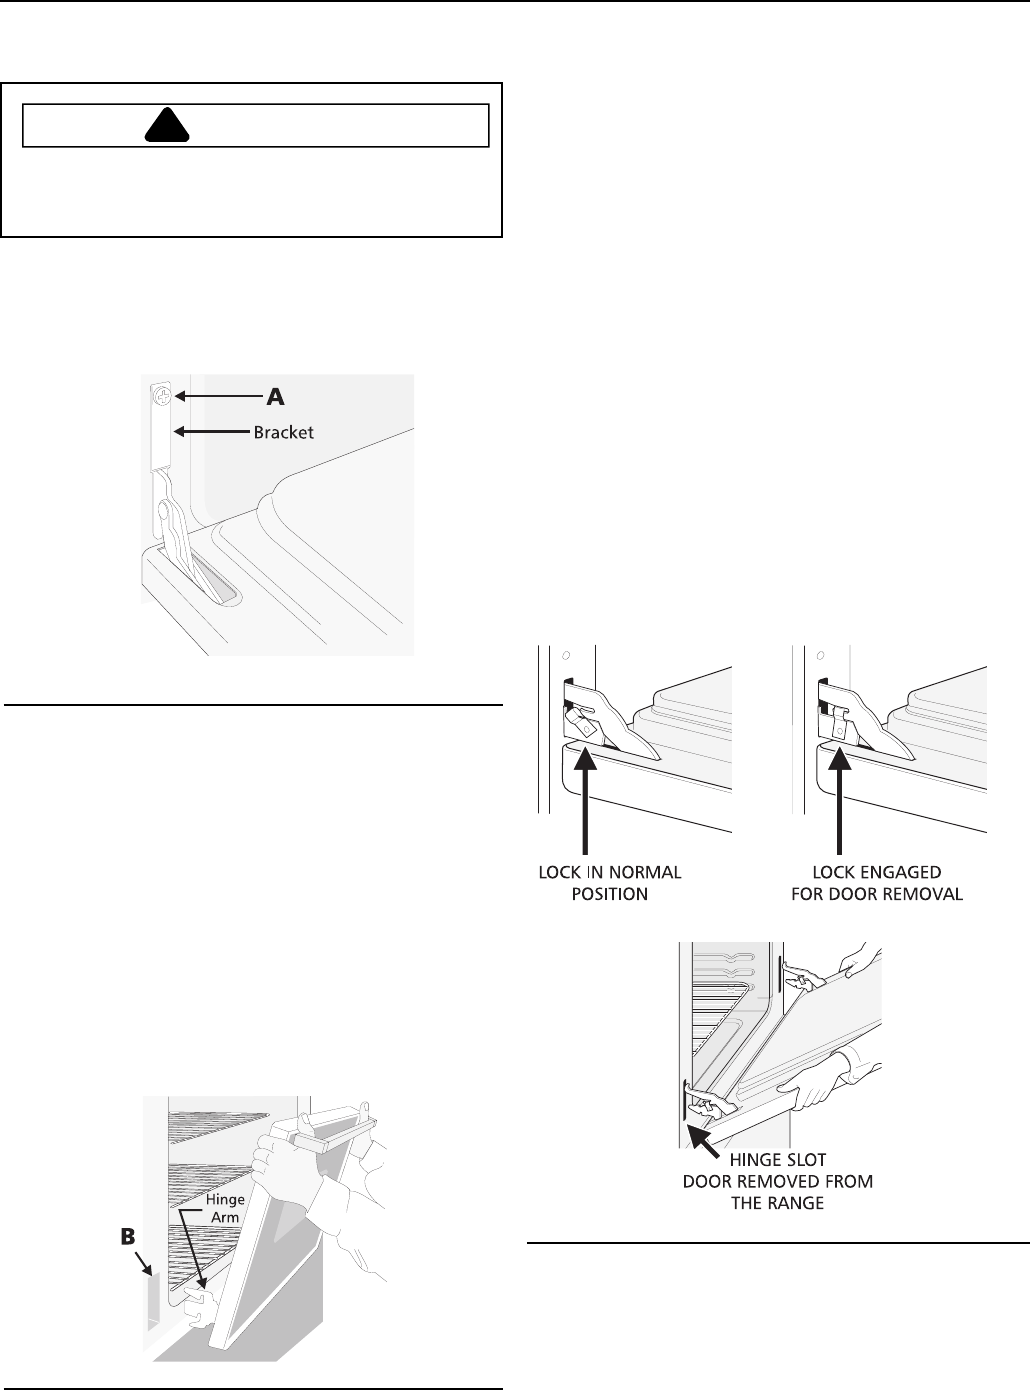
2. Remove the screws (A) on each side of the oven
door. (See Figure 11.)
Figure 11
3. Remove the brackets.
4. Close the door about
3
/4 of the way to the quarter-
open position. Grasp the door firmly on both sides
and lift up about
1
/2 inch, then swing the lower end
away from the wall oven.
5. To clean oven door, see the cleaning chart in “Care
and Cleaning” section.
Reinstalling Oven Door (Hinge Type 1)
1. Grasp the door firmly on both sides.
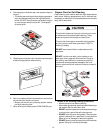
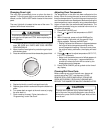
2. Place top of the hinge arm against the top of the
opening (B in Figure 12) in the oven frame. Press the
bottom of the door in until the hinge is all the way into
the opening.
Figure 12
3. Gently lower the door so that the bottom of the hinge
arm rests on the bottom of the opening.
4. Open the door to the fully opened position.
5. Replace the retaining brackets and screw(s) on each
side of the oven door.
6. Close the oven door completely. If the door does not line
up with the oven frame, remove the door and repeat the
above steps.
Hinge Type 2
1. Open the door to the fully opened position.
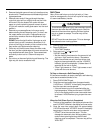
2. Pull up the lock located on each hinge support and
engage it in the hook of the hinge lever. You may
have to apply a little downward pressure on the door
to pull the locks fully over the hooks.
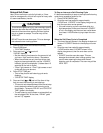
3. Grasp the door by the sides, pull the bottom of the
door up and toward you to disengage the hinge
supports.
4. Keep pulling the bottom of the door toward you while
rotating the top of the door toward the appliance to
completely disengage the hinge levers.
5. To reinstall the oven door, reverse steps 1 through 4.
Make sure the hinge supports are fully engaged
before unlocking the hinge levers
.
Figure 13—Hinge Type 2


