


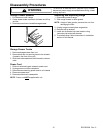
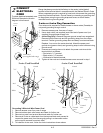
Disassembly Procedures
To avoid risk of electrical shock, personal injury or death;
disconnect power supply source before servicing, unless
testing requires it.
WARNING
!
RS2320006 Rev. 0 14
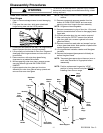
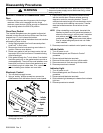
Broil Element
1. Turn off power to unit.
2. Remove screw securing broil element to rear of oven
wall.
3. Remove screws securing element hanging clip to
oven cavity.
4. Pull broil element forward enough to disconnect
terminals on each element leg.
5. Reverse procedure to reinstall broil element.
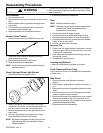
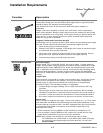
Sensor, Oven Control
1. Remove screws securing SENSOR to oven liner.
2. Gently pull wires forward to access the two pin
polarized disconnect plug.
3. Disconnect and reconnect new sensor.
4. Reverse procedure to reassemble.
NOTE: Verify disconnect terminal is behind the rear
insulation retainer.
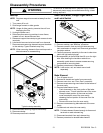
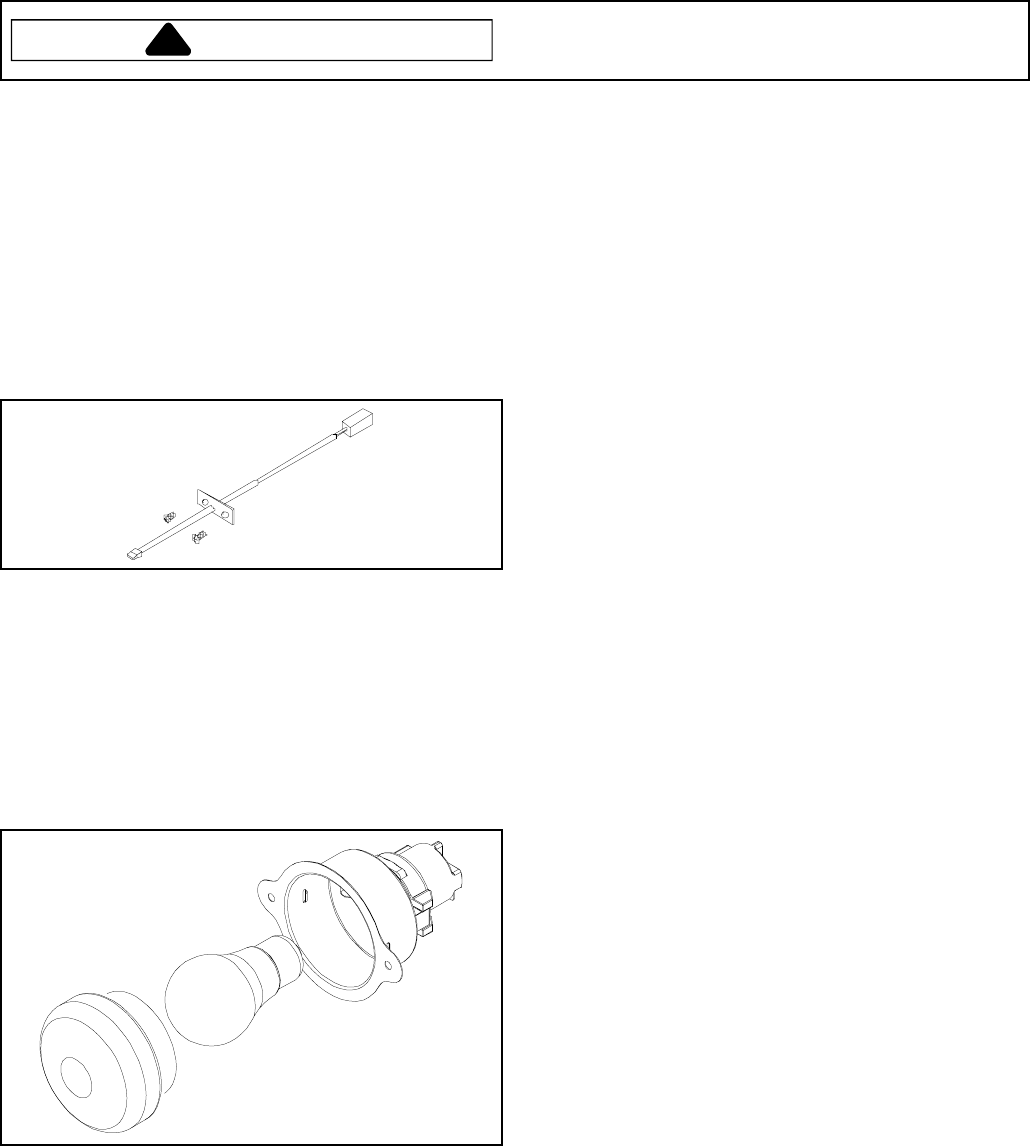
Oven Light and Oven Light Socket
1. Disconnect electrical supply to oven.
2. Wearing protective gloves unscrew the knurled
mason jar lens cover counterclockwise about 3/4
turn and remove. Unscrew old oven light bulb.
3. Remove screws securing oven light socket to the
oven cavity.
4. Pull oven light socket out through the front and
disconnect wire terminals from socket.
NOTE: Reposition fiberglass insulation around oven
light socket to eliminate possibility of heat
related problems.
5. Reverse procedures to reassemble.
Flue
NOTE: Requires removal of range.
NOTE: Self-clean cycle is highly recommended before
replacing flue. Ease of disassembly and
reassembly is much easier.
1. Disconnect electrical supply to range.
2. Using floor protection guides, slide range forward.
3. Remove backguard shield from rear of backguard.
4. Remove screws securing smoke eliminator located
inside, at top of oven cavity.
5. Pull flue out away from the range.
Replacing Flue
1. Place a thin but rugged piece of cardboard in the slot
where flue goes, this holds the insulation up and out
of the way for reassembly.
2. Align the smoke eliminator screen through oven and
secure with screws.
3. Reassemble in reverse order.
Leveling Leg Bracket
Remove screws securing bracket to chassis.
Front Frame and Oven Liner
Front Frame and Oven Liner are NOT field replaceable
on these units.
Side Panel
1. Remove maintop, see Maintop procedure
steps 1 7.
2. Remove lower access panel, located on the rear of
unit.
3. Remove screws securing backguard bracket to side
panel.
4. Remove oven door from unit and slide oven drawer
outward to gain access to screws.
5. Remove screws securing side panel to oven chassis.
Screws are located on top, front, and back of unit.
6. Remove side panel by pulling outward on the back of
panel and sliding panel forward.
7. Reverse procedure to reassemble.