R9830350 Octopus User Guide (2001-08) 4-1
4.3.1 Application Startup
To start the OCTOPUS ADMINISTRATOR client, one need only to double click on the OCTOPUS
ADMINISTRATOR
icon, or start it from the start menu in a similar manner to the OCTOPUS SERVER (above).
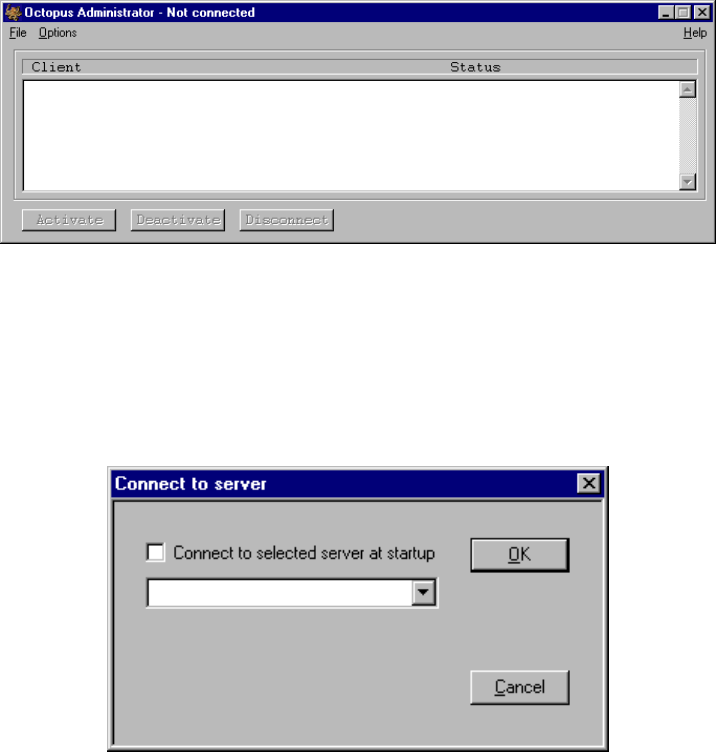
Once the application has started, you will be presented with a simple graphical user interface which will
allow you to control access rights to a particular O
CTOPUS SERVER.
Figure 23
Octopus Administrator main interface
4.3.2 Connecting to an Octopus Server
To change the access rights to a particular OCTOPUS server, you must first connect the Administrator
client to it. This is done by selecting the Connect menu item from the Options menu. You will then be
presented with a dialog box where you are to type the network name (or IP address) of the computer that
is running the O
CTOPUS SERVER software.
Figure 24
connect to Server dialog
If you plan to connect to only one OCTOPUS SERVER (and hence, only one wallboard display), you can
toggle the
Connect to selected server at startup check box. Next time you start the Administrator client,
you will automatically connect to that server. When successfully connected to an O
CTOPUS server, the
name of that machine will be displayed in the title bar of the Administrator client window.
If the server is not running, the computer is down, or the network name you just typed does not exist, the
administrator client will seem to hang for a short period. This waiting period is due to the system looking
for that particular computer on the network and can last up to 30 seconds. After the connection is
established, a couple of options will now be enabled. One of them is
Terminate Server which, like its
name implies, will kill the O
CTOPUS SERVER (both application and service).
