


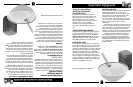

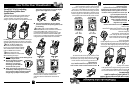

How To Use Your Breadmaker
on the display, and the “12” of 12:00 AM flashes as
it did when setting the clock above. While the “12”
is flashing, press the “Up” or “Down” arrows to
change the “12” to “8”, checking to make sure “AM”
is displayed. To set the minutes, press the TIMER
button while the hour setting is flashing. If the hour
setting has stopped flashing before the minutes have
been set, press and hold the TIMER button. With the
hour setting flashing again, immediately press the
TIMER button to set the minutes. While the “00” is
flashing, the minutes can be set to “30” using the
“Up” or “Down” arrows. When the “30” stops flashing
and the current time is displayed, the timer is set.
3
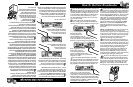
To start the delayed completion timer, press the
TIMER button. The completion time will flash
briefly and be replaced by the current time in the
display, and the green TIMER light will come on.
If the green light does not come on, and
“13 Hr ” appears on the display, you
have set the TIMER for longer than the maximum
13 hour delay. To reset the TIMER hold the TIMER
button until the hour setting flashes, and the time can
be changed using the “Up” and “Down” arrows.
If the green light does not come on, and
“0 Hr ” appears, the TIMER has
been set for a delayed completion time which is
shorter than the actual bake time (for example 3:50 is
the bake time for Sweet Bread). Reset the TIMER for a
longer delayed completion time.
4
To cancel the TIMER function, press the TIMER
button and the green light will go out.
5
To check the completion time while the green
TIMER light is on, press the TIMER button twice.
To check the completion time while the red light is
on, press the TIMER button once.
6
When the actual breadmaking operation begins,
the green “timer” light will go out, the red “on” light
will come on, and total bake time (3:50 for Sweet Bread)
will appear on the display. The bake time will count
down in one minute intervals. When the end of the
countdown is reached, a beeping signal will sound and
your bread is complete. The red light will now begin
flashing to show the Breadmaker has automatically
activated the 60 minute “Keep Warm” function.
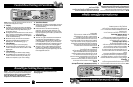
TIMER
ERR
TIMER
ERR
11
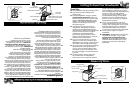
Specific questions about the breadmaker functions
and problems with ingredients or recipes are
addressed in the “Need Help?” section beginning on
pg. 39.
● If there is an operational problem with the unit,
you may see a hyphen, colon, double hyphen
(- : --) message in the display window.
This means there is an operational/mechanical
malfunction. DO NOT USE THE UNIT. Unplug
the unit and contact your local service center for
repair. Call the toll-free number on the cover of
this booklet to ask for the location of the Black &
Decker service center nearest you.
● If the START/RESET button is pressed and the
word “HOT” appears in the display window, it
indicates that the unit has not cooled sufficiently
after baking to use immediately again. Open the
lid, remove the Baking Pan and allow the inside
of the unit to cool. Once the unit has cooled suffi-
ciently, pressing the START/RESET button will
immediately start the breadmaking operation.
● For specific problems with Bread/Dough results,
see the Troubleshooting guide on the next page:
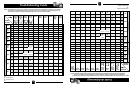
Troubleshooting
11
Utilisation du robot-boulanger
2
Lorsque l’horloge est réglée, on peut facilement régler
la MINUTERIE en suivant des étapes
semblables. Ainsi, pour se réveiller à l’arôme du bon
pain frais à 8 h 30, enfoncer la touche de la minuterie et la
maintenir enfoncée jusqu’à ce que la mention TIMER soit
affichée et que le chiffre 12 de la mention 12:00 AM clignote
comme lors du réglage de l’heure. Lorsque le chiffre 12
clignote, enfoncer la flèche vers le haut ou vers le bas pour
remplacer la mention 12 par la mention 8, en s’assurant
que la mention AM est affichée. Pour régler les minutes,
enfoncer la touche de la minuterie tandis que la mention
de l’heure clignote. Si la mention de l’heure ne clignote
plus avant d’avoir réglé les minutes, enfoncer la touche
de la minuterie et la maintenir enfoncée. Pendant que la
mention de l’heure clignote encore, il faut enfoncer sans
tarder la touche de la minuterie pour régler les minutes.
Lorsque le chiffre 00 clignote, on peut régler les minutes à 30
à l’aide de la flèche vers le haut ou vers le bas. La minuterie
est réglée lorsque la mention 30 arrête de clignoter et que
l’heure juste est affichée.
3
Pour actionner la minuterie de la préparation retardée,
enfoncer la touche de la minuterie. Le temps de la fin
de la panification clignotera brièvement et le témoin vert de
la minuterie s’allumera. Lorsque le témoin vert ne s’allume
pas et que la mention «13 Hr » est
affichée, cela signifie que la minuterie est réglée pour un
délai excédant 13 heures. Pour régler de nouveau la
minuterie, il faut enfoncer la touche de la minuterie et la
maintenir enfoncée jusqu’à ce que le chiffre des heures
clignote. On peut alors modifier l’heure à l’aide des flèches
vers le haut ou le bas. Lorsque le témoin vert ne s’allume pas
et que la mention « 0 Hr » est affichée,
cela signifie que la minuterie est réglée pour un délai
inférieur au temps de panification requis (ainsi, 3 h 50 est le
temps de panification des pains sucrés). Régler la minuterie
pour un délai supérieur de panification retardée.
4
Pour annuler la fonction de la minuterie, enfoncer la
touche de la minuterie et le témoin vert s’éteint.
5
Pour vérifier le temps qui reste à la panification lorsque
le témoin vert est allumé, il faut enfoncer à deux rep
rises la touche de la minuterie. Pour vérifier le temps qui
reste à la panification lorsque le témoin rouge est allumé, il
faut enfoncer à une seule reprise la touche de la minuterie.
6
Lorsque la panification débute, le témoin vert s’éteint
et le témoin rouge s’allume et le temps requis à la
panification est affiché (3 h 50 pour un pain sucré). Le compte à
rebours du temps de panification se fait à raison d’une minute à
la fois. À la fin du compte à rebours, un signal sonore est émis et
le pain est prêt. Le témoin rouge se met alors à clignoter pour
indiquer que le robot-boulanger se trouve automatiquement en
mode de maintien au chaud pour 60 minutes.
TIMER
ERR
TIMER
TIMER
ERR
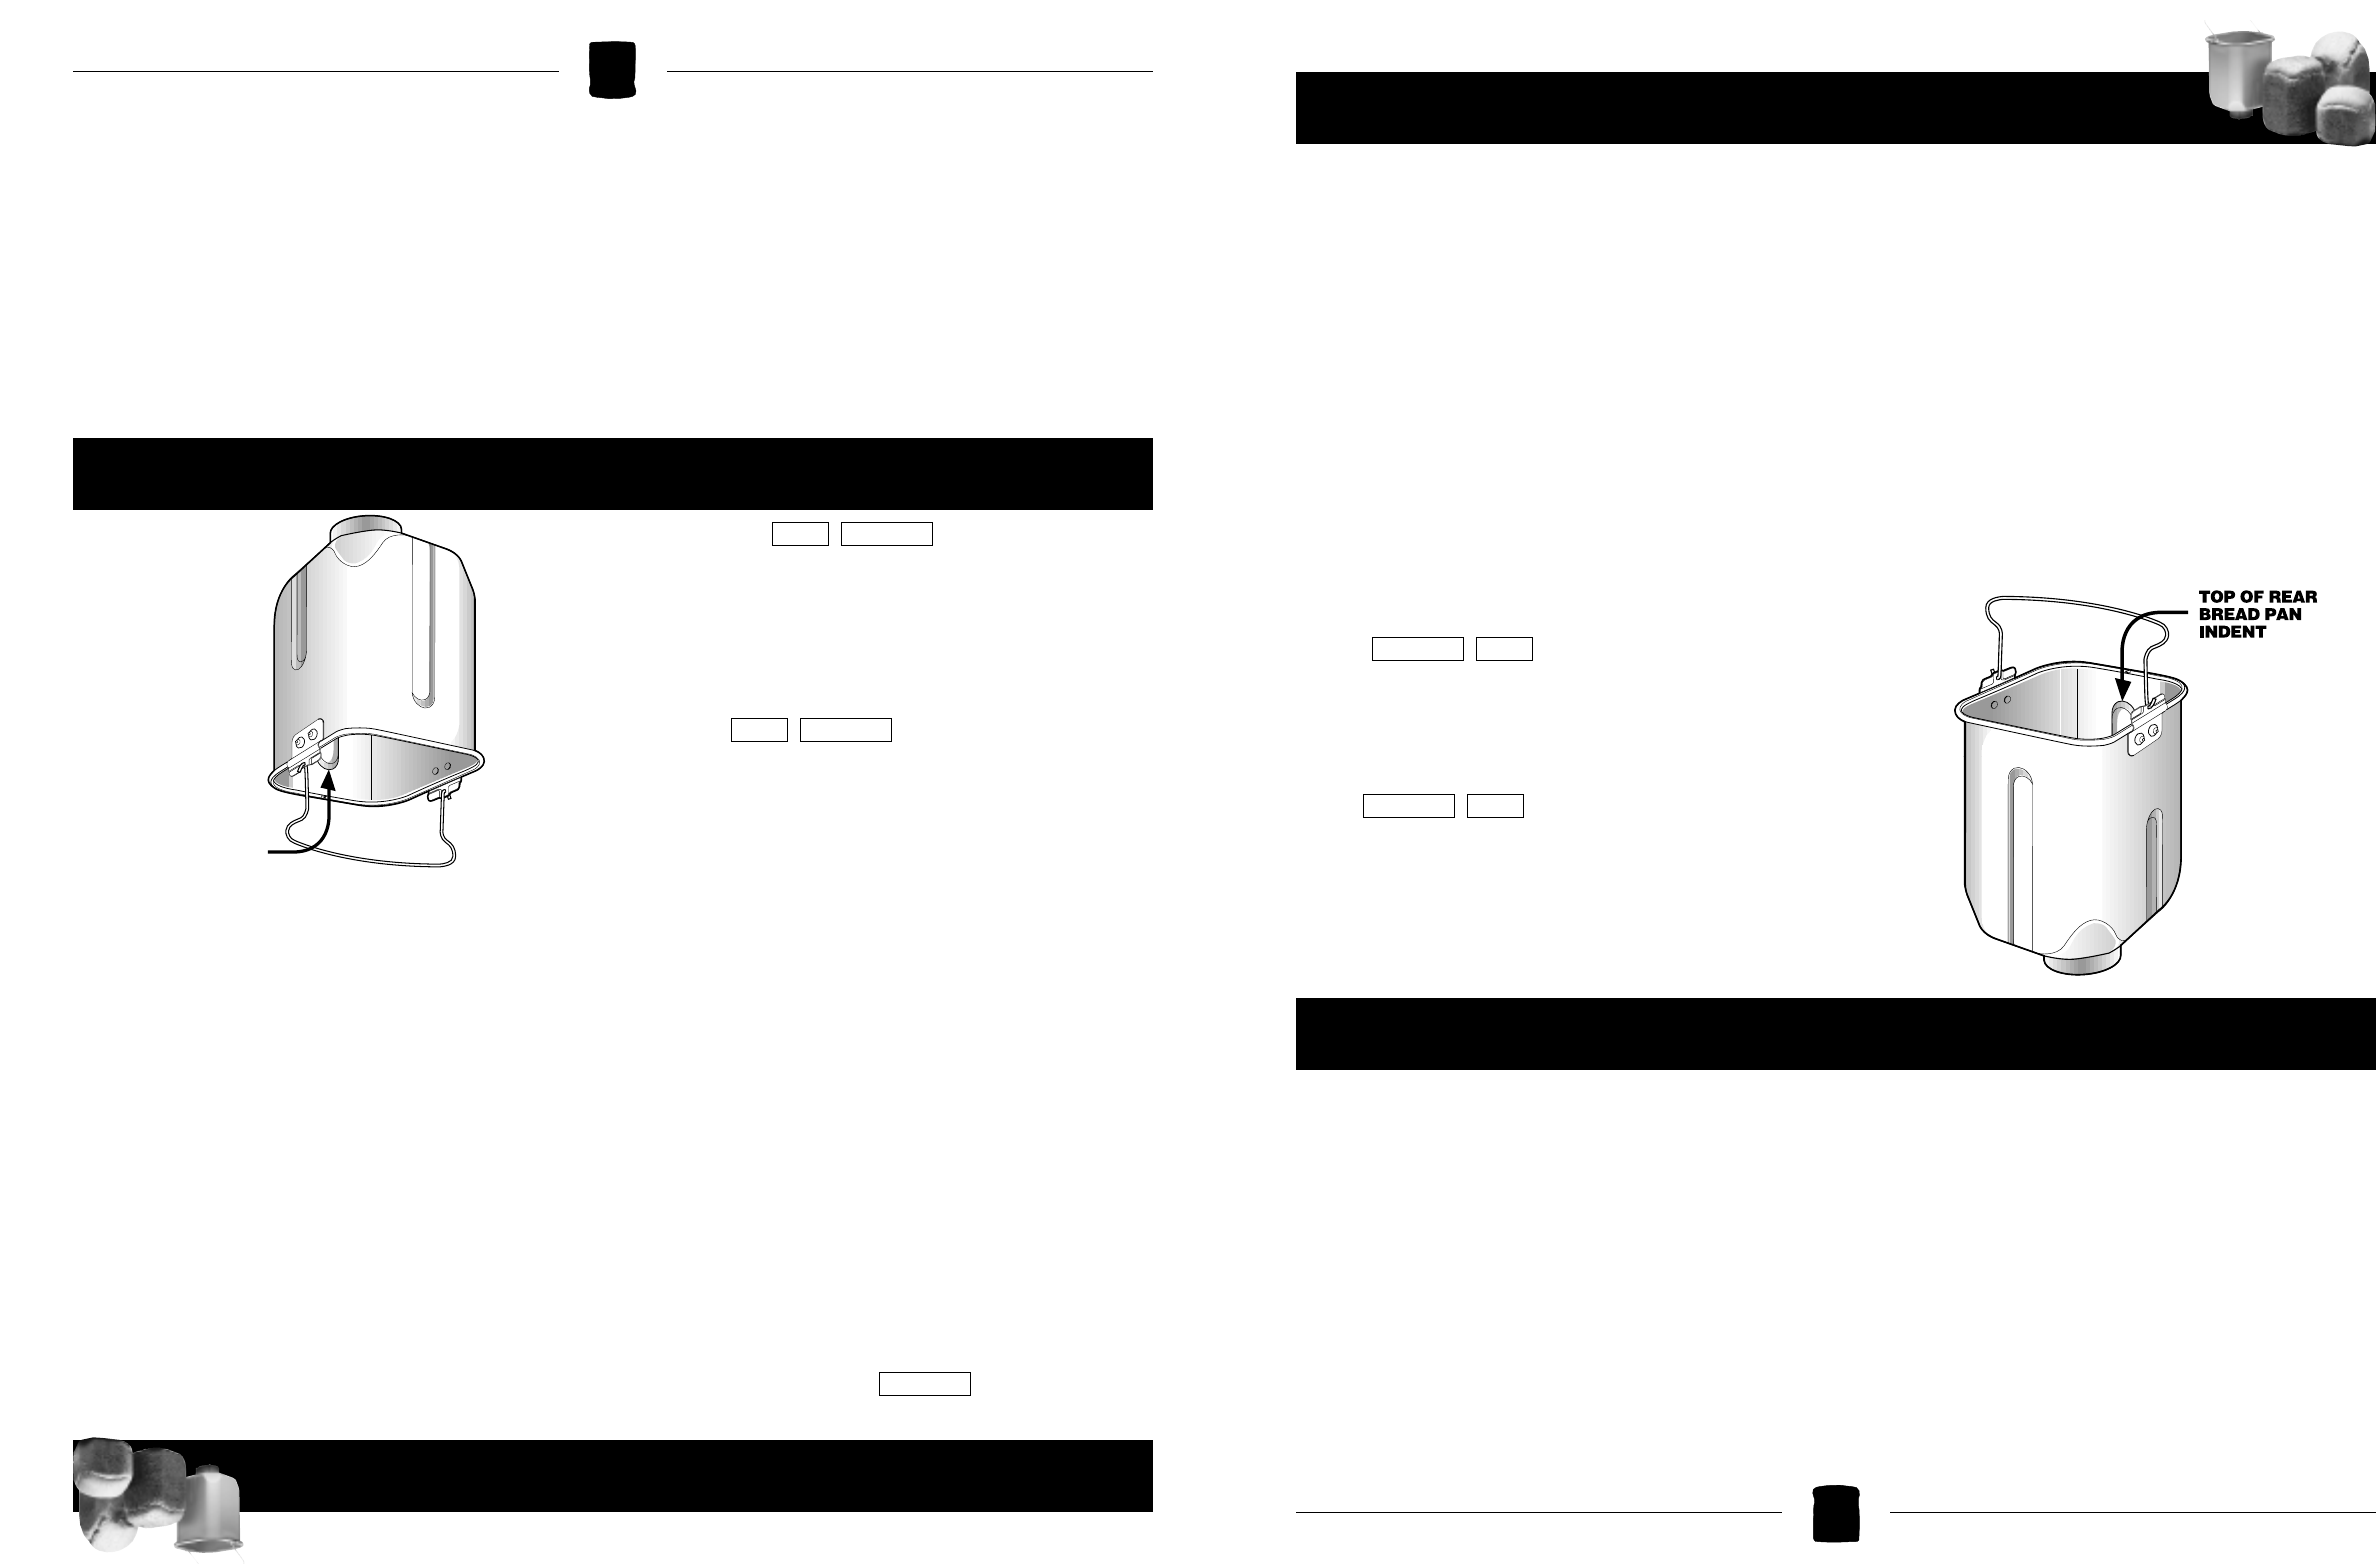
ENCOCHE À
L’ARRIÈRE
DE LA PARTIE
SUPÉRIEURE
DU PLAT DE
CUISSON
Dépannage
La rubrique «Besoin d’aide?» (à la page 38) expose des
questions précises relatives au fonctionnement du
robot-boulanger ainsi qu’aux recettes et aux ingrédients.
● Lorsque l’appareil fonctionne mal, le message «-:--» est
affiché. Ce message signifie qu’il y a un problème de
fonctionnement. NE PAS SE SERVIR DE L’APPAREIL.
Débrancher alors l’appareil et communiquer avec le
centre de service de la région pour le faire réparer.
Composer le numéro sans frais indiqué sur la couver-
ture du présent guide pour obtenir l’adresse du centre
de service Black & Decker de la région.
● Il se peut que le mot "HOT" soit affiché lorsqu'on
enfonce la touche de démarrage. Cela signifie que
l'appareil n'a pas eu suffisamment de temps pour
refroidir après la cuisson et qu'il ne peut être réutilisé
immédiatement. Ouvrir le couvercle, retirer le plat de
cuisson et laisser refroidir l’intérieur de l’appareil.
Lorsque l'appareil est refroidi, il suffit d'enfoncer la
touche de démarrage pour actionner le processus de
panification.
● En cas de problèmes spécifiques relatifs aux résultats
obtenus pour du pain ou de la pâte, consulter le guide
de dépannage suivant.