82
4
4
Nikki Carburetor
Vertical Models 280000, 310000,
330000
Remove Carburetor
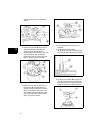
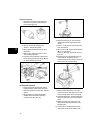
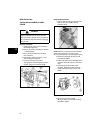
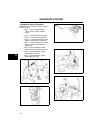
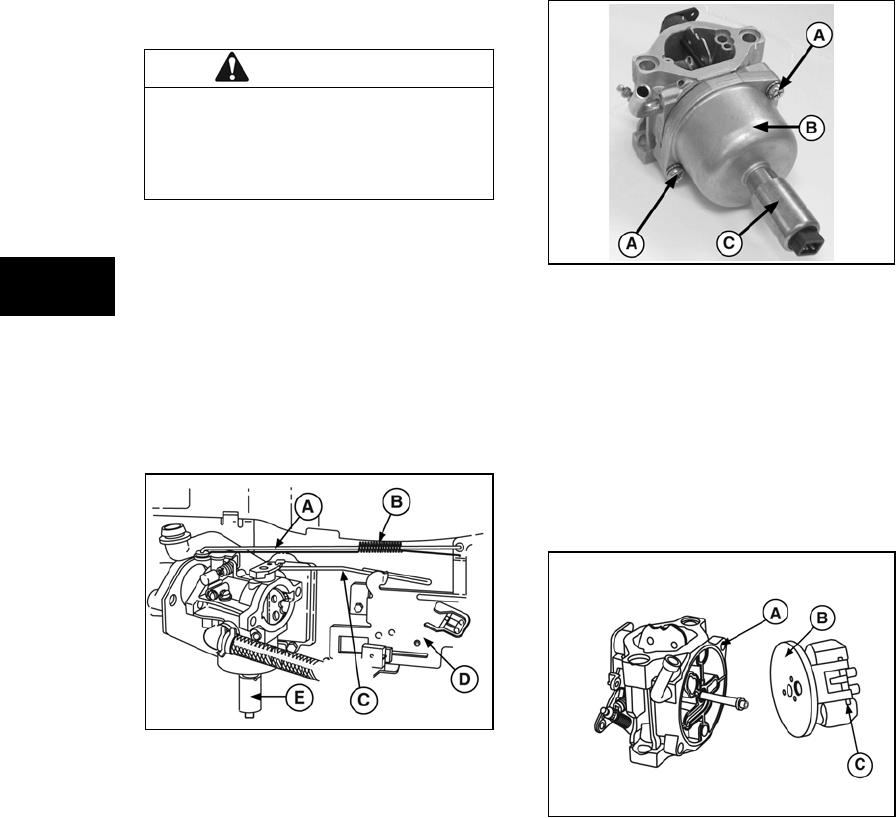
1. Disconnect the wire from the carburetor
solenoid (E, Figure 55).
2. Remove air cleaner assembly per Section
1. Discard gasket.
3. Move clamp and disconnect fuel hose
from carburetor.
4. Remove two carburetor screws or nuts
while holding the carburetor.
5. Carefully rotate the carburetor to
disengage the choke linkage (C), governor
link (A), and governor link spring (B).
Figure 55
Disassemble Carburetor
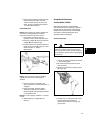
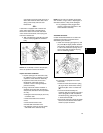
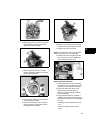
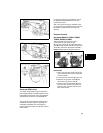
1. Remove fuel bowl screws (A, Figure 56).
Remove the fuel bowl (B) from the
carburetor body.
Figure 56
NOTE: There is a spring between the fuel bowl
and the float assembly. Use caution when
removing the fuel bowl to avoid losing the spring.
2. Remove the solenoid (C) from the fuel
bowl. Discard gasket.
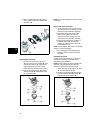
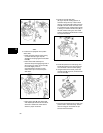
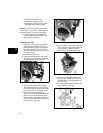
3. Remove the fuel transfer tube (B) from the
carburetor base (A, Figure 57). Discard o-
rings.
4. Pull the hinge pin (C) from the float
assembly. Separate the float and inlet
needle. Discard the hinge pin and inlet
needle.
Figure 57
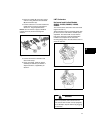
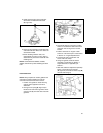
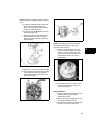
5. Remove the float bowl gasket
(D, Figure 58) from the carburetor body.
Discard the gasket.
WARNING
Before servicing the carburetor or other fuel
system components, drain all fuel from the
tank and turn OFF the fuel valve (if equipped).
Do not attempt to stop the fuel flow by plugging
the fuel hose.


