


Page 27
SERVICE (cont.)
ELECTRONIC CONTROL ASSEMBLY (cont.)
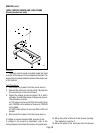
P924
Triac Assembly Removal and Replacement
NOTE - each triac installation requires the use of an
approved silicone heat sink compound. Bunn-O-
Matic recommends the use of Dow Corning 340
compound or equivalent. It can be purchased direct
from Bunn-O-Matic (part number M2522.0002).
1. Place the tank heater switch on the electronic
control assembly in the “OFF” position.
2. Completely drain the tank.
3. Place a stryofoam or wood block between the
center of the tank and the rear of the brewer.
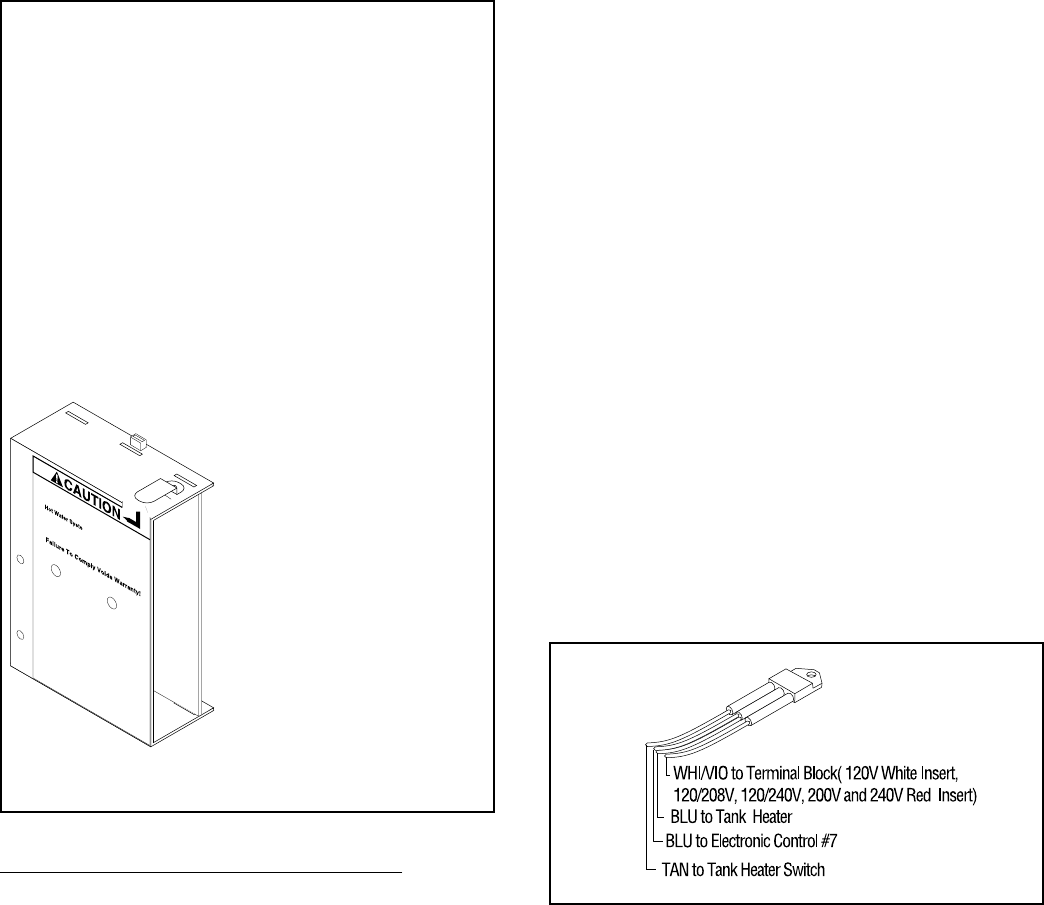
4. Disconnect triac wires, white/violet from terminal
block, blue from tank heater, blue from electronic
control and tan from tank heater switch.
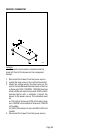
5. Carefully set the brewer on its back.
6. Remove the 2" dia hole plug from the bottom
cover.
7. Remove the two #8-32 keps nuts securing tank to
tank mounting bracket.
8. Remove the twelve #8-32 slotted head screws
securing the bottom cover.
9. Remove the bottom cover with the four feet, the
tank mounting brackets, triac/heat sink as an
assembly.
10. Remove triac/heat sink from tank mount
ing bracket and discard.
11. Install new triac/heat sink assembly on
tank mounting bracket.
12. Route the wires up around the rear of the
brewer.
13. Reinstall the bottom cover, four feet, tank
mounting brackets and triac/heat sink to the
bottom of the tank using two #8-32 keps nuts.
14. Secure bottom cover to brewer base with
twelve #8-32 slotted head screws.
15. Stand the brewer upright.
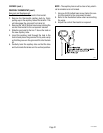
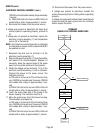
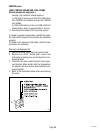
16. Reconnect the wires of the new triac assembly.
Refer to the illustration below when reconnect-
ing wires.
P923