


Configuring Bridge Ports 11-7
Bridge Configuration
Blocked Flag
This value will cause the port to be enabled (if No) or disabled (if Yes) when the
device is powered up or rebooted. Whichever state is selected, the port will
remain in that state until this value is changed or until an enable or disable action
is performed. The default value for this parameter is No.
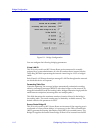
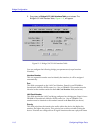
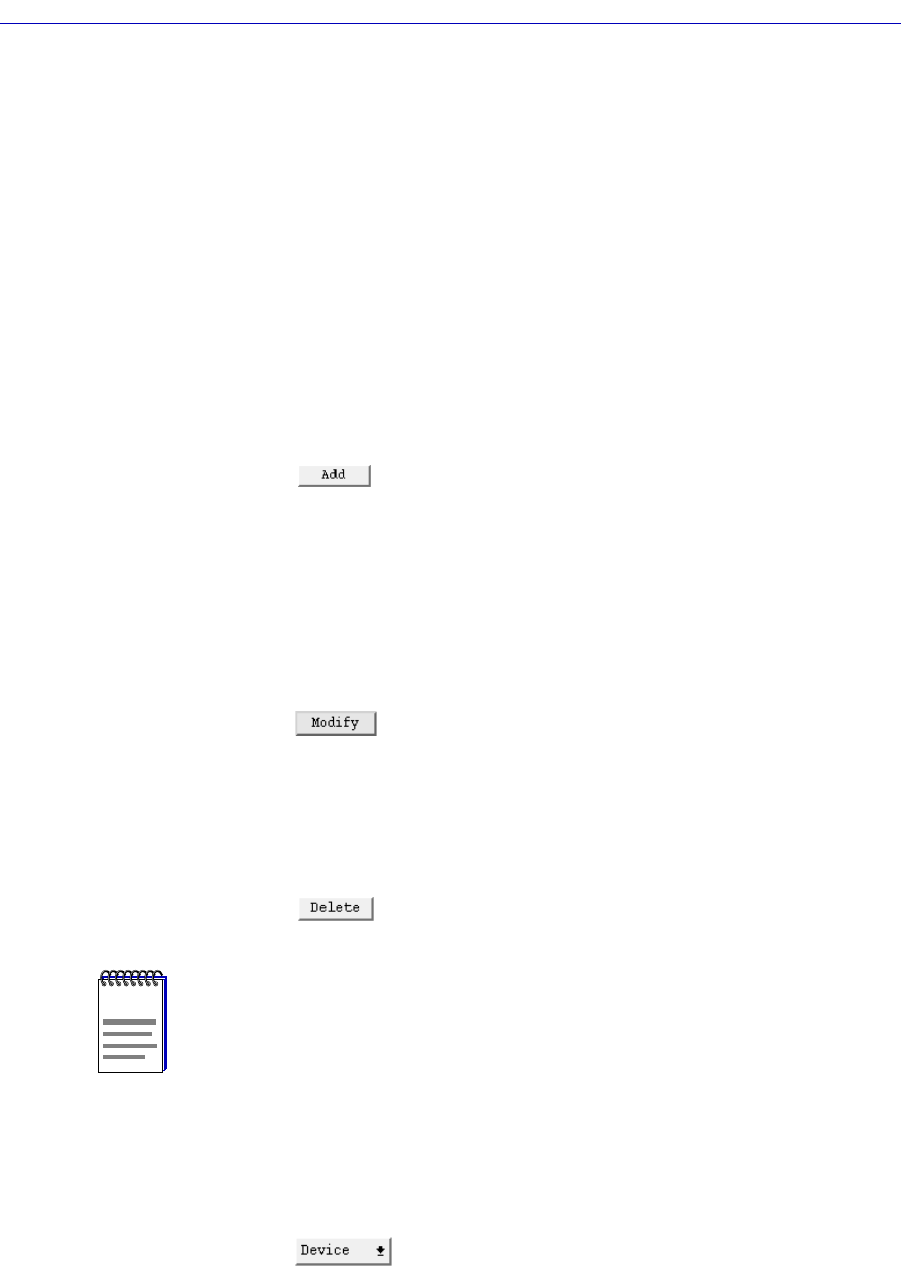
Adding or Modifying Frame Relay Bridge Ports
First, access the Bridge/LLC2 Frame Relay Interface Table (see ConÞguring
Frame Relay Bridge Ports, page 11-4).
To add a new Frame Relay bridge port:
1. Enter the RLP, Port, and DLCI numbers, and the other configurable values for
each bridge port.
2. Click on to add your new entry.
To modify an existing entry:
1. In the list box, click to select the Frame Relay Interface you wish to modify.
The selected entry will be highlighted. (Note that you can only modify one
entry at a time.)
2. Edit the fields, as desired. If you make some changes, and would like to return
to the original values, click on the Refresh button.
3. Click on to modify the selected entry.
To delete an existing entry:
1. In the list box, click to select the Frame Relay Interface you wish to delete. The
selected entry will be highlighted. (Note that you can only delete one entry at
a time.)
2. Click on to delete the selected entry.
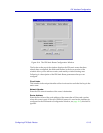
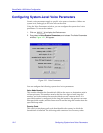
Configuring LAN Bridge Ports
You can use the Bridge/LLC2 LAN Interface Table to conÞgure a LAN interface to
operate as a bridge connection to the local LAN. To access the table:
1. Click on to display the Device menu.
NOTE
After you have made system-level changes (such as conÞguring a Bridge Interface), you
must apply those changes by rebooting the FRX or SmartSwitch 1800 device, or through
console management via the [F7] command.