


6-3
5. Replace the component box covers, being sure to reconnect the ground wire. Reconnect the
cooker to the electrical power supply.
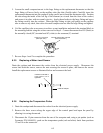
6.3.3 Replacing a Heating Element
1. Drain the cookpot and disconnect the cooker from the electrical power supply. Disconnect the
unit from the water supply at the rear of the cooker. Remove the basket lift arms from the unit.
2. Reposition the cooker to allow clear access to the rear of the unit. Remove the upper and lower
basket lift panels.
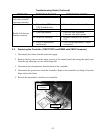
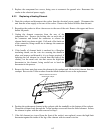
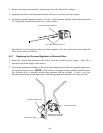
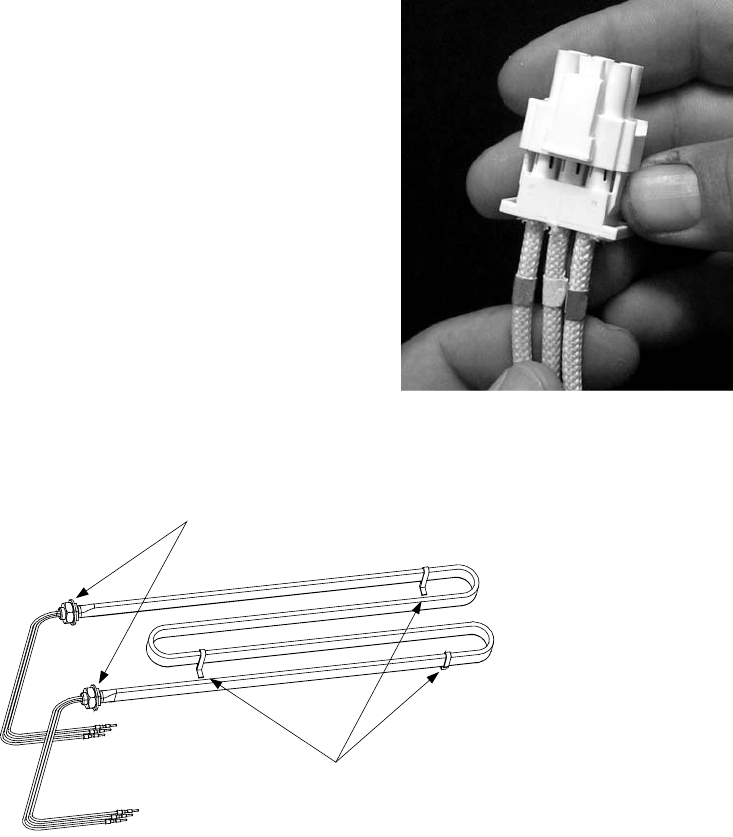
3. Unplug the element connector from the rear of the
component box. Depress the locking tabs on each side of
the connector and extend the connector to release the
element leads (see photo at right). Pull each of the leads out
of the connector, being careful not to damage the connector
in the process.
4. If the bundle of element leads is enclosed in a fiberglass
insulating sheath, cut the wire ties securing the sheath in
place, and remove and discard it; it is no longer required. If
replacing the left element (as viewed from the front of the
cooker), cut the metal wire ties that secure the high-limit
thermostat to the element, being careful not to bend the
thermostat in the process.
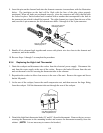
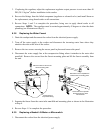
5. Remove the brass nuts that secure the element in the cookpot and lift the failed element from the
cookpot. Recover the Teflon washers from the failed element for use on the replacement.
Remove these nuts to remove
element from cookpot.
Standoffs
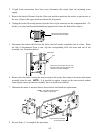
6. Position the replacement element in the cookpot with the standoffs on the bottom of the cookpot.
Thread the element leads through the Teflon washers recovered from the failed element. Secure
the element in place with the nuts removed in Step 5.
7. If the left element (as viewed from the front of the cooker) was replaced, secure the high-limit
thermostat against the inside of the leg of the element with two metal wire ties.