


6
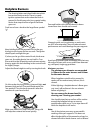
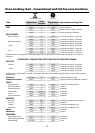
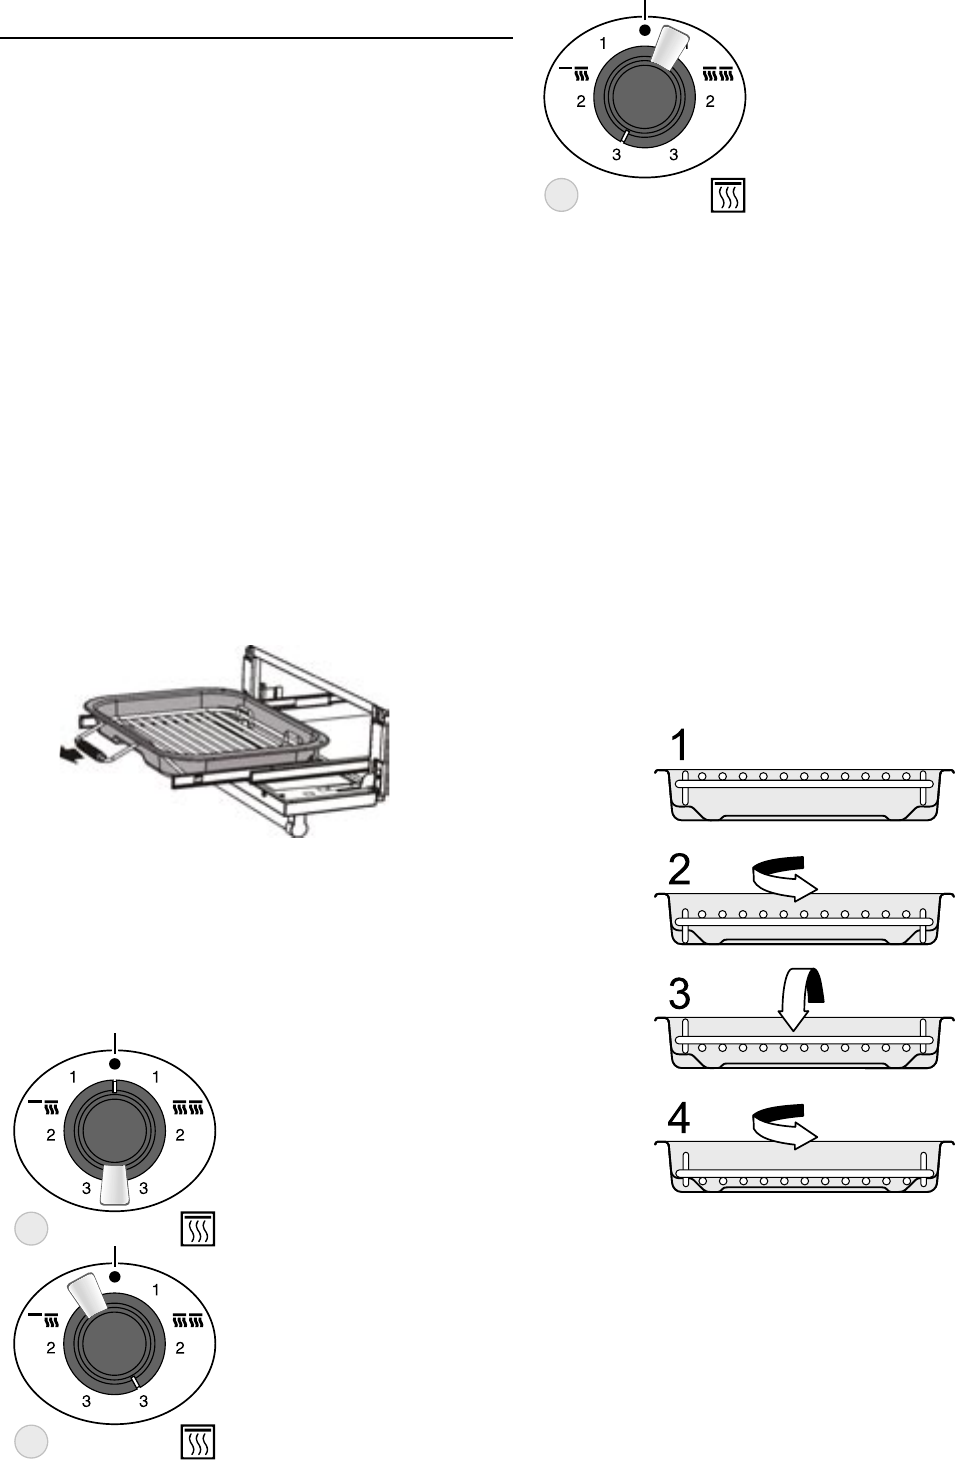
The Glide Out ™ Grill
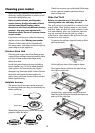
CAUTION
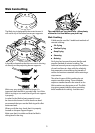
Open the grill door and pull the grill pan
carriage forward using the handle.
After placing your food on the grill grid, slide the
grill carriage into the grill chamber. Make sure it is
pushed right in.
The neon indicator light by the grill control will
come on.
For best results preheat for 2 minutes with the
grill pan in position. After placing your food
on the grill pan grid, slide in the grill carriage.
Adjust the heat to suit by turning the knob.
Make sure the grill carriage is pushed right in.
Never close the grill door when the grill is on.
Don’t leave the grill on for more than a few
moments, with the grill pan pulled forward.
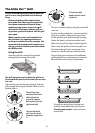
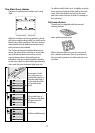
The grill pan grid can be set to four different
grilling heights by a combination of turning it
back to front and turning it upside down.
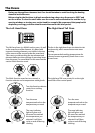
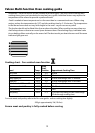
The grill has two
elements that allow
either the whole
area of the pan to
be heated or just the
right hand half.
To heat the whole
grill, turn the knob
clockwise to position
3.
To heat the right
hand half turn it anti
clockwise.
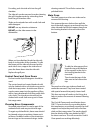
The grill pan and grill pan carriage can
be easily removed for cleaning. See the
section of these
instructions.