


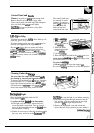
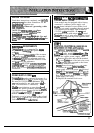
Control Panel and
fiobs
Clean
up any spills or
spattem
with a damp cloth. The control knobs may
Remove heavier soil with warm, soapy water. be removed for easier
Clean control panel with mild liquid dish detergent
cleaning. To remove a
and a soft cloth. Rub
wntrol
panel lightly.
knob,
pdl
it straight off
CA~ON:
Do not use abrasives of any kind
the stem. Wash the
knobs in soap and
on the control panel.
water but do not soak.
u
,.
.-.
-..
..
..:>,<
,,.
:
..-,
.,
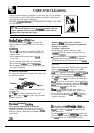
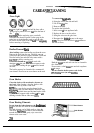
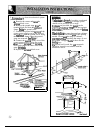
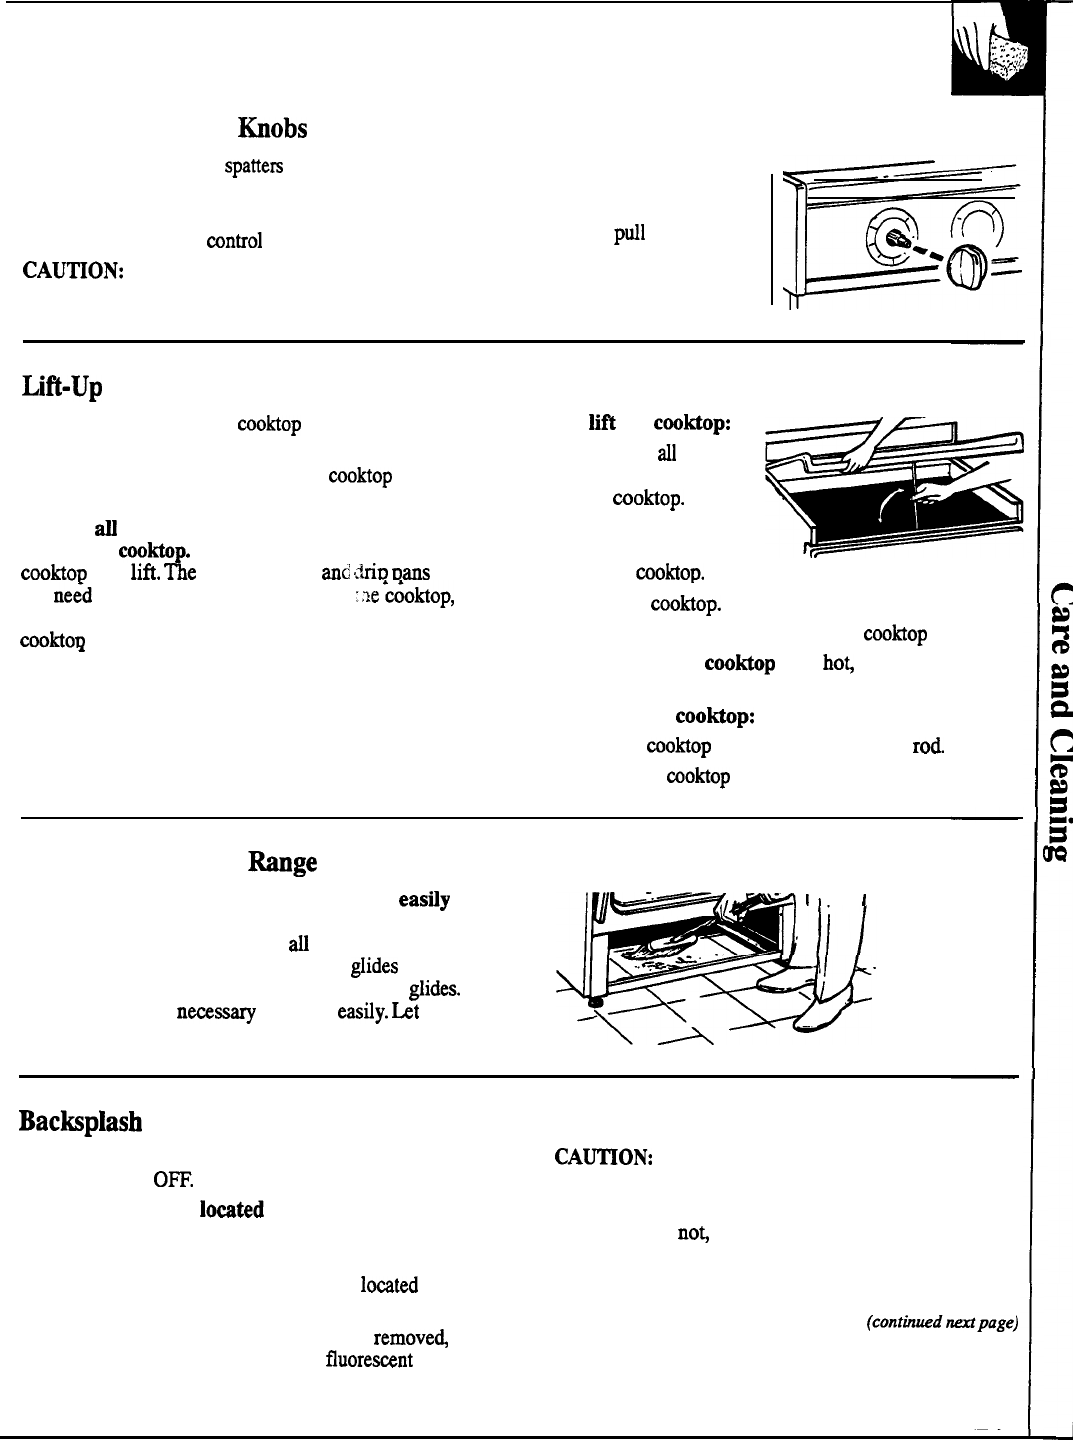
Lifi-Up
CooMop
Clean the area under the
cooktop
often. Built-up soil,
To
lifi
the
cooktop:
especially grease, may catch fire.
1. Remove
dl
items
To make cleaning easier, the entire
cooktop
may be which may slide off
lifted up and supported in the up position.
the
cooktop.
Be sure W surface units are turned off before
2. With both hands,
raising the
cootip.
Grasp the front sides of the
grasp the front edge
cooktop
and
lift.
me
surface units
and
.?tiD
Dans
do
of the
cooktop.
not
ne~d
to be removed before raising
:tie
‘~oktop,
however, you may remove one to make raising the
3. Lift the
cooktop.
cooktoD
easier.
4. Raise the support rod and let the
cooktop
rest on it.
.
Clean under the
coo~p
with
ho~
mild soapy water
and a clean cloth.
To lower the
cootip:
1. Lift the
cooktop
and lower the support rod
2.
Lower the
moktop
and allow it to lock into position.
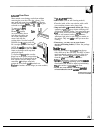
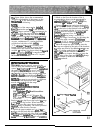
Cleaning Under the
Mnge
The area under the range can be reached
eastiy
&
~1+
1
‘
“
1
for cleaning by removing the bottom drawer.
To remove, pull the drawer out
dl
the way, tilt up the
front and remove it. To replace, insert
@ides
at the
back of the drawer beyond the stop on range
@ides.
Lift the drawer if
nwssary
to insert
easdy.
tit
the
front of the drawer down, then push in to close.
,-:=
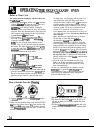
Backplash Light
Press the backsplash light switch for ON.
Press again for
O=.
To replace the light
Iomted
in the backsplash:
1.
If the light cover has screws, remove the four “
screws that hold it in position. Two are located
on top of the backsplash and two are
Ioated
under
the backsplash overhang.
2.
If there are no screws or after they are
removed
lift
the cover away and twist out the
fluores%nt
light.
CA~ON:
Be sure the light is cool before removing.
3. Insert the new fluorescent light and twist into the
lock position. (Check to make sure the new light
operates. If
no~
the light maybe blown.)
4. Replace the backsplash cover and reinsert the
screws that hold it into position (on some models).
(conthwdtipage)
27