


NO~:
ht
cooMop
pm
cool before touching or
handing.
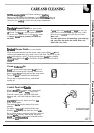
Proper care and cleaning are important so your
cooMop
wdl
give you
efficient and satisfactory service. Follow these directions carefully in
caring for your
cooMop
to assure safe and proper maintenance.
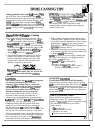
Pomelain
Enamel Finish
(on some models)
The porcelain enamel finish
is
sturdy but
bre~able
If acids spill on the
cooMop
while
it
is
hot, use a dry
if
misused. This finish is acid-resistant. However,
paper towel or cloth to wipe it up right away. When
any acidic foods spilled (such as fruit
jui~s,
tomato
the surface has cooled wash with soap and water.
or
vinegar)
shodd
not be permitted to remain on
Rinse well.
the finish.
For other spills such as fat smatterings, wash with soap
and water after the surface has cooled. Rinse well.
Polish with a dry cloth.
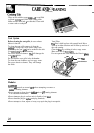
Bmshed
Chrome Finish
(on some
models)
Clean the brushed chrome top with warm, soapy water or Bon
AmiQ
brand
cleanser and immediately dry it with a clean, soft cloth. T&ewe to dry the
surfam
following the “grain”. To help prevent finger
mark
after cleaning,
spread a thin film of baby
ofi
on the surface. Wipe away excess oil with a
C1~,
SOft
cloth.
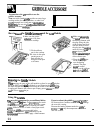
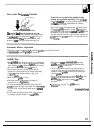
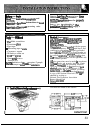
Grease
Co~ector
Jar
Smop
out grease with a large spoon.
SOA
the jar in
warm water to loosen grease if desired. Clean with a
plastic or
soap-~ed
scouring pad and hot soapy water.
The jar may
dso
be cleaned in the dishwasher.
8
The jar may be replaced with any wide mouth
canning jar.
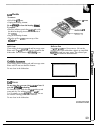
Control Panel and
mobs
Clean up
any
spfils
or spatters with a damp cloth.
Remove heavier
sofl
with
w-
soapy water.
Clean the control panel with mild liquid dish
detergent and a soft cloth. Rub the control panel
9
.
on
lightly.
CAU~ON:
Do not use abrasives of any
tind
on the control panel.
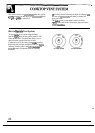
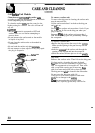
f
c=
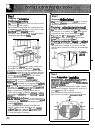
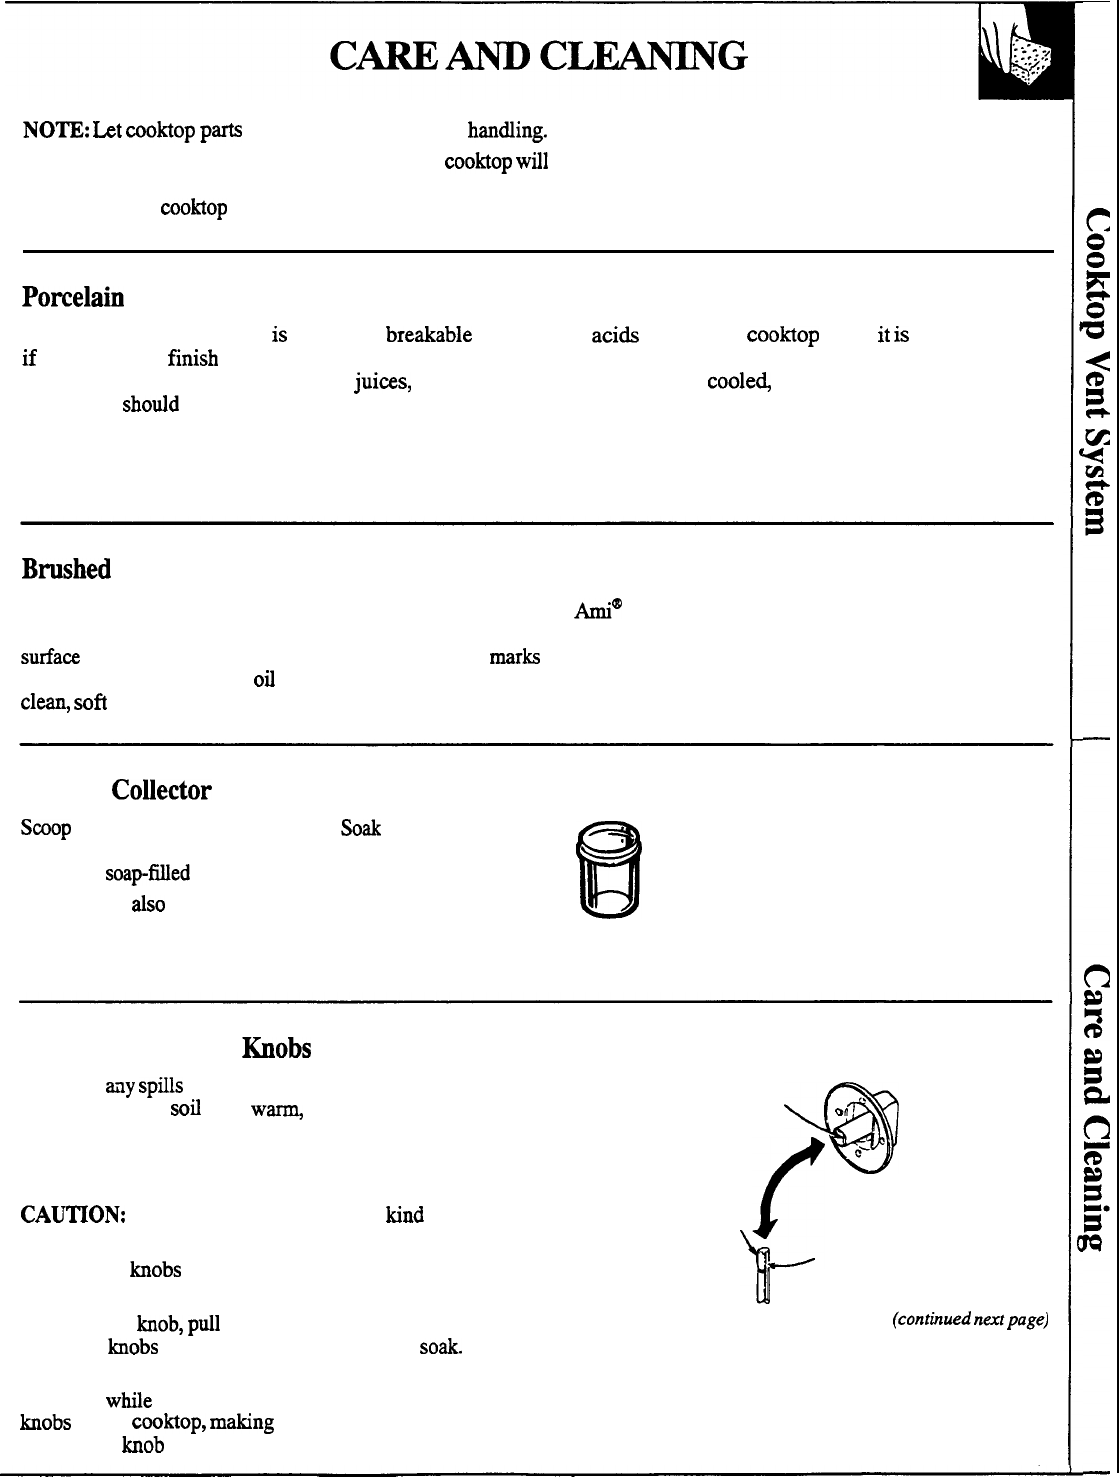
The control
hobs
maybe removed for easier
cleaning.
)
To remove a
hob,
ptil
it straight off the stem.
(conttiued
n~tpage)
Wash the
bobs
in soap and water but do not
SOA.
Do not allow water to run down inside the surface of
the panel
w~e
cleaning. After drying, return the
hobs
to the cootiop,
mting
sure to match the flat
area on the
hob
to the shaft.
27