


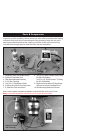
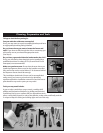
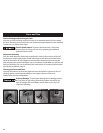

1. Turn off the water supply.
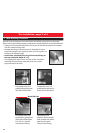
2. Straighten the copper tubing
Unpack the dispenser faucet and
straighten the copper tubing
carefully and smoothly. Do not
pinch or break the copper tubing.
Do not distort the last 1"of tubing.
The Installation, page 1 of 5
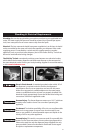
Ensure O-ring seal is
properly seated in valve
body groove, and surrounds
the sink mounting hole.
While working from under
the sink, place the semi-
circular mounting plate on
threaded stud. Attach hex
nut.Then using the
provided tool, tighten nut
sufficiently to keep the
faucet from rotating.
3. Mount the dispenser faucet
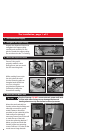
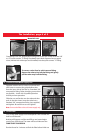
4. Mount the Hot Water Tank
Product Damage. DO NOT connect electric power until tank
is filled with water. Doing so may damage the internal
heating element or trip the thermal overload protector.
Mount the tank vertically in a
location where the plumbing and
electrical connections can be
made. Clearance should be
provided on the underside of the
tank to allow for drainage, if
necessary. Draw a line on the wall
to mark the top of the tank.
Locate the mounting bracket 1"
below your line and mark the
location of the two mounting
screws. Drill two 1/4" holes for the
wood screws. Hang the tank.
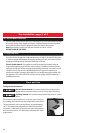
1. 2.
3. 4.
1"
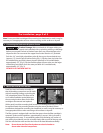
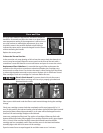
1.
2.
3.
8